Have you ever dreamed of starting your morning like a true Roman? Picture this: standing at a bustling coffee bar in Italy, sipping a cappuccino, and biting into a cloud-like, cream-filled bun. That is the magic of the Maritozzo.
- Ingredients
- Timing
- Step-by-Step Instructions
- Step 1: Activate the Yeast and Mix
- Step 2: The Initial Knead
- Step 3: Incorporating the Butter and Aromatics
- Step 4: First Rise (Bulk Fermentation)
- Step 5: Shaping the Maritozzi
- Step 6: Second Rise (Proofing)
- Step 7: Baking to Golden Perfection
- Step 8: The Cream Filling
- Nutritional Information
- Healthier Alternatives
- Serving Suggestions
- Common Mistakes to Avoid
- Storing Tips
- Conclusion
- FAQs
- Q1. Can I make the dough by hand without a mixer?
- Q2. What is Manitoba flour and can I substitute it?
- Q3. Can I make the dough overnight?
- Q4. My cream isn’t holding its shape. What happened?
- Authentic Maritozzo Recipe: Fluffy Roman Buns with Whipped Cream
This authentic Maritozzo recipe brings the heart of Rome straight to your kitchen. These sweet, brioche-style buns are enriched with honey, butter, and citrus zest, then split open and filled to the brim with lightly sweetened whipped cream. While they might look intimidating, the process is surprisingly therapeutic.
The secret lies in the dough—soft, aromatic, and perfectly golden. Whether you are an experienced baker or just starting your journey with yeast doughs, this guide will help you master the art of the Italian breakfast. Get your mixer ready, because we are about to bake the ultimate treat.
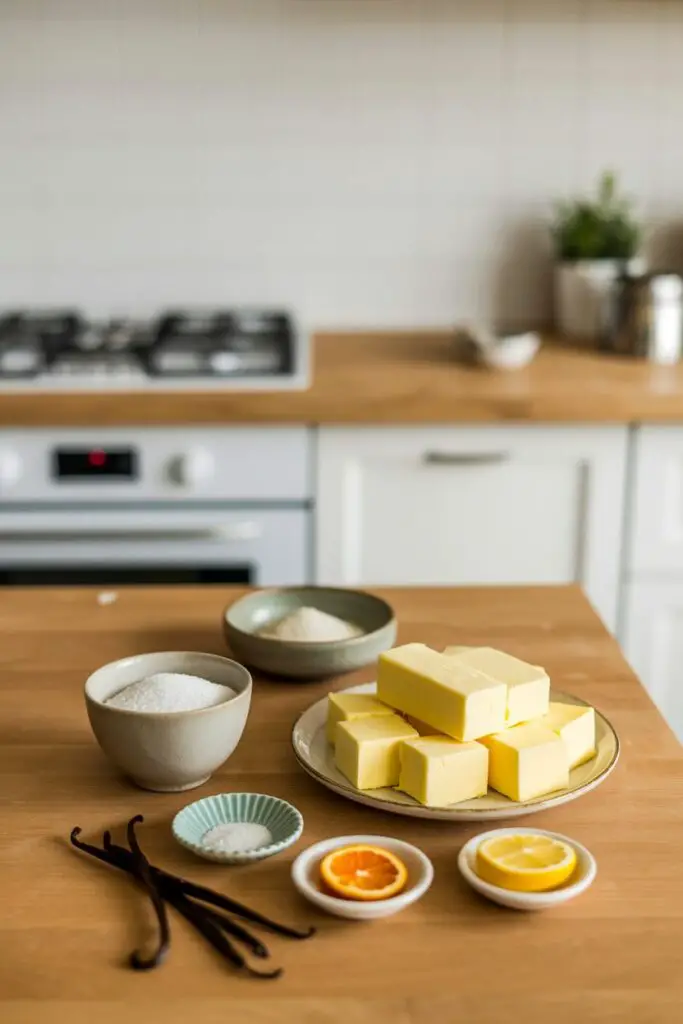
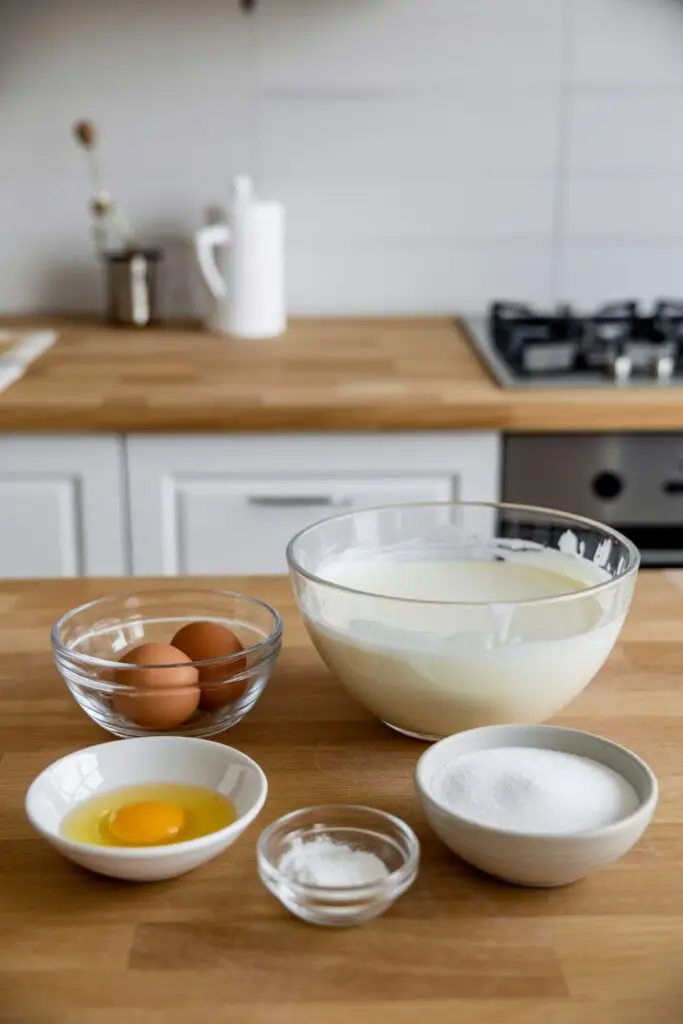
Ingredients
To achieve that signature fluffy texture and aromatic flavor, precision is key. Here is what you will need:
| Ingredient | Quantity | Notes |
| For the Dough | ||
| Manitoba Flour | 500 g | Or strong bread flour (high protein is essential) |
| Whole Milk | 200 ml | Warm (body temperature) |
| Unsalted Butter | 100 g | Cold, cut into cubes |
| Caster Sugar | 60 g | Fine sugar dissolves best |
| Honey | 20 g | Adds moisture and flavor depth |
| Fresh Yeast | 24 g | Or 8 g dried yeast |
| Medium Eggs | 2 | Room temperature |
| Salt | 10 g | Essential for gluten structure |
| Vanilla | Seeds of ½ pod | Or 2 tsp high-quality extract |
| Orange Zest | ¾ – 1 orange | Freshly grated |
| Lemon Zest | ¾ – 1 lemon | Freshly grated |
| For Brushing | ||
| Medium Egg | 1 | Beaten |
| Heavy Cream | 1 tbsp | Mixed with the egg |
| For the Filling | ||
| Heavy Cream | 500 ml | Cold, for whipping |
| Granulated Sugar | 60 g | Adjust to taste |
| Cream Stabilizer | 1 sachet (8g) | Optional, helps structure |
| Powdered Sugar | For dusting | The finishing touch |

Timing
Baking Maritozzi is a labor of love that requires patience for the rise, but the active work is quite manageable.
- Prep Time: 45 minutes (active kneading and shaping)
- Rising Time: 3 hours (divided into two rises)
- Cook Time: 14–18 minutes
- Total Time: Approx. 4 hours
- Context: While this takes about 4 hours, most of it is hands-off rising time. It is about 20% longer than making standard dinner rolls due to the enriched dough, but the result is infinitely more rewarding.
Step-by-Step Instructions
Step 1: Activate the Yeast and Mix
Start by combining the 24 g fresh yeast (or 8 g dried yeast) and 200 ml warm milk in the bowl of your stand mixer. Stir gently until the yeast is fully dissolved. Add the Manitoba flour, room-temperature eggs, honey, caster sugar, and salt.
- Tip: Do not add the butter yet! We need to develop the gluten network first.
Step 2: The Initial Knead
Attach the dough hook to your mixer. Knead the mixture on a low-medium speed (setting 2 on a KitchenAid) for about 10 minutes. You are looking for a smooth, elastic dough that pulls away cleanly from the sides of the bowl.
Step 3: Incorporating the Butter and Aromatics
This is the crucial stage. Add the 100 g of cold butter cubes to the mixer. Continue kneading for another 5 minutes.
- Note: The dough might look like it is separating or refusing to absorb the butter initially. Do not panic! Keep kneading; it will come back together into a glossy, smooth ball.
- Flavor Boost: Towards the final minute of kneading, toss in the vanilla seeds and the fresh orange and lemon zest to distribute them evenly.
Step 4: First Rise (Bulk Fermentation)
Turn the dough out onto a work surface. It will be slightly sticky—this is normal for enriched dough. Shape it into a tight ball. If it’s too sticky to handle, lightly grease your hands and the surface with neutral oil.
Place the dough back into the bowl, cover it tightly with plastic wrap, and let it rise in a warm, draft-free spot for 1 to 1½ hours, or until it has doubled in volume.
Step 5: Shaping the Maritozzi
Once risen, turn the dough out and divide it into 12 equal portions (approximately 80 g each). Shape each portion into a smooth, tight ball. To get the classic Maritozzo shape, gently roll the balls so they are slightly oval rather than perfectly round.
Place them on two baking sheets lined with parchment paper, leaving plenty of space between them.
Step 6: Second Rise (Proofing)
The buns need to rise again for 1 to 1½ hours until doubled.
- Pro Tip: Create a DIY proofing box! Place a roasting pan with boiling water on the bottom of your turned-off oven. Slide the baking sheets in above it and close the door. The steam creates the perfect humid environment, so you won’t even need to cover the dough.
Step 7: Baking to Golden Perfection
Remove the buns and the water dish from the oven. Preheat your oven to 200°C (392°F).
While the oven heats, whisk the remaining egg with 1 tbsp of heavy cream. Gently brush this wash over the risen buns. Bake for 14–18 minutes. They should be a deep golden brown and cooked through. Transfer to a wire rack to cool completely.
Step 8: The Cream Filling

Once the buns are cool, prepare the filling. Whip the 500 ml heavy cream with the sugar and stabilizer (if using) until stiff peaks form.
Slice the buns lengthwise down the center (but not all the way through—think hot dog bun style). Open them slightly and fill generously with the whipped cream. Use a palette knife to smooth the cream flat against the edges for that iconic look. Dust heavily with powdered sugar.
Nutritional Information
While Maritozzi are a decadent treat, it’s helpful to know what goes into them. Here is an estimated breakdown per filled bun:
- Calories: ~380 kcal
- Carbohydrates: 42 g
- Sugars: 18 g
- Fat: 20 g
- Saturated Fat: 12 g (from butter and cream)
- Protein: 7 g
- Fiber: 1.5 g
Data Insight: The use of eggs and milk provides a decent protein boost compared to standard pastries, but this is definitely a high-energy food best enjoyed actively!
Healthier Alternatives
If you want to enjoy this Roman classic with a lighter touch or dietary adjustments, try these swaps:
- Whole Grain Twist: Substitute 30% of the Manitoba flour with whole wheat pastry flour. This adds fiber and a nutty flavor without making the bun too dense.
- Reduce Refined Sugar: Swap the caster sugar in the dough for coconut sugar or a granulated erythritol blend to lower the glycemic index.
- Lighter Filling: Instead of 100% heavy cream, try a mix of whipped ricotta and Greek yogurt sweetened with honey. This significantly cuts the fat and boosts protein while maintaining a creamy texture.
- Dairy-Free: Use plant-based butter blocks and oat milk for the dough. Fill with whipped coconut cream for a completely vegan Maritozzo.
Serving Suggestions
To truly enjoy your Maritozzo, context is everything.

- The Classic Breakfast: Serve alongside a hot, strong espresso or cappuccino. The bitterness of the coffee cuts through the richness of the cream perfectly.
- Garnishes: For a modern twist, top the cream with chopped pistachios, chocolate shavings, or fresh berries before dusting with sugar.
- Occasions: These are showstoppers for holiday brunches, Valentine’s Day breakfast, or simply a slow Sunday morning where you want to treat your family to something special.
Common Mistakes to Avoid
Enriched doughs can be tricky. Here are the most common pitfalls and how to fix them:
- The “Sticky Dough” Panic:
- Mistake: Adding extra flour because the dough feels sticky after adding butter.
- Solution: Trust the process. Do not add more flour; it will make the buns dry. Keep kneading, and the gluten will eventually absorb the fat.
- Killing the Yeast:
- Mistake: Using milk that is too hot.
- Solution: The milk should be body temperature (approx. 37°C/98°F). If it burns your finger, it will kill the yeast.
- Melting the Filling:
- Mistake: Filling the buns before they are completely cool.
- Solution: Patience! If the buns are even slightly warm, the whipped cream will melt into a soup. Wait until they are cool to the touch.
- ** uneven Baking:**
- Mistake: Opening the oven door too often.
- Solution: Keep the door closed for at least the first 12 minutes to ensure the structure sets properly.
Storing Tips
Freshness is paramount for Maritozzi, especially once filled.
- Unfilled Buns: These can be stored in an airtight container at room temperature for up to 2 days.
- Filled Buns: Once filled with cream, they must be kept in the refrigerator. They are best eaten within 24 hours as the bun can become soggy.
- Freezing: You can freeze the baked, unfilled buns. Wrap them tightly in plastic wrap and freeze for up to 1 month.
- Reheat: Thaw at room temperature and warm in a 180°C (350°F) oven for 5 minutes to refresh the crust before filling.
Conclusion
Making an authentic Maritozzo is more than just following a recipe; it is about recreating a piece of Italian culture in your own home. From the citrus-scented dough to the cloud of sweet cream, every bite is a testament to why this Roman pastry has stood the test of time.
Whether you are baking for a festive brunch or just treating yourself, the effort is well worth the reward. Try it out and let us know! Did you stick to the classic vanilla or add your own twist? Drop a comment below—we’d love to hear your experience. Don’t forget to rate this recipe and subscribe to our newsletter for more global baking adventures!
FAQs
Q1. Can I make the dough by hand without a mixer?
Yes, absolutely. However, because this is a high-hydration, enriched dough, it will require significant elbow grease. You will need to knead by hand for at least 15–20 minutes. The “slap and fold” technique works best here to develop gluten without adding excess flour.
Q2. What is Manitoba flour and can I substitute it?
Manitoba flour is a “strong” flour with a high protein content, which is essential for creating the structure needed to hold the butter and eggs. If you cannot find it, look for Bread Flour or any flour with a protein content of 12-14%. Avoid standard All-Purpose flour, as the buns will not rise as high.
Q3. Can I make the dough overnight?
Yes! For better flavor and convenience, you can do the first rise in the fridge overnight (cold fermentation). After kneading, place the covered bowl in the fridge for 8–12 hours. The next morning, let the dough come to room temperature for 30 minutes before shaping.
Q4. My cream isn’t holding its shape. What happened?
Heavy cream needs to be very cold to whip properly. If your kitchen is hot, chill your bowl and whisk in the freezer for 10 minutes before whipping. Using the optional cream stabilizer (like Sahnesteif) is a great insurance policy to keep your Maritozzi looking perfect for longer.
Print
Authentic Maritozzo Recipe: Fluffy Roman Buns with Whipped Cream
- Total Time: 4 hours
- Yield: 12 Buns 1x
- Diet: Vegetarian
Description
Have you ever dreamed of starting your morning like a true Roman? This Authentic Maritozzo recipe brings the heart of Rome straight to your kitchen. These sweet, brioche-style buns are enriched with honey, butter, and citrus zest, resulting in a soft, aromatic dough. Once baked to golden perfection, they are split open and filled to the brim with lightly sweetened whipped cream. While they might look intimidating, the process is surprisingly therapeutic and delivers the ultimate Italian breakfast treat.
Ingredients
For the Dough
- 500 g Manitoba Flour (or strong bread flour; high protein is essential)
- 200 ml Whole Milk, warm (body temperature)
- 100 g Unsalted Butter, cold and cut into cubes
- 60 g Caster Sugar
- 20 g Honey
- 24 g Fresh Yeast (or 8 g dried yeast)
- 2 Medium Eggs, room temperature
- 10 g Salt
- Seeds of 1/2 Vanilla Pod (or 2 tsp high-quality extract)
- Zest of 1 Orange, freshly grated
- Zest of 1 Lemon, freshly grated
For the Egg Wash
- 1 Medium Egg, beaten
- 1 tbsp Heavy Cream
For the Filling
- 500 ml Heavy Cream, cold
- 60 g Granulated Sugar
- 1 sachet (8g) Cream Stabilizer (optional)
- As needed Powdered Sugar (for dusting)
Instructions
- Activate and Mix: In a stand mixer bowl, dissolve the yeast in the warm milk. Add the flour, room-temperature eggs, honey, sugar, and salt. (Do not add the butter yet!).
- Initial Knead: Attach the dough hook and knead on low-medium speed for about 10 minutes until the dough is smooth, elastic, and pulls away from the sides.
- Incorporate Butter: Add the cold butter cubes. Continue kneading for another 5 minutes. If the dough looks like it is separating, keep kneading until it comes back together. Add the vanilla and citrus zests in the final minute.
- First Rise: Shape the dough into a tight ball (use a little oil on your hands if sticky). Place in a bowl, cover tightly, and let rise in a warm spot for 1 to 1½ hours, or until doubled in volume.
- Shape: Divide the dough into 12 equal portions (approx. 80 g each). Shape into smooth balls and gently roll them to be slightly oval. Place on parchment-lined baking sheets with plenty of space between them.
- Second Rise: Let the buns rise again for 1 to 1½ hours. Tip: Place a pan of boiling water on the bottom of a turned-off oven to create a steam chamber for proofing.
- Bake: Remove buns and water from the oven. Preheat oven to 200°C (392°F). Whisk the egg wash ingredients and brush over the buns. Bake for 14–18 minutes until deep golden brown. Cool completely on a wire rack.
- Fill and Serve: Whip the heavy cream with the sugar and stabilizer until stiff peaks form. Slice the cooled buns lengthwise (not all the way through), fill generously with cream, smooth the edges with a palette knife, and dust heavily with powdered sugar.
Notes
- Flour Type: Using Manitoba flour or a high-protein bread flour is essential for the structure. Standard all-purpose flour will not yield the same fluffy lift.
- Butter Timing: Adding the butter after the initial gluten development ensures the dough remains strong and elastic rather than greasy.
- Sticky Dough: The dough is enriched and naturally sticky. Avoid adding too much extra flour during shaping; lightly oiling your hands is a better technique.
- The Steam Trick: Proofing the shaped buns in the oven with a pan of hot water prevents a “skin” from forming on the dough and helps them rise evenly.
- Prep Time: 45 minutes
- Rising Time: 3 hours
- Cook Time: 18 minutes
- Category: Breakfast, Pastry, Dessert
- Method: Baking, Yeast Dough
- Cuisine: Italian / Roman
Nutrition
- Serving Size: 1 bun
- Calories: 380 kcal
- Sugar: 18 g
- Sodium: 180 mg
- Fat: 20 g
- Saturated Fat: 12 g
- Carbohydrates: 42 g
- Fiber: 1.5 g
- Protein: 7 g