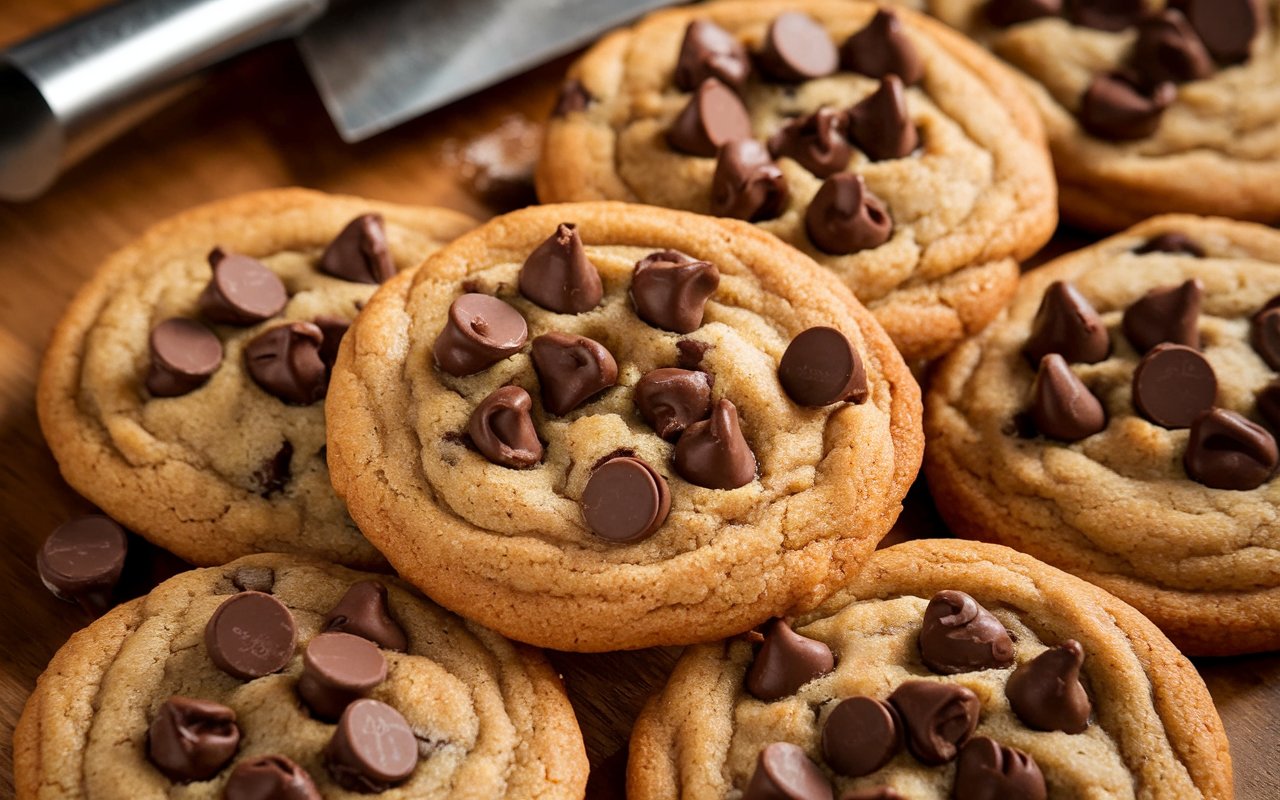
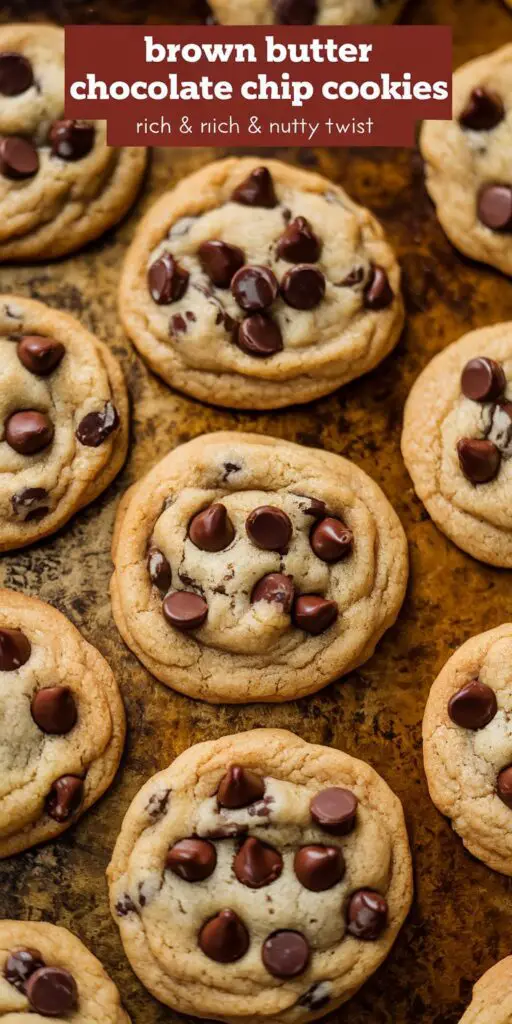
Chocolate chip cookies stand among the most cherished homemade treats, beloved for their soft centers, crisp edges, and pockets of melted chocolate. Yet an easy twist can elevate them from “classic” to “sublime”—browning the butter. Brown Butter Chocolate Chip Cookies – Rich & Nutty Twist introduces a deeper, almost toffee-like flavor achieved by gently cooking butter until the milk solids caramelize, imbuing each cookie with a warm, nutty undertone. The result is a cookie that tastes more complex—like a sophisticated cousin of the standard chocolate chip variety.
- Why Brown Butter Chocolate Chip Cookies?
- Key Ingredients in Table Form
- Step-by-Step Cookie Process
- 1. Brown the Butter (5–8 minutes)
- 2. Cream Sugars & Butter (3–5 minutes)
- 3. Dry Ingredients & Dough Formation (3–5 minutes)
- 4. Chill Dough (30–60 minutes optional)
- 5. Bake (10–14 minutes)
- Perfecting the Texture & Taste
- Serving & Presentation
- Possible Variations
- Dietary & Health Notes
- Storing & Freezing
- Frequently Asked Questions
- Conclusion
In this article, you’ll learn how to brown butter without burning it, harness that liquid gold in a cookie dough that balances sweet, salty, and chocolatey notes, and let the dough rest (if possible) to further deepen flavor. We’ll present a table of key ingredients, step-by-step instructions, plus tips on achieving your desired texture—chewy, crisp, or somewhere between. By the final batch, you’ll see how a small extra step in the butter prep can significantly impact the cookie’s ultimate taste, aroma, and satisfaction factor.
Why Brown Butter Chocolate Chip Cookies?

- Elevated Flavor
Browning butter releases a nutty aroma and caramel-like complexity that can’t be matched by plain melted or creamed butter. - Familiar Yet Special
It’s still the chocolate chip cookie you love—just with a flavor twist making it taste gourmet. - Simple Extra Step
Browning takes only a few minutes, and the rest of the cookie process remains straightforward. - Versatility
Enjoy them fresh from the oven, freeze dough for later, or store cookies for easy snacking.
Key Ingredients in Table Form
Below is a concise table for about ~2 dozen cookies:

| Ingredient | Quantity (Approx.) | Purpose / Notes |
|---|---|---|
| Butter (unsalted) | 1 cup (2 sticks), browned | The star—browning introduces nutty caramel flavor. |
| Sugar (granulated) | ~3/4 cup | Sweetens, helps form crispy edges. |
| Brown Sugar (light/dark) | ~3/4 cup | Adds moisture, deeper flavor, chewy texture. |
| Eggs | 2 large | Binds dough, providing structure & richness. |
| Vanilla Extract | 1–2 tsp | Rounds out flavor. |
| Flour (all-purpose) | ~2 1/4 cups | Base structure. Adjust as needed for dough consistency. |
| Baking Soda | 1 tsp | Leavening ensures some spread & lightness. |
| Salt | ~1/2 tsp | Enhances flavor, crucial for sweet-salty balance. |
| Chocolate Chips (semi-sweet) | ~1.5–2 cups | The chocolate component. Could sub chunks, mix white/dark, etc. |
| Optional Nuts (pecans, walnuts) | ~1/2 cup (chopped) | Extra crunch & complementary to nutty butter. |
Step-by-Step Cookie Process
1. Brown the Butter (5–8 minutes)
- Melt: In a saucepan over medium heat, place 1 cup butter (2 sticks) cut into pieces.
- Cook: Stir occasionally as it melts. The butter will foam and then turn golden.
- Watch Solids: The milk solids begin to brown at the bottom. The aroma becomes nutty.
- Remove Heat: Once the color is light to medium brown (and you see brown specks), turn off heat. Overcooking leads to bitterness or burning.
- Cool: Let it rest ~10 minutes to avoid scrambling eggs when mixing dough.
2. Cream Sugars & Butter (3–5 minutes)
- Combine: In a mixing bowl, add cooled brown butter, ~3/4 cup granulated sugar, and ~3/4 cup brown sugar.
- Mix: Medium speed ~1–2 minutes, ensuring sugar dissolves partially.
- Eggs & Vanilla: Crack in 2 eggs one at a time, plus 1–2 tsp vanilla. Beat until smooth.
3. Dry Ingredients & Dough Formation (3–5 minutes)
- Whisk: In a separate bowl, ~2 1/4 cups flour, 1 tsp baking soda, ~1/2 tsp salt.
- Combine: Slowly add dry mixture to wet, stirring until just combined.
- Chocolate Chips: ~1.5–2 cups plus optional nuts. Fold in gently. Avoid overmixing.
4. Chill Dough (30–60 minutes optional)
- Cool: If time permits, refrigerate dough at least 30 minutes. Helps flavors meld and controls spreading in oven.
- Skip: If in a hurry, proceed. Just note cookies may spread more.
5. Bake (10–14 minutes)
- Preheat Oven: 350°F (175°C).
- Scoop: Use ~1–2 tbsp dough per cookie. Space them ~2 inches apart on a lined baking sheet.
- Time: ~10–14 minutes, until edges are golden and center is slightly soft.
- Cool: 2 minutes on sheet, then transfer to rack. Middle might seem underdone—firms upon cooling.
Perfecting the Texture & Taste
- Watch Brown Butter
Over-browning can yield bitterness. The sweet spot is a golden hue plus toasty aroma. - Chill
Even a short rest in fridge can drastically improve structure and flavor depth. - Don’t Overbake
For chewiness, remove cookies when edges set and center is still soft.
Serving & Presentation
- Platter: Warm cookies stacked, with a side of cold milk or hot coffee.
- Dessert Plates: Optionally drizzle with melted chocolate or garnish with sea salt flakes for a gourmet flair.
- Gift: Wrap them in a tin or bag for a thoughtful homemade present.
Possible Variations
- Sea Salt Topping
A pinch of flaky salt on each cookie highlights the sweet-nutty dimension. - Mixed Chips
Combine semi-sweet, milk chocolate, and white chocolate for a triple threat. - Spiced Version
Add a hint of cinnamon or nutmeg to complement brown butter’s nuttiness. - Oatmeal Twist
Swap ~1/2 cup flour for oats, changing texture to a more oatmeal cookie vibe.
Dietary & Health Notes
- Indulgence
These cookies are rich in butter, sugar—enjoy in moderation. - Low Lactose
If using lactose-free butter or a butter alternative, texture might change. - Gluten-Free
Use a 1:1 GF flour blend. The dough might be more delicate, so chill thoroughly.
Storing & Freezing
- Counter: Cookies keep well ~4–5 days in an airtight container.
- Dough Fridge: Up to 3 days. Balls of dough can be portioned, then chilled.
- Freeze: Both the dough (scooped) and baked cookies freeze well, up to 2 months. Thaw or bake from frozen, adding a minute or two.
Frequently Asked Questions
Q1: Do I really need to cool brown butter?
Yes, adding hot butter can partially cook eggs or dissolve too much sugar, messing texture.
Q2: My brown butter has flecks that look burnt.
Slight flecks are normal – that’s the caramelized milk solids. If entirely black, you likely burned it; maybe start over.
Q3: Can I reduce sugar?
Yes, but the cookie’s texture or chewiness may alter. A modest cut is okay.
Q4: Why do my cookies spread too much?
Dough too warm or too little flour. Chill dough longer, or add a tablespoon or two of flour if it’s extremely soft.
Q5: Are nuts essential?
No, entirely optional. They complement the nutty butter vibe but can be skipped or replaced with seeds.
Conclusion
Brown Butter Chocolate Chip Cookies – Rich & Nutty Twist taps into the transformative power of browned butter to elevate standard chocolate chip cookies into a deeper, more indulgent treat. With only a few extra minutes spent swirling butter on the stovetop, you unlock toasty, caramel-like undertones that merge with the cookie’s signature sweet-chocolate profile. The rest of the process remains familiar: cream the sugars (now including that golden brown butter), incorporate eggs and dry ingredients, then fold in plenty of chocolate chips.
From ensuring that your butter doesn’t overcook (thus avoiding bitterness) to managing the dough’s consistency via chilling, every detail contributes to the final cookie’s softness, thickness, and flavor nuance. Serve them fresh from the oven—when the edges are crisp and centers gooey—for a next-level cookie experience. And once you’ve experienced the difference that browning butter makes, you’ll likely integrate it into other baked goods, reaping the warm, nutty reward that it consistently provides. Whether you’re a cookie novice or a seasoned baker, these brown butter cookies are sure to delight both you and anyone who’s lucky enough to grab a bite.