As the air begins to cool and we start to crave cozy, comforting desserts, there’s nothing quite like a warm fruit crisp fresh from the oven. While we all love the classic apple version, it’s time to let another fall fruit take center stage. Pears, with their delicate sweetness and buttery texture, create a truly elegant and unforgettable dessert.
- What You’ll Need: Ingredients
- Timing
- Step-by-Step Instructions
- Step 1: Preheat Oven and Prepare Your Baking Dish
- Step 2: Create the Crunchy Walnut Crumble Topping
- Step 3: Prepare the Spiced Pear Filling
- Step 4: Assemble and Bake Your Perfect Fruit Crisp
- Step 5: Cool and Serve Warm
- Nutritional Information
- Healthier Alternatives and Dietary Swaps
- Serving Suggestions
- Common Mistakes to Avoid
- Storing and Reheating Tips
- Conclusion
- FAQs
- Q1. Can I use a different type of pear for this recipe?
- Q2. Can I make this crisp with apples instead of pears?
- Q3. Can I prepare this pear crisp ahead of time?
- Cinnamon Walnut Pear Crisp (Easy Fruit Crisp Recipe)
This Cinnamon Walnut Pear Crisp is the ultimate celebration of autumn flavours. Imagine tender, juicy pears baked in a warm cinnamon and maple syrup glaze, all nestled under a crunchy, buttery blanket of oats and walnuts. It’s an incredibly simple, rustic, and forgiving dessert that delivers all the satisfaction of a homemade pie with a fraction of the effort. Get ready to discover your new favorite fruit crisp recipe.
What You’ll Need: Ingredients
This recipe uses simple, wholesome ingredients to create a dessert that is both rustic and elegant. It’s also wonderfully adaptable to fit different dietary needs.
| Component | Ingredient | Amount/Quantity |
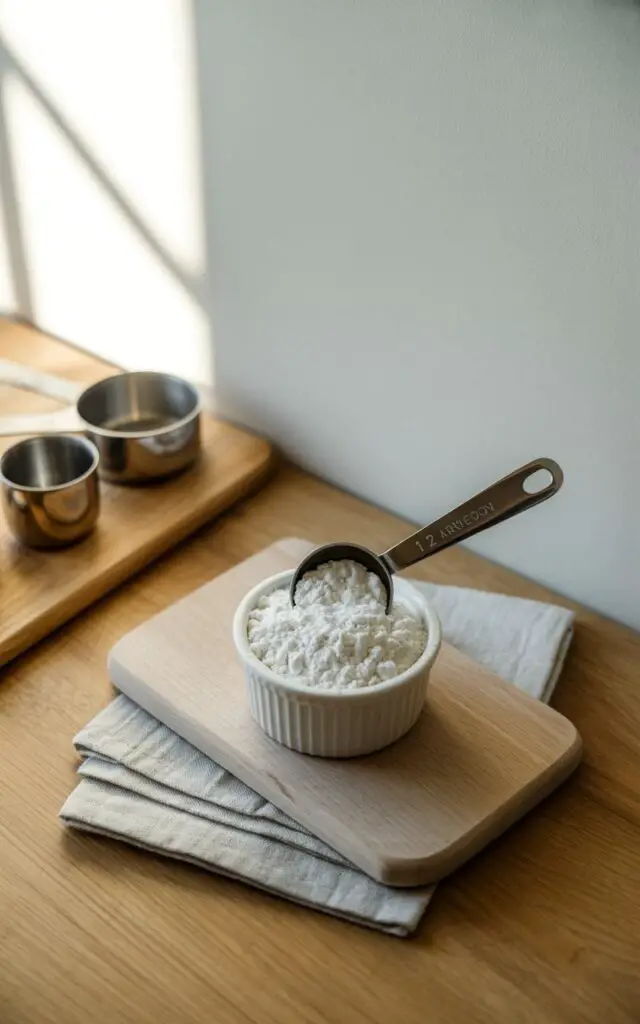
| For the Crunchy Walnut Topping | All-purpose flour (or whole wheat, GF flour) | 2/3 cup |
| Brown sugar, packed (or coconut sugar) | 1/3 cup | |
| Chopped walnuts (or pecans) | 1/2 cup | |
| Rolled oats (gluten-free if desired) | 1/3 cup | |
| Ground cinnamon | 1/4 teaspoon | |
| Unsalted butter, melted (or vegan butter) | 1/4 cup | |
| For the Spiced Pear Filling | Medium Bartlett pears, ripe but firm | 6, cut into ¼-inch slices |
| Pure maple syrup | 1/4 cup | |
| Ground cinnamon | 1 teaspoon | |
| Pure vanilla extract | 1 teaspoon | |
| Arrowroot or tapioca starch | 1/2 tablespoon |


Timing
This cozy dessert is quick to prepare, with most of the time spent letting the oven do the magical work of baking it to bubbling, golden perfection.
- Preparation Time: 15 minutes
- Bake Time: 45-60 minutes
- Cooling Time: 10 minutes
- Total Time: Approximately 1 hour, 25 minutes
Step-by-Step Instructions
Follow these simple steps to create a warm, bubbly, and incredibly delicious pear crisp.
Step 1: Preheat Oven and Prepare Your Baking Dish
First, get your oven ready. Preheat your oven to 350°F (175°C). Generously grease an 8×8-inch square baking pan or a 9-inch cast-iron skillet with nonstick cooking spray. Placing your dish on a larger, rimmed baking sheet is also a great idea to catch any potential bubbly drips in the oven.
Step 2: Create the Crunchy Walnut Crumble Topping
In a large bowl, combine the flour, oats, packed brown sugar, cinnamon, and chopped walnuts. Whisk them together until they are well-combined. Pour in the melted butter and use a fork or your fingertips to work the butter into the dry ingredients. Continue to mix until the mixture becomes crumbly and resembles wet sand.
Pro Tip: For an extra-crisp topping, cover the bowl with plastic wrap and place it in the fridge to chill while you prepare the filling.
Step 3: Prepare the Spiced Pear Filling
In another large bowl, place your sliced pears. Drizzle them with the pure maple syrup and vanilla extract, then sprinkle with the cinnamon and the arrowroot starch. Gently toss everything together until the pear slices are evenly coated in the sweet, spiced mixture. Now for a secret trick: take ⅓ cup of your prepared crumble topping and toss it in with the pear mixture. This helps to thicken the filling as it bakes, creating a wonderfully jammy consistency.
Step 4: Assemble and Bake Your Perfect Fruit Crisp
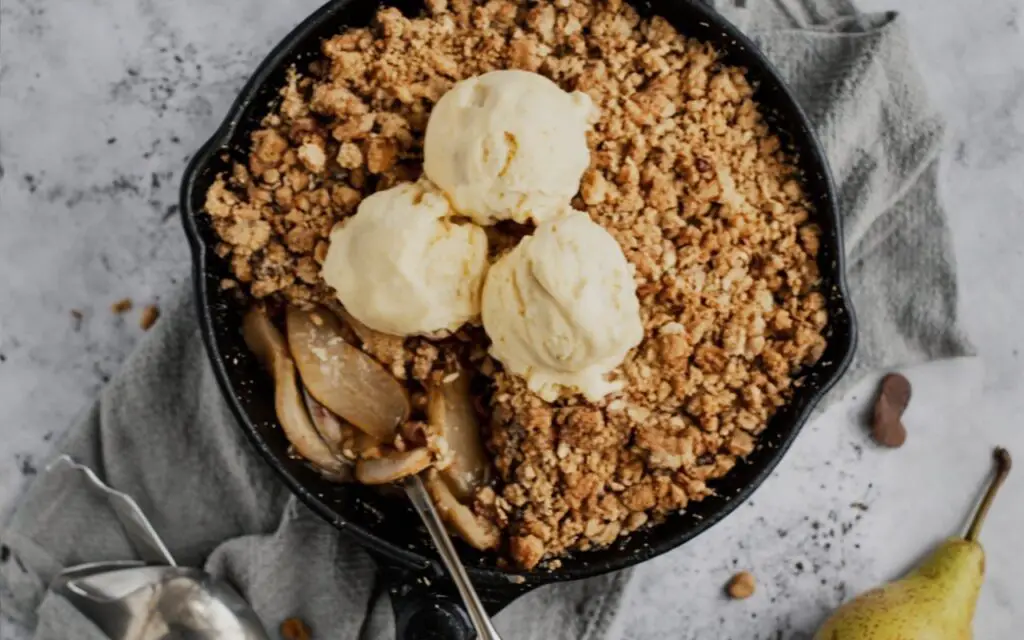
Pour the pear mixture into your prepared baking pan and spread it into an even layer. Sprinkle the remaining crumble topping evenly over the pears, covering them completely. Bake for 45 minutes to 1 hour. You’ll know it’s done when the topping is a deep golden brown and the pear filling is hot and bubbling happily around the edges.
Step 5: Cool and Serve Warm
Carefully remove the crisp from the oven and place it on a wire rack. Let it cool for at least 10 minutes before serving. This allows the bubbly filling to set up slightly. This dessert is at its absolute best when served warm.
Nutritional Information
Here is an estimated nutritional breakdown per serving, assuming the recipe makes 9 servings.
- Calories: ~320 kcal
- Protein: 4 g
- Carbohydrates: 45 g (Sugar: 30g)
- Fat: 15 g (Saturated Fat: 6 g)
Healthier Alternatives and Dietary Swaps
This pear crisp recipe is incredibly adaptable. Here are a few simple substitutions you can make, as noted in the ingredients list:
- For a Gluten-Free Crisp: Simply use a measure-for-measure gluten-free all-purpose flour blend (or gluten-free oat flour) and make sure your rolled oats are certified gluten-free.
- For a Vegan Crisp: This recipe is easily made vegan! Just use your favorite vegan butter or a melted coconut oil in the topping.
- Refined Sugar-Free: For a version without refined brown sugar, you can substitute it with an equal amount of coconut sugar in the topping.
Serving Suggestions
A warm bowl of pear crisp is a thing of beauty on its own, but a simple topping can elevate it to pure dessert perfection.
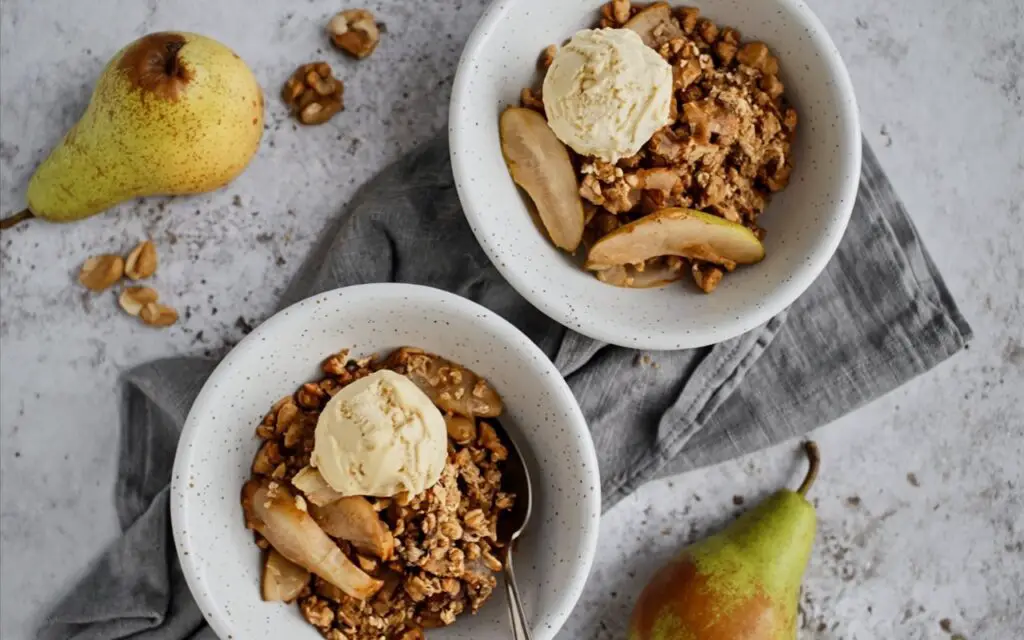
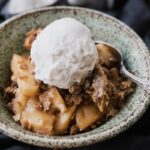
- A La Mode (The Classic): The absolute best way to serve a warm fruit crisp is with a scoop of creamy vanilla bean ice cream. The contrast of the warm, spiced fruit and the cool, melting ice cream is irresistible.
- With a Dollop of Yogurt: For a slightly tangier and healthier option, serve the warm crisp with a generous dollop of plain or vanilla Greek yogurt.
- Holiday Dessert Table: This beautiful, rustic dessert is a fantastic and easy alternative to pie for your Thanksgiving or Christmas dessert spread.
Common Mistakes to Avoid
Follow these simple tips to ensure your pear crisp is flawless every time.
- A Watery, Runny Filling: The juices from the pears can sometimes create a thin filling if not properly managed.
- Solution: Don’t skip the arrowroot or tapioca starch! This is a crucial ingredient that acts as a thickener. Tossing a bit of the crumble topping into the filling also helps to absorb excess liquid and create a perfectly jammy texture.
- A Pasty, Not Crumbly, Topping: If you overmix the topping after adding the butter, it can turn into a dense paste instead of a light crumble.
- Solution: Mix the butter in only until coarse, crumbly pieces form. Using your fingertips to gently press the mixture together is a great way to create those perfect crumbles.
- Using Underripe Pears: Pears that are still hard and green will not become tender or sweet during baking.
- Solution: Use pears that are ripe but still firm. A ripe Bartlett pear will have a bit of give when you gently press near the stem.
Storing and Reheating Tips
Leftovers of this delicious pear crisp are a wonderful treat for breakfast or dessert the next day.
- Storing: Cover the cooled crisp with foil or transfer it to an airtight container and store it in the refrigerator for up to 5 days.
- Reheating: You can reheat individual portions in the microwave for a quick treat. To re-crisp the entire topping, it’s best to place the crisp back in a 350°F (175°C) oven for 10-15 minutes, until it’s warmed through and the topping is crunchy again.
Conclusion
This Cinnamon Walnut Pear Crisp is the embodiment of cozy, rustic baking. It’s an incredibly simple and forgiving dessert that delivers a spectacular result, with the perfect harmony of sweet, tender fruit and a buttery, crunchy topping. It’s a versatile recipe that can be easily adapted to be gluten-free or vegan, making it a perfect dessert for everyone to enjoy.
We are so excited for you to fill your home with the warm, comforting aroma of this amazing fruit crisp. Give this recipe a try and let us know how much you loved it in the comments below! Don’t forget to rate the recipe and subscribe for more easy and delicious dessert ideas.
FAQs
Q1. Can I use a different type of pear for this recipe?
Yes! While Bartlett pears are a great choice because they have a classic pear flavour and soften beautifully, you could also use other firm pear varieties like Bosc or Anjou.
Q2. Can I make this crisp with apples instead of pears?
Absolutely! This recipe works perfectly with apples. Simply substitute the 6 medium pears with about 6 medium, firm baking apples, such as Honeycrisp, Braeburn, or Granny Smith.
Q3. Can I prepare this pear crisp ahead of time?
Yes, this is a great make-ahead dessert. You can fully assemble the entire crisp, cover it tightly, and store it in the refrigerator for up to 24 hours before you plan to bake it. You may need to add an extra 5-10 minutes to the baking time since it will be starting from cold.
Print
Cinnamon Walnut Pear Crisp (Easy Fruit Crisp Recipe)
- Total Time: 1 hour 20 minutes
- Yield: 9 servings 1x
Description
Rustic meets elegant. A cozy pear crisp with a cinnamon-walnut oat crumble and a jammy, maple-kissed filling. Simple swaps make it gluten-free or vegan-friendly.
Ingredients
For the Crunchy Walnut Topping
- 2/3 cup all-purpose flour (or whole wheat/GF blend)
- 1/3 cup brown sugar, packed (or coconut sugar)
- 1/2 cup chopped walnuts (or pecans)
- 1/3 cup rolled oats (GF if desired)
- 1/4 tsp ground cinnamon
- 1/4 cup unsalted butter, melted (or vegan butter)
For the Spiced Pear Filling
- 6 medium Bartlett pears, ripe but firm, sliced 1/4-inch
- 1/4 cup pure maple syrup
- 1 tsp ground cinnamon
- 1 tsp pure vanilla extract
- 1/2 Tbsp arrowroot or tapioca starch
Instructions
- Preheat & prep dish: Heat oven to 350°F (175°C). Generously grease an 8×8-inch pan or 9-inch cast-iron skillet. Set the dish on a rimmed baking sheet to catch drips.
- Make walnut crumble: In a bowl, combine flour, oats, brown sugar, cinnamon, and walnuts. Stir in melted butter and mix with a fork or fingertips until the mixture looks like wet sand. Pro tip: Chill topping while you prep the filling for extra crunch.
- Mix pear filling: In another bowl, toss pears with maple syrup, vanilla, cinnamon, and arrowroot/tapioca. Stir in about 1/3 cup of the crumble; this helps thicken the filling as it bakes.
- Assemble & bake: Spread pears evenly in the prepared dish. Scatter remaining crumble over the top. Bake 45–60 minutes, until the topping is deep golden and the edges bubble.
- Cool & serve: Let rest 10 minutes to set. Serve warm (excellent with vanilla ice cream or yogurt).
Notes
Make it your way: Swap walnuts for pecans; use a certified GF flour & oats to keep it gluten-free; choose vegan butter for dairy-free. Firm-ripe Bartletts hold shape best, but Bosc or Anjou also work well.
- Prep Time: 15 minutes
- Cook Time: 55 minutes
- Category: Dessert
- Cuisine: American
Nutrition
- Calories: 320
- Sugar: 30
- Fat: 15
- Saturated Fat: 6
- Carbohydrates: 45
- Protein: 4