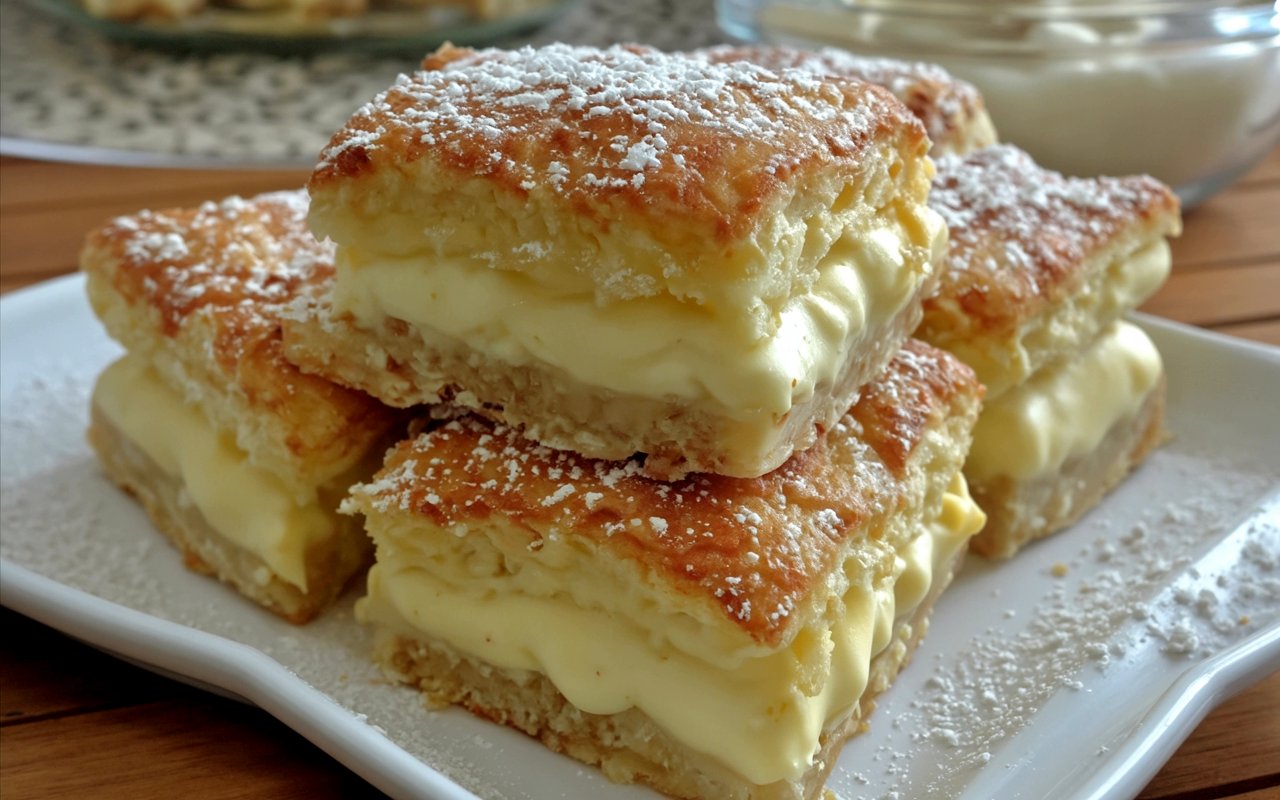
What if you didn’t have to choose between your favorite desserts? What if you could have the crumbly satisfaction of a buttery shortbread crust, the tangy richness of a cheesecake, and the silky-smooth delight of a vanilla custard, all in one perfect bite? It sounds like a dessert lover’s dream, but it’s a delicious reality.
- What You’ll Need: Ingredients
- Timing
- Step-by-Step Instructions
- Step 1: Prepare the Oven and Baking Pan
- Step 2: Create and Pre-Bake the Buttery Crust
- Step 3: Whip Up the Tangy Cream Cheese Layer
- Step 4: Cook the Silky Smooth Custard
- Step 5: Assemble the Layers and Final Bake
- Step 6: The Crucial Chill
- Nutritional Information
- Healthier Alternatives
- Serving Suggestions
- Common Mistakes to Avoid
- Storing and Make-Ahead Tips
- Conclusion
- FAQs
- Q1. Can I make this dessert in a different sized pan?
- Q2. Can I make this recipe gluten-free?
- Q3. Can I add other flavours to the custard or cream cheese layers?
- Creamy Dream Custard Bars (Easy Layered Recipe)
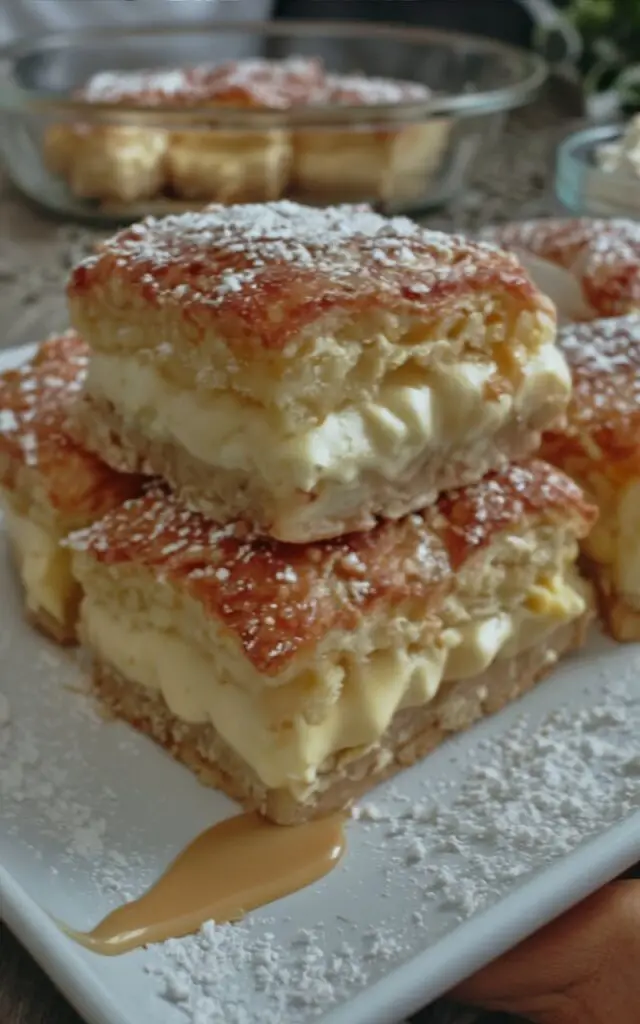
Get ready to meet your new obsession: a Velvety Two-Layer Dream, the ultimate layered dessert. This recipe creates the most incredible custard bars you will ever taste, featuring a trio of textures that work in perfect harmony. While it looks stunningly elegant and complex, you’ll be shocked at how simple it is to assemble. This is the perfect make-ahead dessert for any occasion that is guaranteed to have everyone asking for the recipe.
What You’ll Need: Ingredients
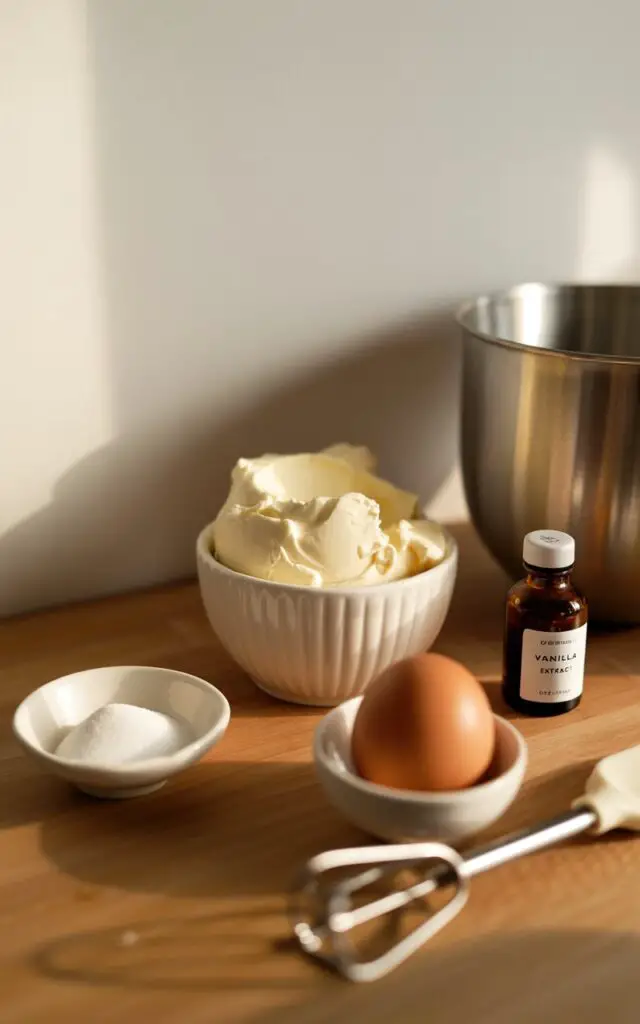
This recipe uses simple, classic ingredients to create three distinct and delicious layers. Using room temperature cream cheese and cold butter is key to achieving the perfect textures.
| Component | Ingredient | Amount/Quantity |
| For the All-Butter Crust | All-purpose flour | 1 1/2 cups (190 g) |
| Granulated sugar | 1/2 cup (100 g) | |
| Cold unsalted butter, cut into cubes | 1/2 cup (115 g) | |
| Pure vanilla extract | 1 teaspoon | |
| For the Cream Cheese Layer | Full-fat cream cheese, softened | 8 oz (225 g) |
| Granulated sugar | 1/4 cup (50 g) | |
| Large egg | 1 | |
| Pure vanilla extract | 1 teaspoon | |
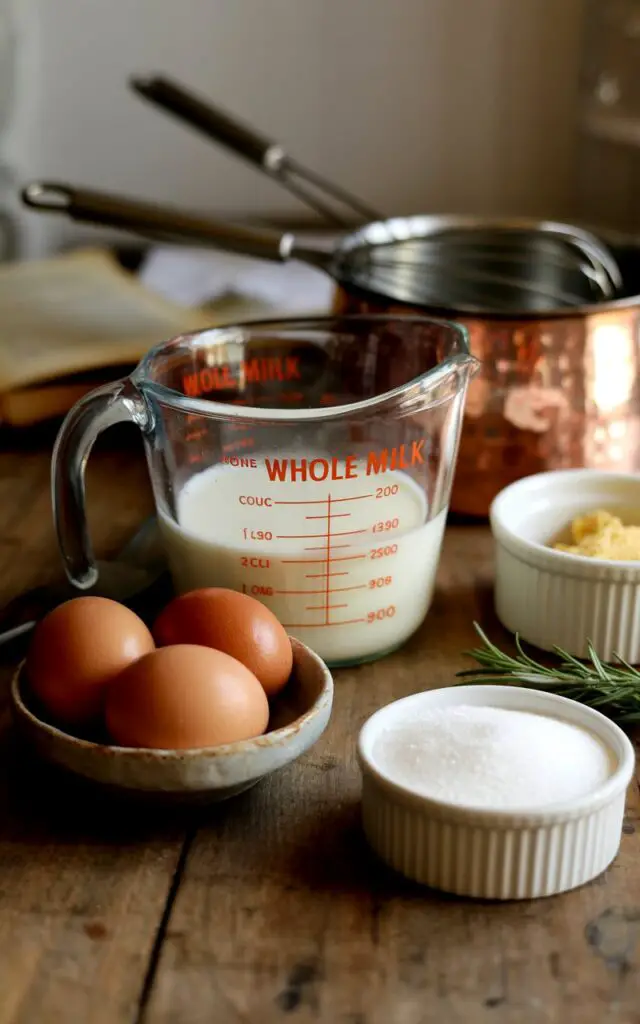
| For the Silky Custard Layer | Whole milk | 2 cups (480 ml) |
| Large eggs | 3 | |
| Granulated sugar | 1/2 cup (100 g) | |
| Cornstarch | 2 tablespoons | |
| Pure vanilla extract | 1 teaspoon | |
| Salt | A pinch | |
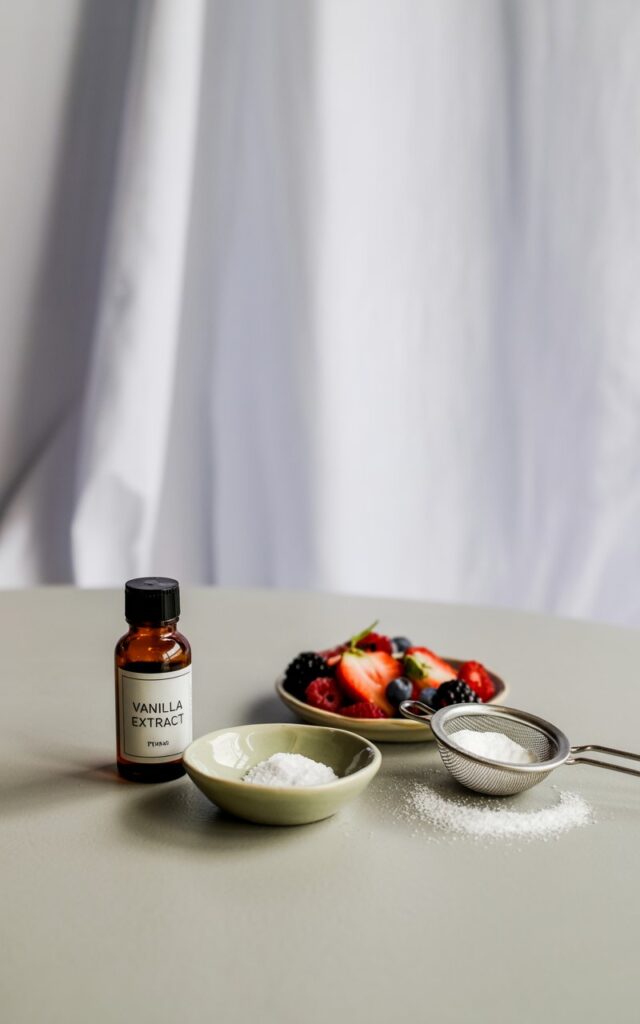
| For Optional Garnish | Fresh berries, powdered sugar, or caramel drizzle | To your liking |

Timing
The magic of these custard bars is in the chill time, which allows the layers to set to a perfect, sliceable consistency. While the total time is long, the active work is surprisingly short.
- Preparation Time: 25 minutes
- Cook Time: 45 minutes
- Cooling & Chilling Time: 5 hours (minimum)
- Total Time: Approximately 6 hours, 10 minutes
Step-by-Step Instructions
Follow these simple steps to create your own beautiful and delicious layered custard bars. Let’s start with the buttery foundation!
Step 1: Prepare the Oven and Baking Pan
First things first, get your oven and pan ready. Preheat your oven to 350°F (175°C). Line an 8×8 inch (20×20 cm) square baking pan with parchment paper, leaving some overhang on the sides to act as “handles” for easy removal later.
Step 2: Create and Pre-Bake the Buttery Crust
In the bowl of a food processor, combine the flour, sugar, cold butter cubes, and vanilla extract. Pulse the mixture until it resembles coarse, crumbly sand. If you don’t have a food processor, you can use a pastry cutter or your fingertips to work the cold butter into the flour mixture. Press this crumbly mixture firmly and evenly into the bottom of your prepared pan. Bake for 15 minutes, or until the crust is lightly golden around the edges.
Step 3: Whip Up the Tangy Cream Cheese Layer
While the crust is baking, prepare the next layer. In a medium bowl, beat the softened cream cheese and sugar together with an electric mixer until the mixture is completely smooth and creamy. Scrape down the sides of the bowl, then add the egg and vanilla and mix again until everything is smooth and well combined.
Step 4: Cook the Silky Smooth Custard
Now, for the top layer. In a medium saucepan, whisk together the whole milk, eggs, sugar, cornstarch, vanilla, and a pinch of salt. Place the saucepan over medium heat. Cook the mixture, stirring constantly, for about 8-10 minutes. It’s crucial to keep stirring to prevent scorching and to ensure a smooth texture. The custard is ready when it has noticeably thickened and can coat the back of a spoon.
Step 5: Assemble the Layers and Final Bake
As soon as the crust comes out of the oven, it’s time to assemble. Spread the cream cheese mixture evenly over the top of the warm crust. Spreading it while the crust is warm is a great trick to prevent the cream cheese layer from cracking as it bakes. Immediately after, carefully pour the hot custard over the cream cheese layer. Bake for an additional 25-30 minutes. You’ll know it’s done when the edges are set, but the center still has a slight jiggle.
Step 6: The Crucial Chill

This might be the most important step of all! Once baked, remove the pan from the oven and let it cool on a wire rack for one hour. After it has cooled at room temperature, transfer the pan to the refrigerator and chill for at least 4 hours, though overnight is even better. This chilling time is essential for the custard to fully set so you can get clean, beautiful slices.
Nutritional Information
Here is an estimated nutritional breakdown per bar, assuming the pan is cut into 16 squares.
- Calories: 280 kcal
- Protein: 6 g
- Carbohydrates: 28 g (Sugar: 20 g)
- Fat: 16 g (Saturated Fat: 9 g)
Healthier Alternatives
While these bars are a delightful treat, you can make a few adjustments to lighten them up:
- Lower-Fat Cream Cheese: Use Neufchâtel cheese, which has about one-third less fat than regular cream cheese, for a lighter cream cheese layer.
- Reduce Sugar: You can reduce the sugar in each component by a tablespoon or two without a major impact on the final texture.
- Milk Swap: You can use 2% milk instead of whole milk for the custard, but note that it will result in a slightly less rich final product.
Serving Suggestions

These elegant custard bars are a perfect canvas for a variety of beautiful garnishes. Serve them chilled, straight from the refrigerator.
- Simply Elegant: A light dusting of powdered sugar over the top is all these bars need to look stunning.
- Fresh and Fruity: Serve each square with a scattering of fresh berries like raspberries, blueberries, or sliced strawberries. The tartness of the fruit beautifully cuts through the richness of the bars.
- Decadent Drizzle: For a more indulgent dessert, drizzle the bars with a high-quality caramel sauce just before serving.
Common Mistakes to Avoid
Follow these simple tips to ensure your layered custard bars are flawless.
- Lumpy Custard: Custard can become lumpy if it’s not stirred constantly or if the heat is too high, causing the eggs to scramble.
- Solution: Whisk continuously, especially around the bottom and edges of the pan, and never walk away from the stove while the custard is cooking. If you do get a few lumps, you can often save it by pressing the finished custard through a fine-mesh sieve.
- Cutting While Warm: The temptation to slice into these bars early is strong, but it will result in a soupy mess.
- Solution: The chilling time is not a suggestion; it is a requirement! For the cleanest possible slices, make sure the bars have chilled for at least 4 hours.
- Overbaking the Bars: If you bake them until the center is completely firm, they can become rubbery once cooled.
- Solution: Trust the jiggle! The bars are perfectly baked when the center still has a slight wobble to it. It will finish setting up completely as it cools and chills.
Storing and Make-Ahead Tips
These bars are a fantastic make-ahead dessert, as they require chilling time.
- Storing: These bars must be stored in the refrigerator due to the egg and dairy content. Keep them in an airtight container for up to 5 days.
- Freezing: Freezing is not recommended for this dessert, as the texture of the custard can become watery and grainy upon thawing.
Conclusion
These Creamy Dream Custard Bars are a truly special dessert that masterfully combines three distinct textures into one harmonious and delicious bite. The buttery shortbread crust, the tangy cream cheese layer, and the silky vanilla custard create a sophisticated treat that is perfect for any occasion, from a casual potluck to an elegant dinner party. This recipe is proof that you can create an impressive, bakery-quality dessert with simple ingredients and straightforward steps.
We are so excited for you to experience this “velvety two-layer dream” for yourself. Give this recipe a try and let us know how much you loved it in the comments below! We love to see your beautiful creations. Don’t forget to rate the recipe and subscribe for more delicious and impressive dessert ideas.
FAQs
Q1. Can I make this dessert in a different sized pan?
Yes, you can. A 9-inch round pie plate would also work well, creating a “custard pie” with a shortbread crust. The baking times should be roughly the same, but keep an eye on it.
Q2. Can I make this recipe gluten-free?
Absolutely. To make the crust gluten-free, simply substitute the all-purpose flour with a good-quality measure-for-measure (1-to-1) gluten-free baking flour blend that contains xanthan gum. The cream cheese and custard layers are naturally gluten-free.
Q3. Can I add other flavours to the custard or cream cheese layers?
Yes! For a bright, citrusy twist, you could add the zest of one lemon to either the cream cheese layer or the custard. A sprinkle of cinnamon or nutmeg in the crust would also be delicious, especially for the holiday season.
Print
Creamy Dream Custard Bars (Easy Layered Recipe)
- Total Time: 6 hours 10 minutes
- Yield: 16 bars 1x
Description
What You’ll Need: Ingredients. Simple, classic ingredients form three delicious layers: an all-butter crust, a tangy cream cheese middle, and a silky stovetop custard. Use room-temp cream cheese and cold butter for perfect textures.
Ingredients
For the All-Butter Crust
- 1 1/2 cups all-purpose flour
- 1/2 cup granulated sugar
- 1/2 cup cold unsalted butter, cubed
- 1 tsp pure vanilla extract
For the Cream Cheese Layer
- 8 oz full-fat cream cheese, softened
- 1/4 cup granulated sugar
- 1 large egg
- 1 tsp pure vanilla extract
For the Silky Custard Layer
- 2 cups whole milk
- 3 large eggs
- 1/2 cup granulated sugar
- 2 Tbsp cornstarch
- 1 tsp pure vanilla extract
- salt (a pinch)
For Optional Garnish
- fresh berries, powdered sugar, or caramel drizzle (to your liking)
Instructions
- Prep oven & pan: Preheat to 350°F (175°C). Line an 8×8-inch (20×20 cm) pan with parchment, leaving overhang.
- Make & pre-bake crust: In a food processor, pulse flour, sugar, cold butter, and vanilla until sandy crumbs form. (Or use a pastry cutter/fingertips.) Press firmly into pan. Bake 15 minutes until edges are lightly golden.
- Mix cream cheese layer: Beat cream cheese and sugar until smooth. Scrape bowl; mix in egg and vanilla until combined.
- Cook custard: In a saucepan, whisk milk, eggs, sugar, cornstarch, vanilla, and a pinch of salt. Cook over medium, stirring constantly, 8–10 minutes until thick enough to coat a spoon.
- Assemble & bake: Spread cream cheese mixture over hot crust. Pour hot custard on top. Bake 25–30 minutes until edges are set and center has a slight jiggle.
- Cool & chill: Cool on a rack 1 hour, then refrigerate at least 4 hours (overnight best) until fully set. Lift with parchment and slice into 16 bars. Garnish as desired.
Notes
Chill time is essential for clean slices and a plush, set custard. For crisper edges, refrigerate overnight before cutting with a hot, dry knife.
- Prep Time: 25 minutes
- Cook Time: 45 minutes
- Category: Bars, Dessert
- Cuisine: American
Nutrition
- Calories: 280
- Sugar: 20
- Fat: 16
- Saturated Fat: 9
- Carbohydrates: 28
- Protein: 6