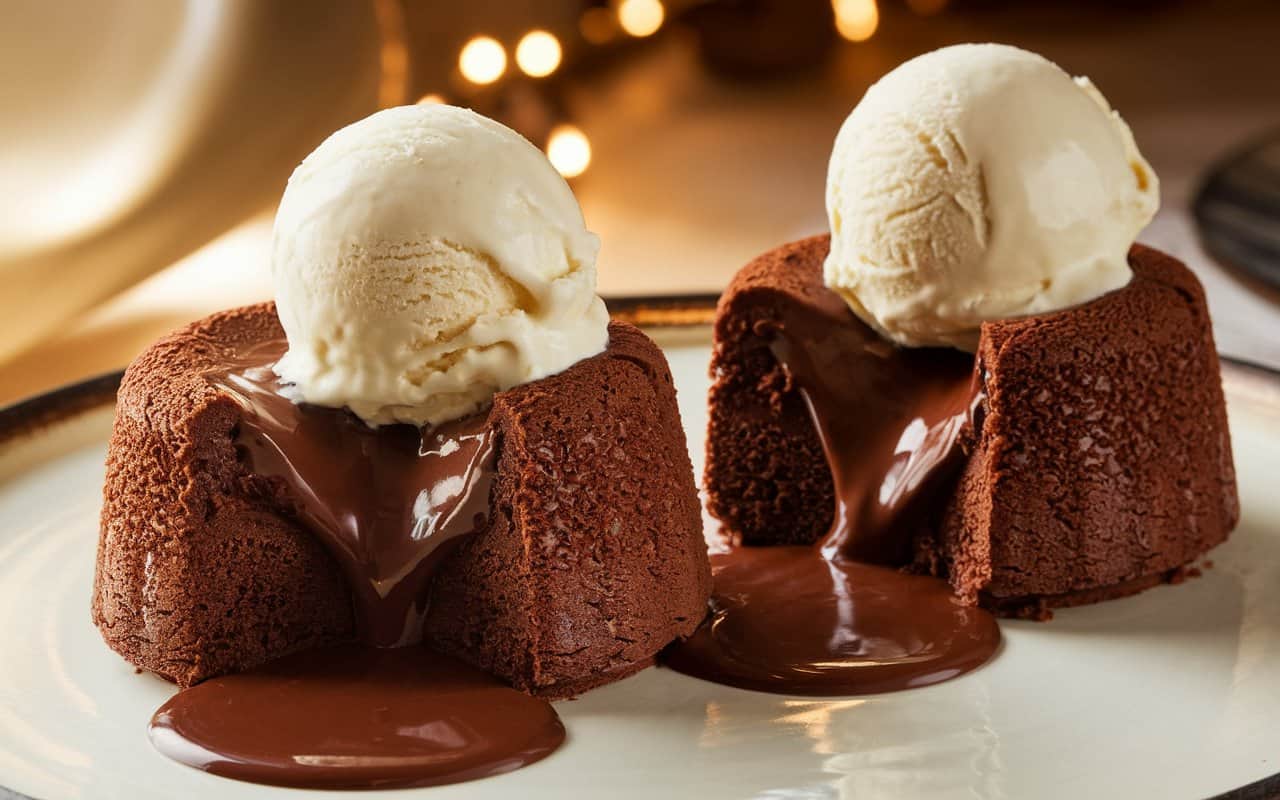
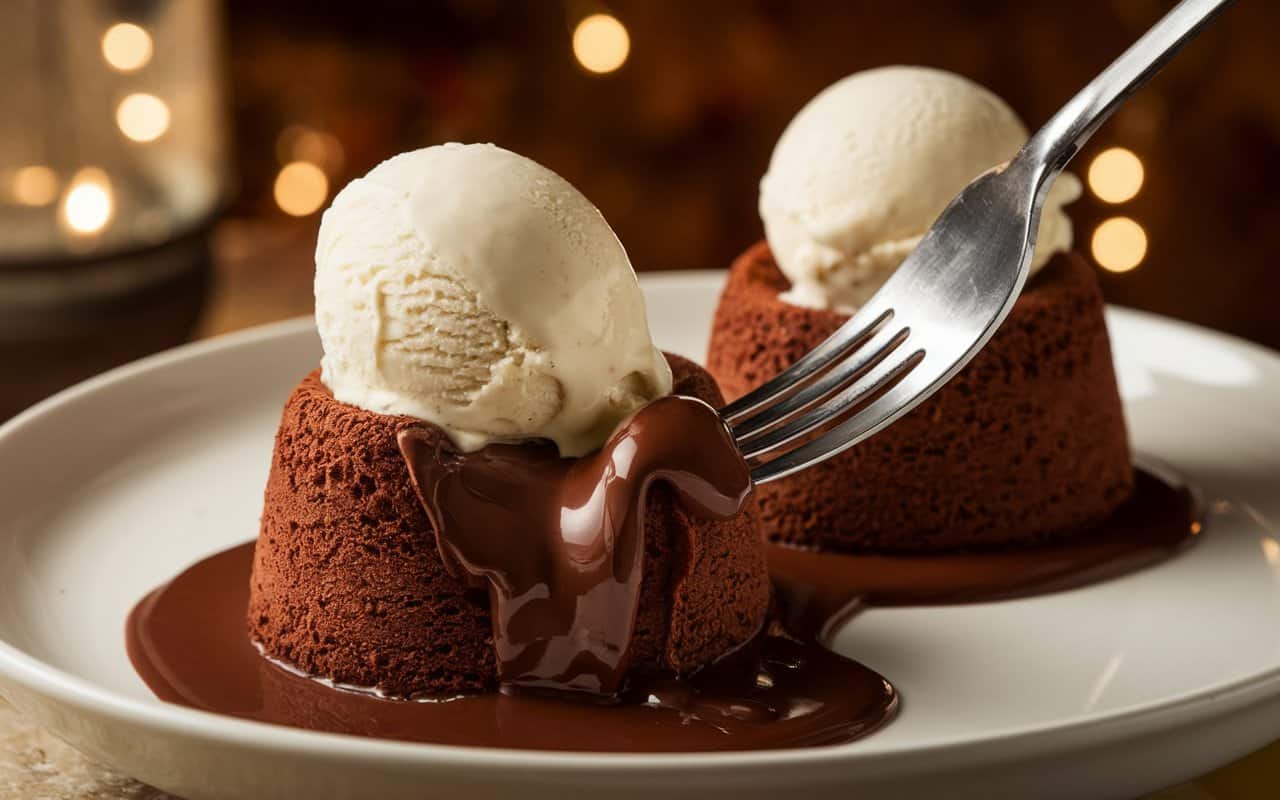
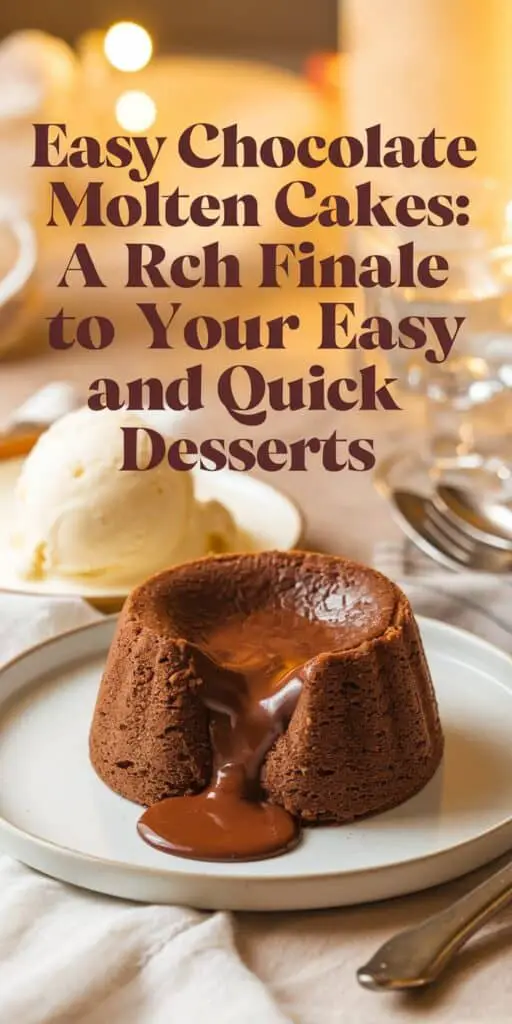
Imagine sliding a spoon into a warm, individual chocolate cake, only to watch a flow of molten chocolate ooze out from the center—like striking sweet gold. That’s the magic of a chocolate molten cake (often called lava cake). Despite their gourmet restaurant allure, these little wonders are surprisingly straightforward to make at home. If you’re seeking easy and quick desserts that promise a dramatic reveal, look no further. In just a matter of minutes, you can prepare, bake, and serve these decadent treats, delivering a memorable finish to any meal.
- Step 1: Gathering Ingredients and Tools
- Step 2: Melting Chocolate and Butter
- Step 3: Creating the Batter
- Step 4: Ramekins at the Ready
- Step 5: Baking to Lava Perfection
- Step 6: Serving and Garnishing
- Tips for Success and Flavor Variations
- Frequently Asked Questions (FAQ)
- Why Molten Cakes Are Among the Best “Easy and Quick Desserts”
- Presentation and Pairings
- An Invitation to Indulge
- Conclusion: A Sweet Finale
- Easy Chocolate Molten Cakes: A Rich Finale to Your Easy and Quick Desserts
The Allure of Molten Chocolate

Molten chocolate cakes rose to fame several decades ago when prominent chefs began showcasing them as a sophisticated dessert with a “wow” factor. The contrast of a tender outer sponge and a liquid chocolate core is both visually stunning and deeply satisfying to eat. While some might think it takes elaborate techniques or special equipment to craft that molten center, the key truly lies in timing and temperature. A slightly shorter bake time ensures the center remains gooey, while the edges set just enough to hold the cake’s shape.
Yet, the best news is you don’t need advanced baking skills to pull this off. Molten cakes can be whipped up with everyday ingredients—chocolate, butter, eggs, sugar, and flour. And they only need about 10–12 minutes in the oven. Whether it’s a romantic dinner for two, a family movie night, or a last-minute party dessert, chocolate molten cakes adapt to every occasion without leaving you stuck in the kitchen for hours.
Step 1: Gathering Ingredients and Tools
To embark on your molten cake adventure, make sure you have the following:
| Ingredient | Quantity | Notes |
|---|---|---|
| Dark Chocolate (60–70% cocoa) | 4 oz (113g) | Choose a high-quality bar or chips |
| Unsalted Butter | 1/2 cup (113g) | Softened or cut into cubes for easier melting |
| Eggs | 2 large + 2 yolks | Room temperature for better emulsification |
| Sugar | 1/4 cup (50g) | Adjust to taste; you can use more if you like sweeter |
| All-Purpose Flour | 1/4 cup (30g) | Sifted if possible to avoid lumps |
| Pinch of Salt | Optional | Enhances the chocolate flavor |
Equipment:
- Ramekins (4–6 ounces in capacity) or a muffin tin.
- Mixing bowls.
- Microwave-safe bowl or double boiler (for melting chocolate).
- Whisk or spatula.
- Measuring spoons and cups.
If you don’t have ramekins, a well-greased muffin tin can suffice, though you’ll have smaller servings—ideal if you want snack-size lava cakes.
Step 2: Melting Chocolate and Butter
- Combine Chocolate and Butter: Break or chop the chocolate into small pieces. Place them in a microwave-safe bowl along with the butter cubes.
- Microwave or Double Boiler:
- Microwave Method: Heat in 20-second bursts, stirring between intervals. This ensures the chocolate melts smoothly without scorching.
- Double Boiler Method: Set a heatproof bowl over a simmering pot of water, ensuring the bottom of the bowl doesn’t touch the water. Stir as the chocolate and butter melt together.
- Cool Slightly: Once melted, remove from the heat source or microwave. Let the mixture cool for a minute or two so it won’t cook the eggs when you incorporate them next.
Step 3: Creating the Batter
- Beat Eggs and Sugar: In a separate bowl, whisk the 2 whole eggs plus 2 extra yolks with the sugar. Aim for a smooth consistency. You don’t need to whip it as much as you would for a mousse, but a little bit of aeration helps.
- Combine with Chocolate Mixture: Slowly pour the melted chocolate and butter into the egg-sugar mixture, whisking gently as you go. The result should be a glossy, chocolatey batter. If the chocolate mixture still feels too hot, drizzle in a small amount first, whisking rapidly to temper the eggs.
- Fold in Flour: Sift or sprinkle flour over the batter, adding a pinch of salt if desired. Use a spatula or whisk to gently incorporate the flour. Overmixing can lead to a denser cake, so stop as soon as it’s combined and no dry streaks remain.
Step 4: Ramekins at the Ready
- Grease the Molds: Whether using ramekins or a muffin tin, coat each mold with a thin layer of butter or cooking spray. You can also dust them lightly with cocoa powder or flour to prevent sticking.
- Divide Batter: Carefully pour the chocolate batter into each mold, filling them about 3/4 full. This allows a little room for the cakes to rise.
- Preheat Your Oven: Set it to 400°F (200°C). While the oven heats up, you can place your filled ramekins or muffin tin in the fridge. Chilling the batter slightly can help maintain that molten center, but it’s not mandatory if you’re short on time.
Step 5: Baking to Lava Perfection
- Bake Briefly: Slide the ramekins or muffin tin into the preheated oven. Bake for roughly 10–12 minutes. The exact time can vary based on your oven, the size of the molds, and the thickness of the batter.
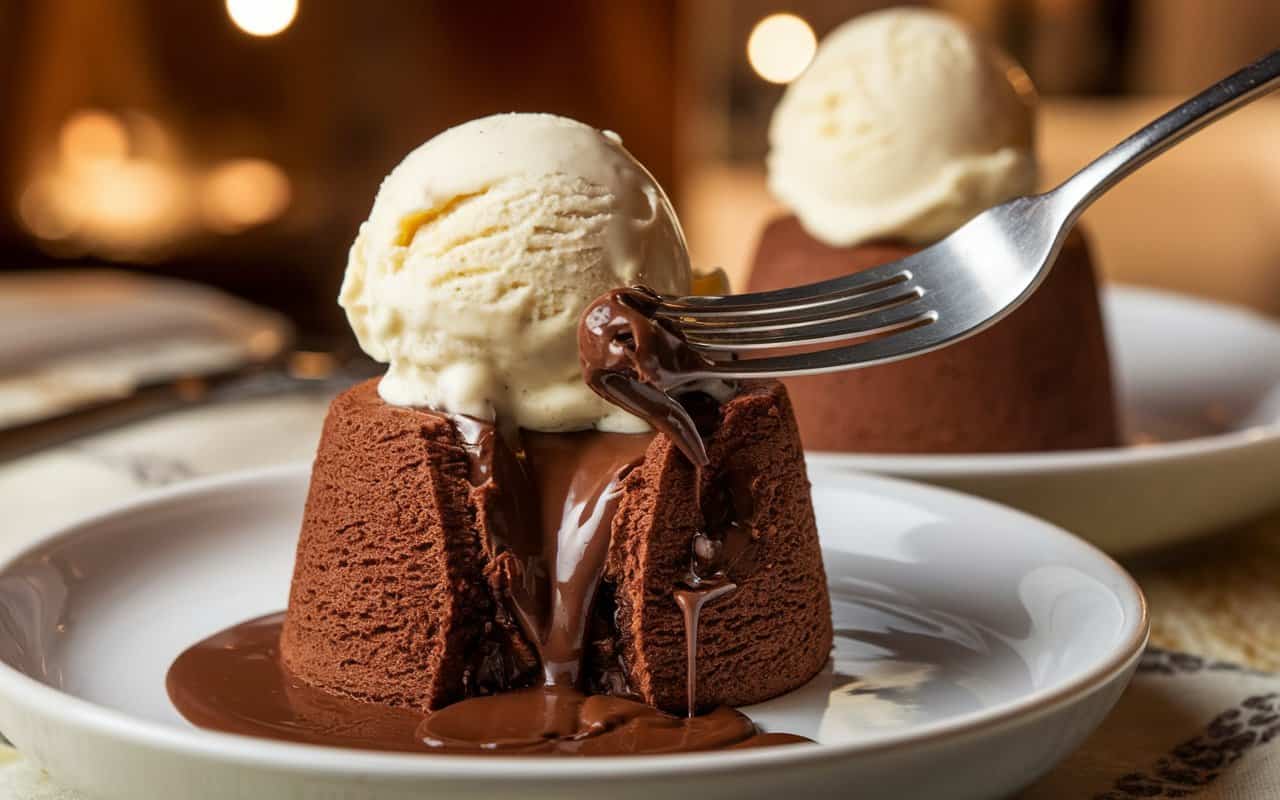
- Check for Doneness: The edges should look set, possibly pulling away from the mold slightly, while the center remains soft and jiggly. A toothpick inserted about half an inch from the edge should come out mostly clean, while the center remains molten.
- Avoid Overbaking: Overbaking will cook the center fully, negating the lava effect. If in doubt, err on the side of caution—slightly undercooked is better than fully solid for molten cakes.
Step 6: Serving and Garnishing
- Cool a Moment: Remove the cakes from the oven and let them rest for 1 minute. You want them warm but stable enough to invert if you choose that presentation.
- Invert or Serve in Ramekin:
- Invert: Run a small knife along the edges, place a plate on top of the ramekin, and flip. Gently tap the bottom and lift the ramekin to reveal the cake.
- Serve in Dish: If you’re worried about potential breakage, simply present them in the ramekins. Diners can spoon out the first bite to release the lava center.
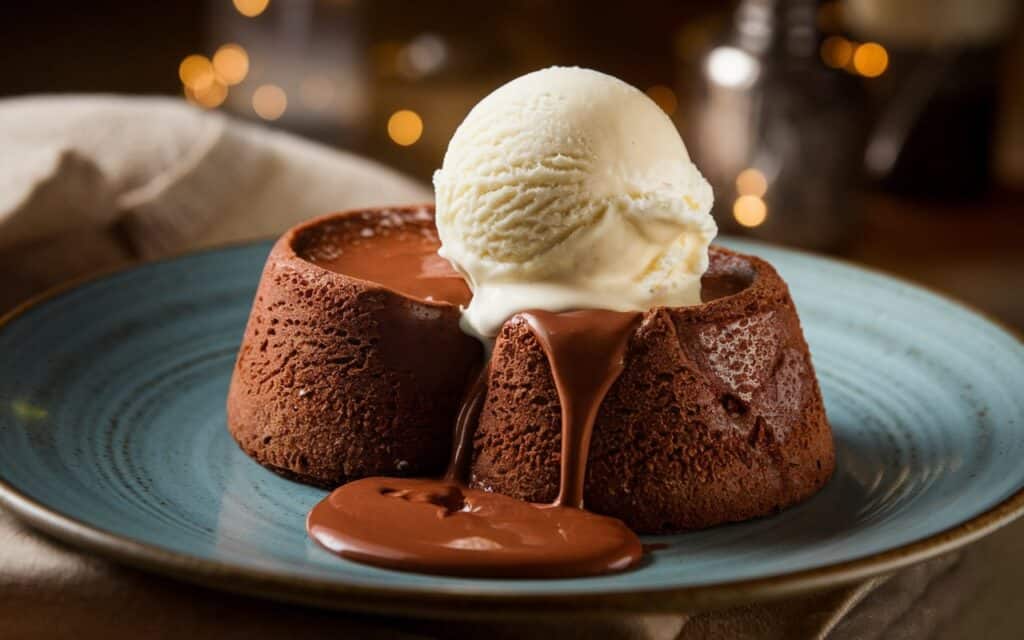
- Add Toppings: Dust each cake with powdered sugar or cocoa powder. A scoop of vanilla ice cream or a swirl of whipped cream can add a delightful temperature contrast. Fresh berries or chocolate shavings provide a pop of color and texture.
Tips for Success and Flavor Variations
- Practice Makes Perfect: The hallmark of molten cakes is the baking time. If your first batch ends up more like a regular chocolate cake, reduce the bake time slightly next go-around. If it’s too runny, add a minute or two.
- Flavored Chocolate: Feel free to experiment with flavored chocolates—mint, orange, or salted caramel. Just ensure they have at least 60% cocoa content for best structure.
- Spice It Up: Add a pinch of cayenne pepper or cinnamon for a Mexican chocolate twist. A teaspoon of instant espresso powder can deepen the chocolate flavor as well.
- Gluten-Free Option: Swap all-purpose flour with a gluten-free blend. The small amount of flour here generally makes it an easy substitution without major texture changes.
- Prepare in Advance: You can store the unbaked, filled ramekins in the fridge for several hours. Simply bring them to room temperature for about 20 minutes before baking. This approach is handy if you want to prep a fancy dinner dessert in advance.
Frequently Asked Questions (FAQ)
- What if I Don’t Have Dark Chocolate?
- You can use semisweet or milk chocolate but adjust the sugar to avoid overly sweet cakes. Also, milk chocolate tends to yield a lighter molten center.
- Can I Reheat Molten Cakes Later?
- The lava effect often disappears if you fully reheat them. You can warm them gently, but the center may cook through. It’s best to bake them fresh.
- Why Are My Cakes Sticking to the Mold?
- Ensure you thoroughly greased the ramekins or muffin tin. Dusting with cocoa powder can help. If they still stick, serve them directly in the ramekin to avoid mess.
- Any Alternative to Butter?
- You can try coconut oil or a vegan butter substitute, though flavor and consistency might shift slightly. The chocolate taste should remain the star.
- Can I Make Larger or Smaller Portions?
- Absolutely. If you use larger ramekins, increase the baking time by a minute or two. For mini muffin tins, reduce time accordingly and watch carefully.
Why Molten Cakes Are Among the Best “Easy and Quick Desserts”
At first glance, chocolate molten cakes appear gourmet, often found in upscale restaurants with elaborate plating. Yet, in reality, the batter comes together in minutes using standard pantry ingredients—chocolate, eggs, sugar, butter, and a dash of flour. The short bake time might be the biggest advantage; you can essentially assemble them during the main course and pop them in the oven after clearing plates, allowing them to be served warm and fresh.
Furthermore, the recipe is surprisingly forgiving. So long as you keep an eye on the oven, the margin of error is wider than you’d think. Slightly underbaked yields extra gooey centers, while a minute or two more simply results in a firmer but still moist chocolate cake. And with the ability to customize flavors, shift portion sizes, or even store the batter in the fridge until the last moment, molten cakes are an excellent go-to whenever you need a showstopper sweet on short notice.
Presentation and Pairings
Plating plays a big role in enhancing the “wow” factor:
- Plate Tapping: For those who dare to invert, gently tap the inverted ramekin so the cake slides out. Drizzle with a raspberry coulis or salted caramel sauce for color contrast.
- Chocolate Garnish: Grate extra chocolate or create curls to sprinkle over the top. A sprig of mint adds freshness and a pop of green.
- Side Scoops: A quenelle of ice cream or a dollop of whipped cream cuts through the cake’s richness. If you’re feeling adventurous, try unusual ice cream flavors like salted caramel, peanut butter, or coffee.
- Fruit Compote: Pair it with warm berries or cherries cooked down with a bit of sugar. The tangy fruit complements the dark chocolate intensity.
When it comes to beverages, a robust cup of coffee or an espresso can amplify the chocolate notes. If you prefer tea, a strong black tea or a subtle jasmine can make for a refreshing companion. For special occasions, consider a glass of Port or a dessert wine that can keep pace with the cake’s richness.
An Invitation to Indulge
Whether you’re a novice baker or a seasoned pro, chocolate molten cakes deliver a rewarding experience. The theatrical unveiling of molten chocolate is reminiscent of a magic trick—one that’s quick and uncomplicated but nevertheless elicits gasps from anyone lucky enough to dive in. They can be adapted to various dietary needs, experiment with countless flavor combos, and best of all, they reliably push the boundaries of how decadent a dessert can be in just a few bites.
If you’ve been searching for easy and quick desserts that go beyond basic cookies or brownies, molten cakes are your perfect next step. The combination of warm, molten chocolate, tender cake, and potential garnishes make them feel far more sophisticated than their short ingredient list suggests. In short, they prove that sometimes the simplest recipes can deliver the biggest impact.
Conclusion: A Sweet Finale
Chocolate molten cakes confirm that an elegant dessert need not be labor-intensive. By mastering a handful of simple steps—melting chocolate with butter, whisking in eggs and sugar, folding in flour, and baking briefly—you can produce a sweet treat that borders on magical. The immediate satisfaction of that first spoonful is unparalleled, bridging the gap between a homey comfort dessert and a restaurant-level showstopper.
Now that you know how to create your own molten masterpieces, the possibilities are endless. Add a swirl of peanut butter, a hint of espresso, or a dash of chili to make them your own. Pair them with ice cream, whipped cream, or fruit to highlight contrasting textures and flavors. Whichever route you take, these easy chocolate molten cakes are guaranteed to leave everyone indulging in that blissful moment when warm chocolate flows forth—a fitting and memorable finale to any meal. Happy baking and even happier tasting!
Print
Easy Chocolate Molten Cakes: A Rich Finale to Your Easy and Quick Desserts
- Total Time: 27 minutes
- Yield: 4 1x
Description
Indulge in a decadent, rich dessert that’s as quick as it is impressive. These chocolate molten cakes feature a warm, gooey center encased in a tender cake exterior, making them the perfect finale to any meal or a delightful treat on their own.
Ingredients
- 1/2 cup Unsalted butter (Plus extra for greasing the ramekins)
- 6 oz Semisweet chocolate (High-quality; melted and slightly cooled)
- 1 cup Granulated sugar (Can substitute half with powdered sugar for a smoother texture)
- 2 Whole eggs (At room temperature)
- 2 Egg yolks (At room temperature)
- 1 tsp Vanilla extract
- 1/4 cup All-purpose flour (Sifted)
- Pinch Salt (Optional; enhances flavor)
Instructions
Preheat and Prep:
- Preheat your oven to 425°F.
- Generously butter four ramekins to ensure easy release later.
Melt Chocolate and Butter:
- In a microwave-safe bowl or using a double boiler, melt the unsalted butter with the semisweet chocolate.
- Stir until smooth and set aside to cool slightly.
Mix Eggs and Sugar:
- In a separate bowl, whisk together the whole eggs, egg yolks, granulated sugar, and vanilla extract until the mixture is smooth and slightly pale.
Combine Mixtures:
- Slowly stir the melted chocolate mixture into the egg mixture until fully incorporated.
- Gently fold in the sifted flour and a pinch of salt, taking care not to overmix.
Fill Ramekins:
- Divide the batter evenly among the prepared ramekins, filling each about 3/4 full.
Bake:
- Place the ramekins on a baking sheet and bake in the preheated oven for 12 minutes.
- The edges should be set while the centers remain soft and molten.
Serve:
- Remove from the oven and let the cakes sit for 1 minute.
- Run a knife around the edges, invert onto serving plates, and dust lightly with powdered sugar if desired.
- Serve immediately, optionally accompanied by a scoop of vanilla ice cream.
Notes
- Timing is key—bake just until the centers are molten for the perfect gooey texture.
- For an extra decadent touch, serve the cakes warm with a scoop of vanilla ice cream or a drizzle of raspberry coulis.
- Adjust sugar levels if you prefer a sweeter dessert, and experiment with different types of chocolate to tailor the flavor to your liking.
Enjoy your Easy Chocolate Molten Cakes—a rich, indulgent finale that’s both quick to prepare and irresistibly delicious!
- Prep Time: 15 minutes
- Cook Time: 12 minutes
- Category: Dessert
- Cuisine: American
Nutrition
- Calories: 350