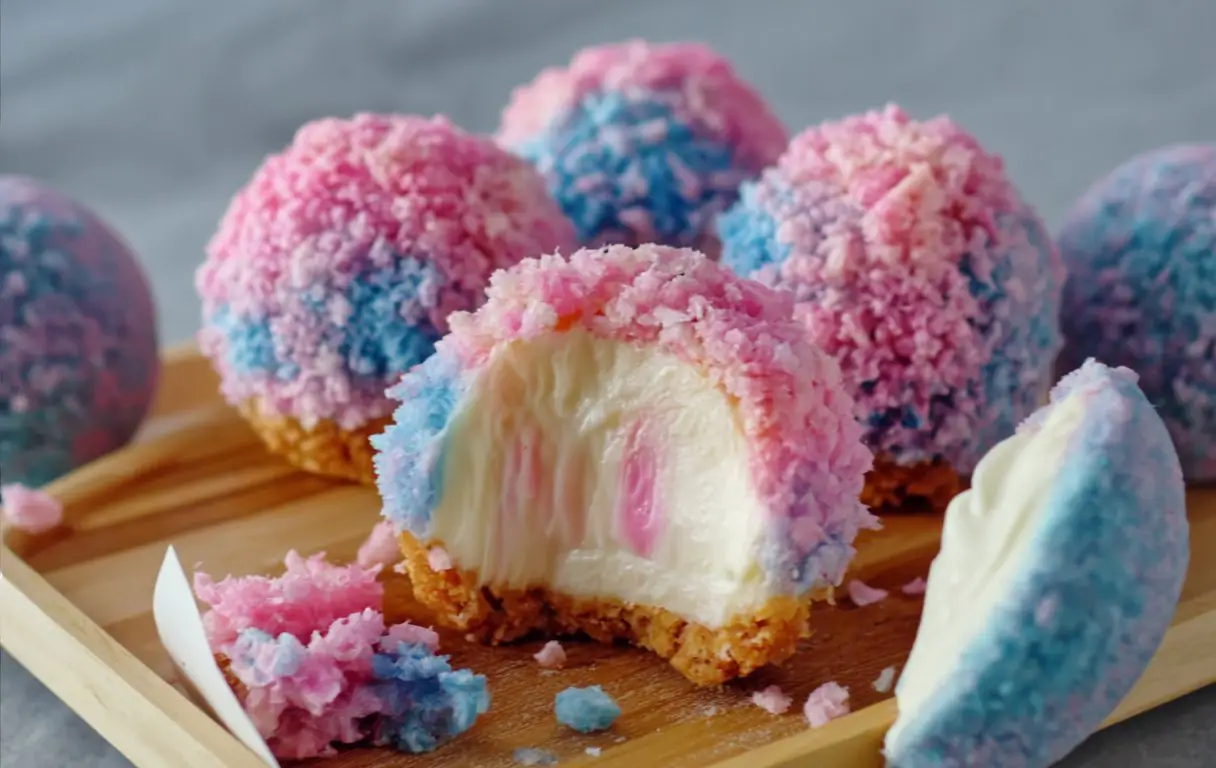
What happens when you combine the nostalgic, airy magic of a carnival with the rich, decadent bite of cheesecake? You get these absolutely irresistible Crispy Cotton Candy Cheesecake Bombs! This is the no-bake dessert that will have everyone at the party talking. It’s a whimsical, fun, and surprisingly simple treat that looks (and tastes) like it came from a gourmet candy shop. We’re talking about a creamy, tangy cheesecake center, a crunchy vanilla wafer crust, and a fluffy, colorful cotton candy finish. If you’re looking for the perfect no-bake cheesecake balls for a birthday, baby shower, or just a fun weekend treat, you’ve found your new go-to recipe.
- The Magical Ingredients You’ll Need
- Recipe Timing
- Step-by-Step Instructions
- Step 1: Mix the Creamy Cheesecake Filling
- Step 2: Scoop, Roll, and Chill the Balls
- Step 3: Prepare the Crispy Vanilla Coating
- Step 4: Coat the Chilled Cheesecake Balls
- Step 5: The Final Chill
- Step 6: Apply the Cotton Candy Topping
- Step 7: Serve Immediately!
- Nutritional Information (Estimate)
- Fun Swaps & Healthier Alternatives
- Common Mistakes to Avoid
- Storing & Make-Ahead Tips
- A Whimsical Treat to Wow Your Guests!
- Frequently Asked Questions
- Q1. Why did my cotton candy dissolve?
- Q2. Can I use a different flavor of cotton candy?
- Q3. Can I make these without the crispy coating?
- Q4. How do I get the cotton candy to stick?
- Easy Cotton Candy Cheesecake Bombs (No-Bake Recipe!)
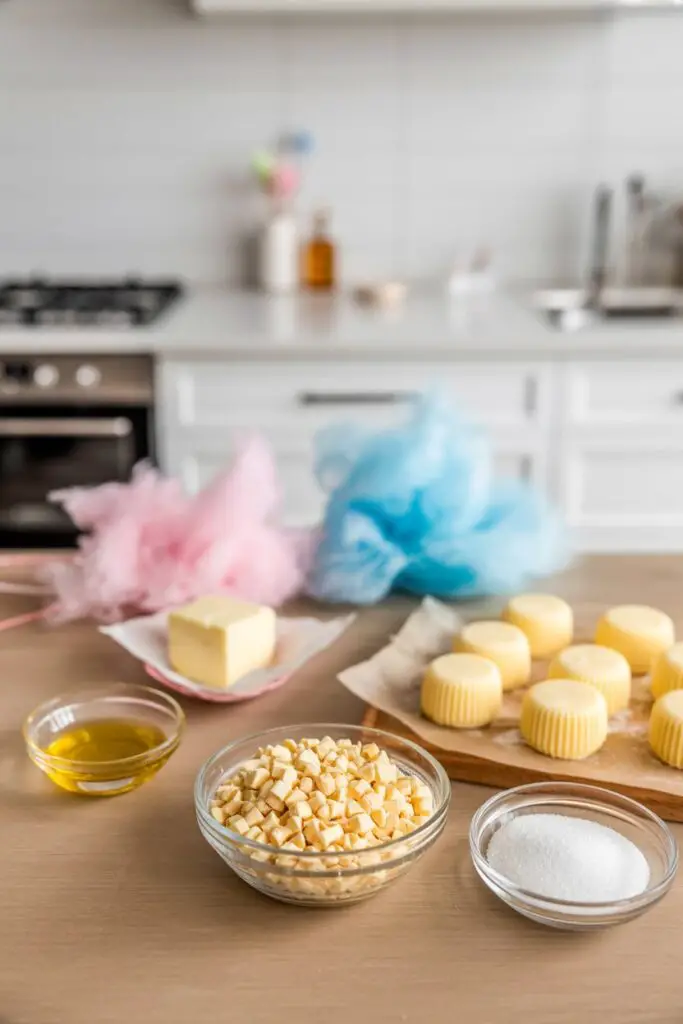
The Magical Ingredients You’ll Need
Here is everything you need to make these delightful bites. The beauty is in the simplicity!
| Amount | Ingredient |
| For the Cheesecake Filling | |
| 8 oz (225 g) | Cream cheese, softened to room temperature |
| 1/2 cup | Powdered sugar (confectioners’ sugar) |
| 1 teaspoon | Pure vanilla extract |
| For the Crispy Coating | |
| 2 cups | Finely crushed vanilla wafers (about 40-50 wafers) |
| 1/2 cup | Unsalted butter, melted |
| 1/4 cup | Granulated sugar |
| For the Cotton Candy Topping | |
| 1-2 containers (2-3 oz total) | Cotton candy, in pink and blue colors |

You will also need a baking sheet lined with parchment paper, a few mixing bowls, and a small cookie scoop (which makes life much easier).
Recipe Timing
- Prep time: 30 minutes
- Chill time: 2 hours 30 minutes (2 hours for first chill, 30 mins for second)
- Total time: 3 hours
- Note: This is a no-bake recipe, so the “cook time” is all hands-off chilling! This makes it a fantastic make-ahead dessert.
Step-by-Step Instructions
Step 1: Mix the Creamy Cheesecake Filling
In a medium bowl, combine your softened cream cheese, powdered sugar, and pure vanilla extract. Pro Tip: Make sure your cream cheese is truly at room temperature. This is the key to getting a perfectly smooth, lump-free filling. Use a hand mixer or a strong whisk to beat the mixture until it’s completely smooth and creamy.
Step 2: Scoop, Roll, and Chill the Balls
Line a baking sheet with parchment paper. Using a small cookie scoop (about 1 tablespoon) or a regular spoon, scoop out portions of the cheesecake mixture. Gently roll them between your palms to form smooth, uniform balls. Place the cheesecake balls on the prepared baking sheet. Once all the balls are rolled, place the sheet in the refrigerator for at least 2 hours or in the freezer for 30 minutes. They must be very firm before coating.
Step 3: Prepare the Crispy Vanilla Coating
While the cheesecake balls are chilling, prepare your crispy crust. In a medium bowl, combine the finely crushed vanilla wafers, melted butter, and granulated sugar. Crushing Tip: For the best results, pulse the wafers in a food processor until they are fine crumbs. Mix the coating ingredients with a fork until the crumbs are evenly moistened by the butter and resemble wet sand.
Step 4: Coat the Chilled Cheesecake Balls
Take the firm cheesecake balls from the refrigerator or freezer. Working quickly, roll each ball in the crispy wafer mixture. Press gently but firmly to ensure the crumbs adhere all over, creating a nice, thick, even crust.
Step 5: The Final Chill
Place the coated cheesecake bombs back on the parchment-lined baking sheet. Return them to the refrigerator for at least 30 minutes. This final chill is crucial—it helps the crumb coating set and ensures the bombs are perfectly firm before the delicate final step.
Step 6: Apply the Cotton Candy Topping
This is the most important part, and it must be done just before serving. Cotton candy melts very quickly when exposed to moisture or heat. Gently pull apart small wisps of the pink and blue cotton candy. Pro Tip: Wear gloves if you have them, as the warmth from your hands can melt the candy. Working with one bomb at a time, gently press the cotton candy wisps onto the crispy-coated ball, alternating colors for that beautiful marbled effect.
Step 7: Serve Immediately!
As soon as the cotton candy is on, serve the bombs. The contrast of the fluffy, dissolving candy with the crunchy, creamy bomb is a textural delight, but it’s one that doesn’t wait!
Nutritional Information (Estimate)
Please note this is an estimate per bomb, assuming the recipe yields 15 bombs.
- Calories: 180 kcal
- Protein: 2 g
- Carbohydrates: 15 g
- Sugar: 12 g
- Fat: 12 g (Saturated: 7 g)
Fun Swaps & Healthier Alternatives
- Lighter Filling: For a slightly lighter version, you can substitute Neufchâtel cheese, which has about 1/3 less fat than regular cream cheese.
- Gluten-Free: This is an easy swap! Simply use your favorite gluten-free vanilla wafers or gluten-free graham crackers for the crust.
- Crust Alternatives: Don’t have vanilla wafers? Crushed graham crackers, shortbread cookies, or even crunchy cereals like Golden Grahams would be delicious.
- Topping Swap: If the cotton candy is too fussy for you, these are just as delicious rolled in colorful sprinkles (Funfetti cheesecake bombs!), toasted coconut, or finely chopped nuts.
Common Mistakes to Avoid
- Lumpy Cheesecake: This happens when your cream cheese is too cold. Solution: Let the cream cheese sit at room temperature for at least 1-2 hours before you start mixing.
- Melty, Misshapen Balls: You didn’t chill the filling long enough. Solution: Be patient! The cheesecake balls must be very firm (almost frozen) before you try to roll them in the crust.
- Vanishing Cotton Candy: This is the #1 mistake. You topped the bombs too early. Solution: Cotton candy is made of sugar and will dissolve immediately when it hits the moisture from the cheesecake. You must add the cotton candy seconds before you plan to serve them.
Storing & Make-Ahead Tips
These are the perfect make-ahead party dessert, as long as you follow one rule: Do not add the cotton candy until serving.
- Make-Ahead: Prepare the cheesecake bombs completely through Step 5 (coated in the crust). Store them in an airtight container in the refrigerator for up to 3 days or in the freezer for up to 1 month.
- Storing Leftovers: If you have leftovers (which is unlikely!), store them in an airtight container in the fridge. The crust may soften slightly, but they will still be delicious.
- The Big No: Do not, under any circumstances, try to refrigerate or freeze the finished bombs with the cotton candy on them. You will return to a sad, sticky, melted puddle.
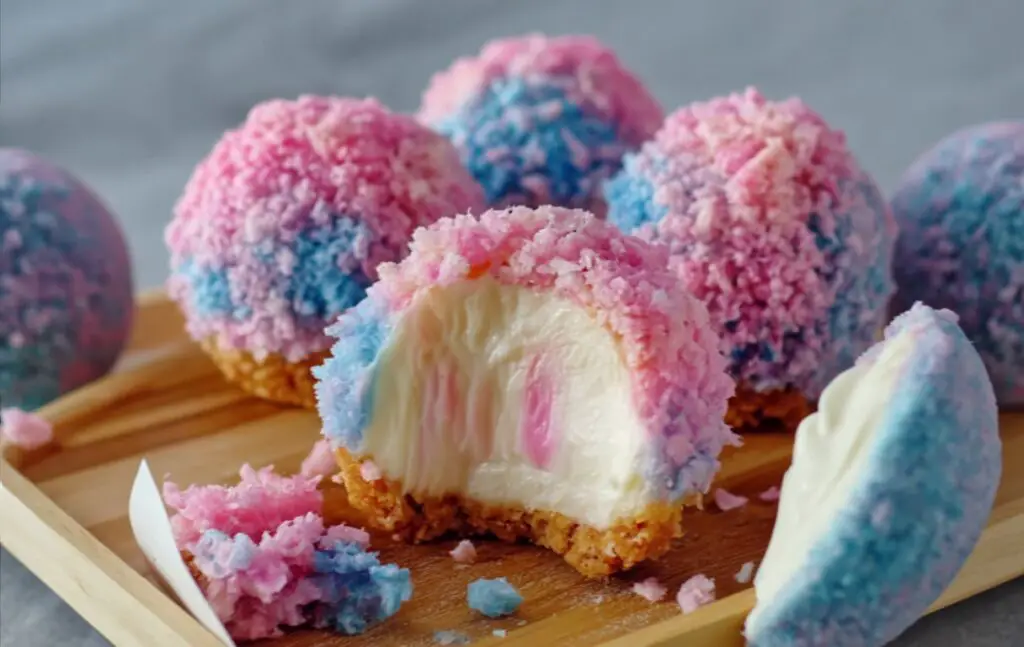
A Whimsical Treat to Wow Your Guests!
These Cotton Candy Cheesecake Bombs are truly a one-of-a-kind dessert. They capture the creamy, tangy flavor of cheesecake, the buttery crunch of a wafer crust, and the whimsical, sweet-as-air magic of cotton candy. They are the perfect, poppable, no-bake treat to bring a smile to anyone’s face.
We hope you have as much fun making these as you will eating them! Try them for your next party and let us know in the comments how they turned out. Did you try any fun color combinations? We’d love to hear your feedback. Don’t forget to rate the recipe!
Frequently Asked Questions
Q1. Why did my cotton candy dissolve?
Your cotton candy dissolved because it came into contact with moisture and/or heat. The cheesecake filling (even with its crust) has moisture that will instantly melt the delicate sugar strands. This is why you must apply the cotton candy immediately before serving, not even 10 minutes before.
Q2. Can I use a different flavor of cotton candy?
Absolutely! Any flavor or color will work. Imagine these with green (green apple) and yellow (banana) for a spring party, or just all pink for a princess-themed birthday. The flavor will be subtle, but the color options are endless.
Q3. Can I make these without the crispy coating?
You could, but we don’t recommend it. The crispy coating (Step 4) does two things: it adds a fantastic crunchy texture to balance the creamy filling, and it creates a “barrier” that helps the cotton candy adhere slightly better than it would to the plain cheesecake.
Q4. How do I get the cotton candy to stick?
The residual moisture and the buttery crumb coating should be just “tacky” enough for the cotton candy wisps to cling to. Gently press the fluffy pieces onto the ball’s surface. Remember, you’re not trying to glue it on, just get it to stay in place long enough to serve.
Print
Easy Cotton Candy Cheesecake Bombs (No-Bake Recipe!)
- Total Time: 3 hours
- Yield: 15 Bombs 1x
Description
This is the no-bake dessert that will have everyone at the party talking. We’re talking about a creamy, tangy cheesecake center, a crunchy vanilla wafer crust, and a fluffy, colorful cotton candy finish. If you’re looking for the perfect no-bake cheesecake balls for a birthday, baby shower, or just a fun weekend treat, you’ve found your new go-to recipe.
Ingredients
- 8 oz (225 g) Cream cheese, softened to room temperature
- 1/2 cup Powdered sugar (confectioners’ sugar)
- 1 teaspoon Pure vanilla extract
- 2 cups Finely crushed vanilla wafers (about 40-50 wafers)
- 1/2 cup Unsalted butter, melted
- 1/4 cup Granulated sugar
- 1–2 containers (2–3 oz total) Cotton candy, in pink and blue colors
Instructions
- Mix the Cheesecake Filling: In a medium bowl, combine the softened cream cheese, powdered sugar, and pure vanilla extract. Use a hand mixer to beat the mixture until it’s completely smooth and creamy.
- Scoop and Chill the Balls: Line a baking sheet with parchment paper. Use a small cookie scoop (about 1 tablespoon) to scoop portions of the cheesecake mixture. Roll them between your palms to form smooth balls. Place the balls on the prepared baking sheet and refrigerate for at least 2 hours (or freeze for 30 minutes) until they are very firm.
- Prepare the Crispy Coating: In a medium bowl, combine the finely crushed vanilla wafers, melted butter, and granulated sugar. Mix with a fork until the crumbs are evenly moistened and resemble wet sand.
- Coat the Chilled Cheesecake Balls: Working quickly, roll each firm cheesecake ball in the crispy wafer mixture. Press gently but firmly to ensure the crumbs adhere all over, creating a thick, even crust.
- The Final Chill: Place the coated cheesecake bombs back on the parchment-lined baking sheet. Return them to the refrigerator for at least 30 more minutes to help the crumb coating set.
- Apply Cotton Candy Topping (Just Before Serving): This step must be done immediately before serving. Gently pull apart small wisps of the cotton candy. Working with one bomb at a time, gently press the cotton candy wisps onto the crispy-coated ball, alternating colors.
- Serve Immediately!
Notes
- Lump-Free Filling: Make sure your cream cheese is truly at room temperature. This is the key to getting a perfectly smooth, lump-free filling.
- Fine Crumbs: For the best coating, pulse the vanilla wafers in a food processor until they are fine crumbs.
- Firm is Key: The cheesecake balls must be very firm (chilled for 2 hours or frozen for 30 mins) before you try to coat them in the crumb mixture.
- Handling Cotton Candy: Wear gloves if you have them, as the warmth from your hands can melt the candy.
- Serve Immediately! Cotton candy melts very quickly when exposed to the moisture of the cheesecake. These must be served as soon as they are decorated for the best texture.
- Prep Time: 30 minutes
- Cook Time: 0 minutes
- Category: Dessert, No-Bake, Treat
- Method: No-Bake, Chilling, Rolling
- Cuisine: American
Nutrition
- Serving Size: 1 bomb
- Calories: 180 kcal
- Sugar: 12 g
- Sodium: 90 mg
- Fat: 12 g
- Saturated Fat: 7 g
- Unsaturated Fat: 5 g
- Trans Fat: 0 g
- Carbohydrates: 15 g
- Fiber: 0.2 g
- Protein: 2 g
- Cholesterol: 35 mg