Have you ever looked at the price of premium Greek yogurt and wondered if you could make it yourself? What if I told you that you can create luxuriously thick, creamy, and tangy homemade Greek yogurt with just two simple ingredients and no special equipment? It’s true! This super easy recipe demystifies the process, turning your kitchen into a personal creamery. Forget the store-bought versions with added sugars and stabilizers. This is pure, probiotic-rich yogurt, made by you. This Super Easy Homemade Greek-Style Yogurt recipe is a game-changer, delivering incredible flavor and texture with minimal effort.
- Ingredients
- Timing
- Step-by-Step Instructions
- Step 1: Heat and Cool the Milk
- Step 2: Temper and Add the Yogurt Starter
- Step 3: Incubate the Yogurt
- Step 4: Strain to Create Greek-Style Yogurt
- Step 5: Store and Enjoy
- Nutritional Information
- Recipe Variations
- Serving Suggestions
- Common Mistakes to Avoid
- Storing Tips
- Conclusion
- FAQs
- Q1. Do I absolutely need a kitchen thermometer?
- Q2. What if my yogurt doesn’t set?
- Q3. Can I use the yogurt I made as a starter for my next batch?
- Q4. How long should I strain the yogurt?
- Easy Homemade Greek Yogurt Recipe (Just 2 Ingredients!)
Ingredients
You only need two simple ingredients to begin your yogurt-making journey.
| Ingredient | Amount/Quantity |
|---|---|
| Fresh whole milk | 800 ml (about 3 ½ cups) |
| Plain live yogurt (as a starter) | 4 tablespoons |

Timing
- Active Preparation Time: 15 minutes
- Incubation & Straining Time (Hands-Off): 32-36 hours
- Total Time: Approximately 33 hours
While the total time seems long, the actual hands-on work is incredibly short. This is a perfect, low-effort weekend project.
Step-by-Step Instructions
Step 1: Heat and Cool the Milk
Pour the milk into a clean, heavy-bottomed saucepan. Heat the milk over medium heat until it reaches 185°F (85°C). This step is crucial as it alters the milk proteins, resulting in a thicker yogurt, and it kills any unwanted bacteria. Tip: Use a kitchen thermometer for accuracy. If you don’t have one, heat the milk until it just starts to foam and simmer around the edges. Once heated, remove the pan from the heat and let it cool down to 110°F (43°C). This temperature is warm to the touch but not hot—the perfect environment for the yogurt cultures to thrive.
Step 2: Temper and Add the Yogurt Starter
In a separate clean jug or bowl, spoon in your 4 tablespoons of live yogurt starter. Once the milk has cooled to the correct temperature, whisk a few tablespoons of the warm milk into the starter until it’s smooth and liquid. This process, called tempering, prevents the starter from clumping when added to the larger pot. Pour the tempered starter into the pot with the rest of the warm milk and stir well to ensure it’s fully combined.
Step 3: Incubate the Yogurt
Pour the milk and starter mixture into a large, clean glass jar with a lid. Now, it’s time to incubate. The goal is to keep the mixture warm (around 110°F/43°C) for a long period to allow the live cultures to work their magic and turn the milk into yogurt. Wrap the jar in a thick towel and place it in a warm, draft-free spot for 12 to 24 hours. Tip: A great “DIY incubator” is an oven with just the light turned on, or a cooler with a couple of bottles of hot water placed inside. The longer you let it incubate, the tangier your yogurt will be.
Step 4: Strain to Create Greek-Style Yogurt
After incubation, the yogurt will be set but will have the consistency of regular yogurt. To get that signature thick, creamy texture of Greek yogurt, you need to strain it. Line a large sieve with a few layers of cheesecloth or a clean muslin cloth and place it over a deep bowl. Gently pour the set yogurt into the lined sieve. Cover the bowl and place it in the refrigerator to strain overnight, or for at least 8 hours. The longer you strain it, the thicker your yogurt will become.
Step 5: Store and Enjoy
The liquid that drains into the bowl is whey (don’t throw it out!). The thick, creamy yogurt left in the sieve is your finished homemade Greek yogurt. Ladle the yogurt into a clean jar, seal it, and store it in the refrigerator.
Nutritional Information
This is an estimate per ½ cup (125g) serving.
- Calories: 120 kcal
- Protein: 10 g
- Carbohydrates: 6 g
- Fat: 6 g
Homemade Greek yogurt is an excellent source of protein and is packed with beneficial probiotics for gut health.
Recipe Variations
- Different Milk: While whole milk provides the creamiest results, you can also use 2% milk for a slightly less rich but still delicious yogurt. Skim milk is not recommended as it results in a much thinner consistency.
- Using a Yogurt Maker: If you have a yogurt maker, simply follow the manufacturer’s instructions for the incubation step.
- Using a Powdered Starter: You can also use a powdered yogurt starter culture, which can be purchased online. Follow the package directions for the correct amount to use.
Serving Suggestions
Your fresh, tangy homemade Greek yogurt is a blank canvas for countless delicious creations.
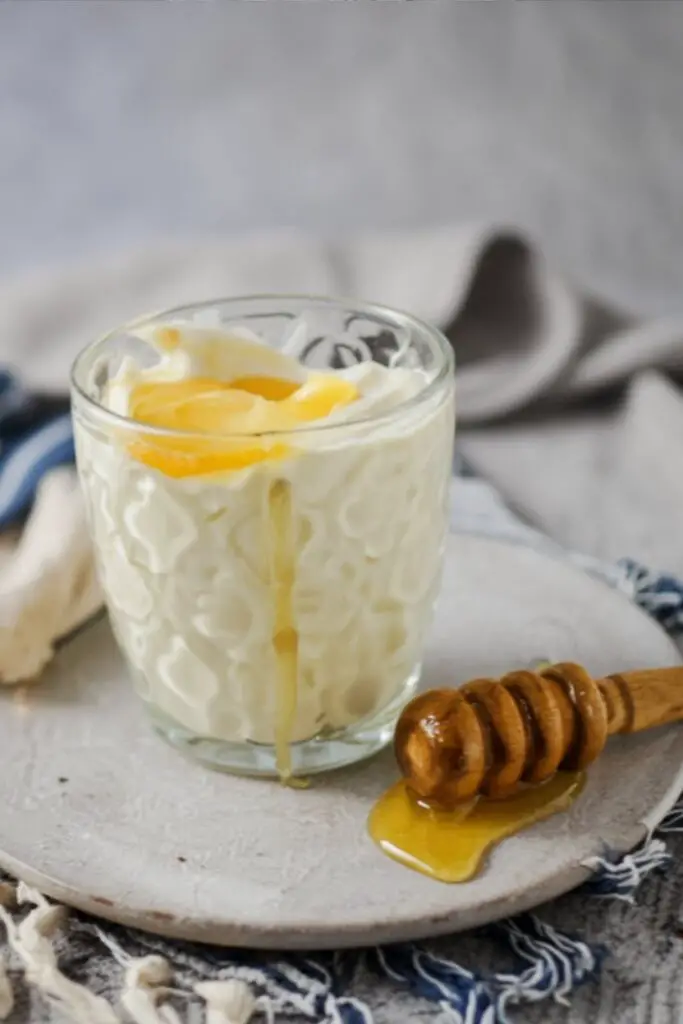
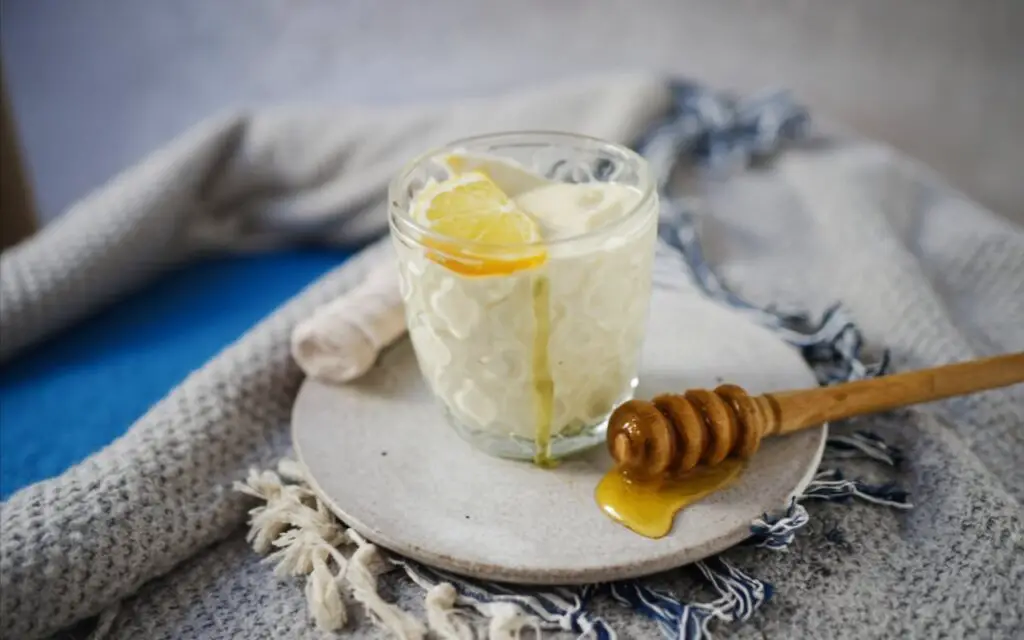
- Breakfast Parfait: Layer the yogurt in a glass with fresh berries, your favorite granola, and a drizzle of honey or maple syrup.
- Healthy Smoothie: Use it as a protein-packed base for your morning smoothie.
- Savory Sauce: Mix it with grated cucumber, garlic, dill, and lemon juice to create a delicious, authentic tzatziki sauce.
- As a Topping: Use it as a healthy replacement for sour cream on tacos, chili, or baked potatoes.
Common Mistakes to Avoid
- Getting the Temperatures Wrong: Adding the starter when the milk is too hot will kill the delicate cultures. Letting it cool too much will prevent them from activating. Solution: Use a kitchen thermometer for the most accurate and consistent results.
- Disturbing the Yogurt During Incubation: Bumping, shaking, or stirring the yogurt while it’s setting can disrupt the process and result in a thin, separated texture. Solution: Find a safe, out-of-the-way spot for your yogurt to incubate and leave it completely undisturbed.
- Using the Wrong Starter: The yogurt you use as a starter must contain “live and active cultures.” Solution: Check the label of your store-bought yogurt to ensure it lists live cultures. Use a plain, unflavored variety.
Storing Tips
- Refrigeration: Store your finished Greek yogurt in an airtight container in the refrigerator. It will keep for up to 1 week.
- Don’t Waste the Whey! The yellowish liquid that strains out is called whey. It’s packed with protein and can be used in smoothies, to cook oatmeal or rice, or as a liquid in baking recipes like bread and pancakes. Store it in a jar in the fridge.
Conclusion
Making your own Super Easy Homemade Greek-Style Yogurt is a simple, rewarding, and cost-effective process that puts you in complete control of your food. With just milk and a little bit of starter, you can create a yogurt that is fresher, creamier, and more delicious than anything you can buy at the store. It’s a fun kitchen experiment that yields a healthy, versatile, and truly impressive result.
We can’t wait for you to experience the magic of making your own yogurt! Give this recipe a try and let us know how it turned out in the comments below. Don’t forget to rate it and subscribe for more easy, from-scratch kitchen adventures!
FAQs
Q1. Do I absolutely need a kitchen thermometer?
While a thermometer guarantees the best results, you can make yogurt without one. Heat the milk until it just starts to bubble around the edges. To cool it, a good rule of thumb is to wait until you can comfortably hold your finger in the milk for about 10 seconds. It’s less precise, but it can work in a pinch.
Q2. What if my yogurt doesn’t set?
If your yogurt is still completely liquid after 12 hours, it’s likely that the temperature was wrong (either too hot or too cold when you added the starter) or your starter yogurt was not active. Unfortunately, it can’t be saved as yogurt at this point, but you can use the milk in baking or smoothies so it doesn’t go to waste.
Q3. Can I use the yogurt I made as a starter for my next batch?
Yes! You can reserve a few tablespoons of your homemade yogurt to use as the starter for your next batch. However, after a few generations, the cultures can weaken, so it’s a good practice to start fresh with a store-bought starter every 4-5 batches.
Q4. How long should I strain the yogurt?
The straining time depends entirely on your preference. For a standard Greek yogurt thickness, 8 hours or overnight is perfect. If you want an even thicker, labneh-style cheese, you can strain it for a full 24 hours.
Print
Easy Homemade Greek Yogurt Recipe (Just 2 Ingredients!)
- Total Time: 33 hours
- Yield: 8 servings (1/2 cup) 1x
Description
Thick, creamy, and tangy Greek-style yogurt with just milk and a spoonful of live yogurt as the starter. Minimal hands-on time, maximum payoff!
Ingredients
Ingredients
- 800 ml fresh whole milk (about 3 1/2 cups)
- 4 tbsp plain live yogurt (starter) (room temperature)
Instructions
- Heat the milk: Add milk to a clean, heavy-bottomed saucepan. Warm over medium heat until it reaches 185°F (85°C) — just starting to foam around the edges. This changes milk proteins for thicker yogurt and kills unwanted bacteria.
- Cool the milk: Remove from heat and let cool to 110°F (43°C). This is warm to the touch but not hot — ideal for cultures.
- Temper the starter: In a clean bowl, add 4 tbsp live yogurt. Whisk in a few tablespoons of the warm milk until smooth, then stir this mixture back into the pot and combine well.
- Incubate: Transfer to a clean glass jar, close, wrap in a towel, and keep warm (around 110°F/43°C) for 12–24 hours. Use an oven with the light on or a cooler with hot water bottles. Longer incubation = tangier yogurt.
- Strain for Greek style: Line a sieve with cheesecloth and set over a bowl. Gently pour in the set yogurt and refrigerate to strain for 8–12 hours (or overnight) until thick and creamy.
- Store & enjoy: Transfer thick yogurt to a clean jar and refrigerate. Reserve the strained liquid (whey) for smoothies, baking, or marinades.
Notes
Tips: For extra-thick yogurt, strain longer. Use ultra-fresh milk for best flavor. Always use a live-culture starter (check the label). Save 2–3 tablespoons of this batch as the starter for the next one. If using low-fat milk, final texture will be less rich.
- Prep Time: 15 minutes
- Category: Breakfast, Snack
- Cuisine: Greek
Nutrition
- Calories: 120
- Sugar: 5
- Sodium: 50
- Fat: 6
- Saturated Fat: 3
- Carbohydrates: 6
- Protein: 10
- Cholesterol: 20