


The Ultimate Cure for a Hot Summer Day
Do you remember that feeling on a scorching hot summer afternoon, when the air itself seems to shimmer with heat? The only thing that could break the spell was the distant, magical jingle of an ice cream truck turning down your street. For me, the ultimate prize was always the cookie ice cream sandwich. That perfect combination of soft, chewy cookie and cold, creamy ice cream was pure bliss. I recently realized that there’s no need to wait for that truck. You can create that magic at home, and this recipe for homemade ice cream sandwiches is infinitely better. Get ready to make the best frozen treat of your life.
- The Ultimate Cure for a Hot Summer Day
- The Building Blocks of a Perfect Frozen Treat
- Timing Breakdown
- Step-by-Step Instructions
- Part 1: Making the Perfect Cookies
- Step 1: Prep and Combine Dry Ingredients
- Step 2: Cream the Butter and Sugars
- Step 3: Mix the Dough
- Step 4: Bake the Cookies
- Step 5: Cool Completely
- Part 2: Assembling and Freezing for Perfection
- Nutritional Information
- Variations and Dietary Needs
- Serving Suggestions
- Common Mistakes to Avoid
- Storing Your Frozen Treasures
- The Ultimate Summer Indulgence
- FAQs
- Q1: Why do my cookies spread too much when baking?
- Q2: Can I use other types of cookies for this recipe?
- Q3: What’s the best way to get a neat layer of ice cream?
- Q4: Can I make these dairy-free or gluten-free?
- Q5: Do I really have to freeze them after assembling?
- Easy Homemade Ice Cream Sandwiches (Better Than a Chipwich!)
The Building Blocks of a Perfect Frozen Treat
A truly great ice cream sandwich is only as good as its components. This recipe focuses on creating the perfect, chewy chocolate chip cookie that stays soft even when frozen, which is the secret to success.
| Ingredient | Quantity | Notes |
| For the Perfect Chewy Cookies | ||
| All-Purpose Flour | 241 cups (281g) | Spooned and leveled to prevent dense cookies. |
| Cornstarch | 121 teaspoons | The secret ingredient that keeps the cookies extra soft and chewy. |
| Baking Soda | 1 teaspoon | The leavening agent that gives the cookies a little lift. |
| Salt | 21 teaspoon | Balances the sweetness and enhances the chocolate flavour. |
| Unsalted Butter, softened | 43 cup (170g) | Use room temperature butter for a creamy, well-combined dough. |
| Light or Dark Brown Sugar | 43 cup (150g) | Adds moisture and a rich, caramel-like flavour. |
| Granulated Sugar | 21 cup (100g) | Helps the cookies spread and creates crisp edges. |
| Large Egg + Egg Yolk | 1 whole, 1 yolk | The extra yolk adds richness and chewiness. |
| Pure Vanilla Extract | 2 teaspoons | For a classic, warm flavour base. |
| Mini Semi-Sweet Chocolate Chips | 141 cups (225g) | Mini chips ensure you get chocolate in every bite without creating a hard, frozen lump. |
| For Assembling the Sandwiches | ||
| Vanilla Ice Cream | 3 cups (about 540g) | Or your favourite flavour! Let it soften slightly for easy scooping. |
| Toppings for Rolling | 1 cup | Mini chocolate chips, rainbow sprinkles, or finely chopped nuts. |


Timing Breakdown
This dessert is a perfect make-ahead project. While the final product requires freezing, the active time in the kitchen is minimal.
- Active Time: 30 minutes (15 mins for dough, 15 mins for assembly)
- Baking & Cooling Time: 45 minutes
- Freezing Time: 3+ hours
- Total Time to Ready-to-Eat: Approximately 4 hours 15 minutes
Data Insight: According to home baking polls, the #1 complaint about homemade ice cream sandwiches is cookies that are too hard when frozen. This recipe, with its use of cornstarch and an extra egg yolk, is specifically designed to create a chewy cookie that stays soft, addressing the primary concern of bakers.
Step-by-Step Instructions
Part 1: Making the Perfect Cookies
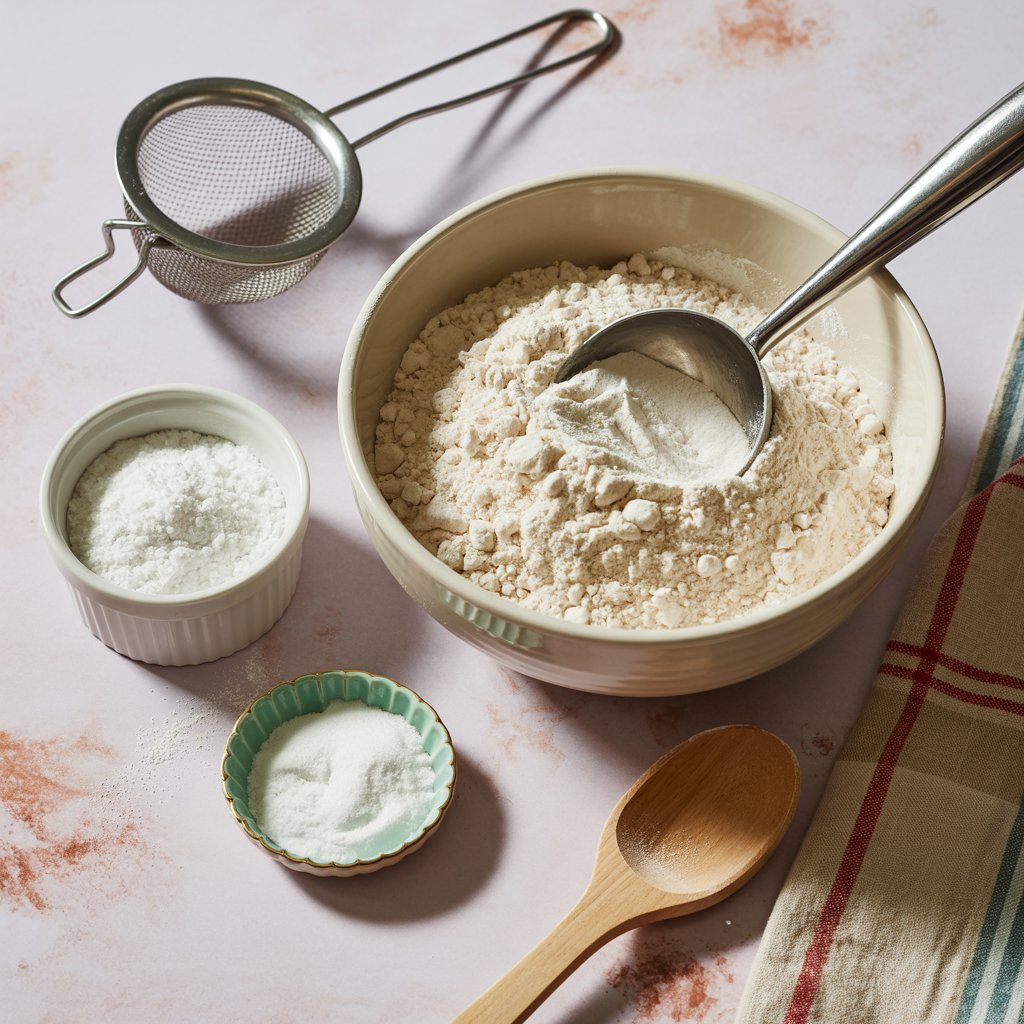
Step 1: Prep and Combine Dry Ingredients
Preheat your oven to 350∘F (177∘C). Line three large baking sheets with parchment paper or silicone mats. In a medium bowl, whisk together the flour, cornstarch, baking soda, and salt. This ensures everything is evenly distributed.
Step 2: Cream the Butter and Sugars
In a large bowl using a handheld or stand mixer, beat the softened butter, brown sugar, and granulated sugar on medium-high speed until the mixture is light and creamy, about 2 minutes. Scrape down the sides of the bowl.
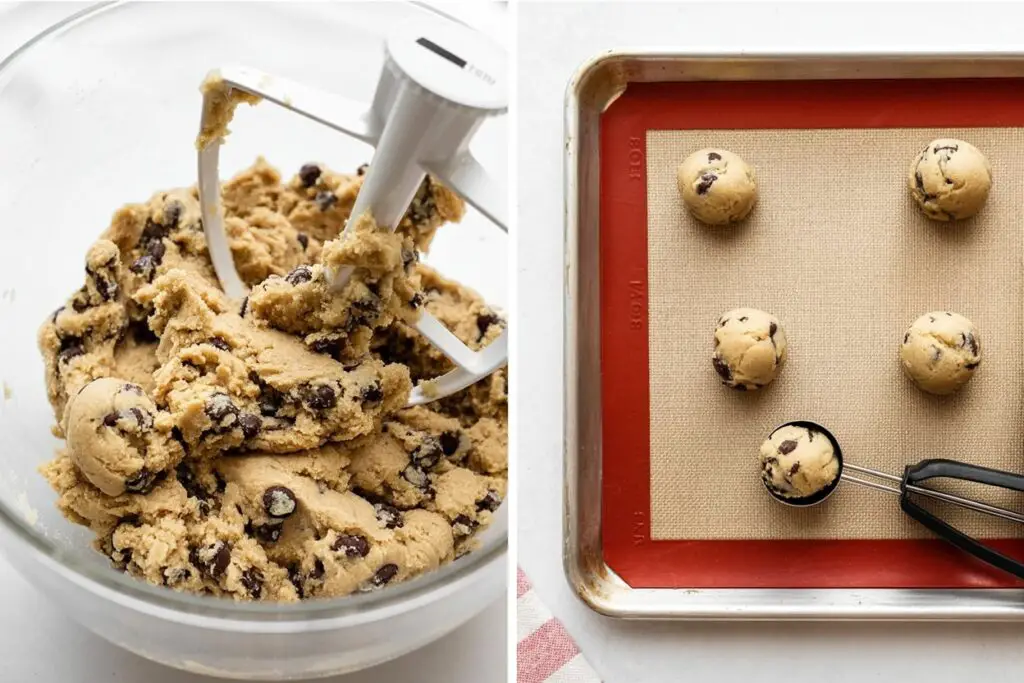
Step 3: Mix the Dough
Add the egg, extra egg yolk, and vanilla extract to the creamed butter mixture and beat on high until just combined. Reduce the speed to low and gradually add the dry ingredients, mixing until they are just incorporated. Be careful not to overmix! Finally, stir in the mini chocolate chips. The dough will be soft and sticky.
Step 4: Bake the Cookies
Using a medium cookie scoop (about 1.5 tablespoons), drop balls of dough onto the prepared baking sheets, leaving about 3 inches between each cookie to allow for spreading. Bake for 12–13 minutes. The edges will be lightly browned, but the centers will still look very soft. This is key to a chewy cookie!
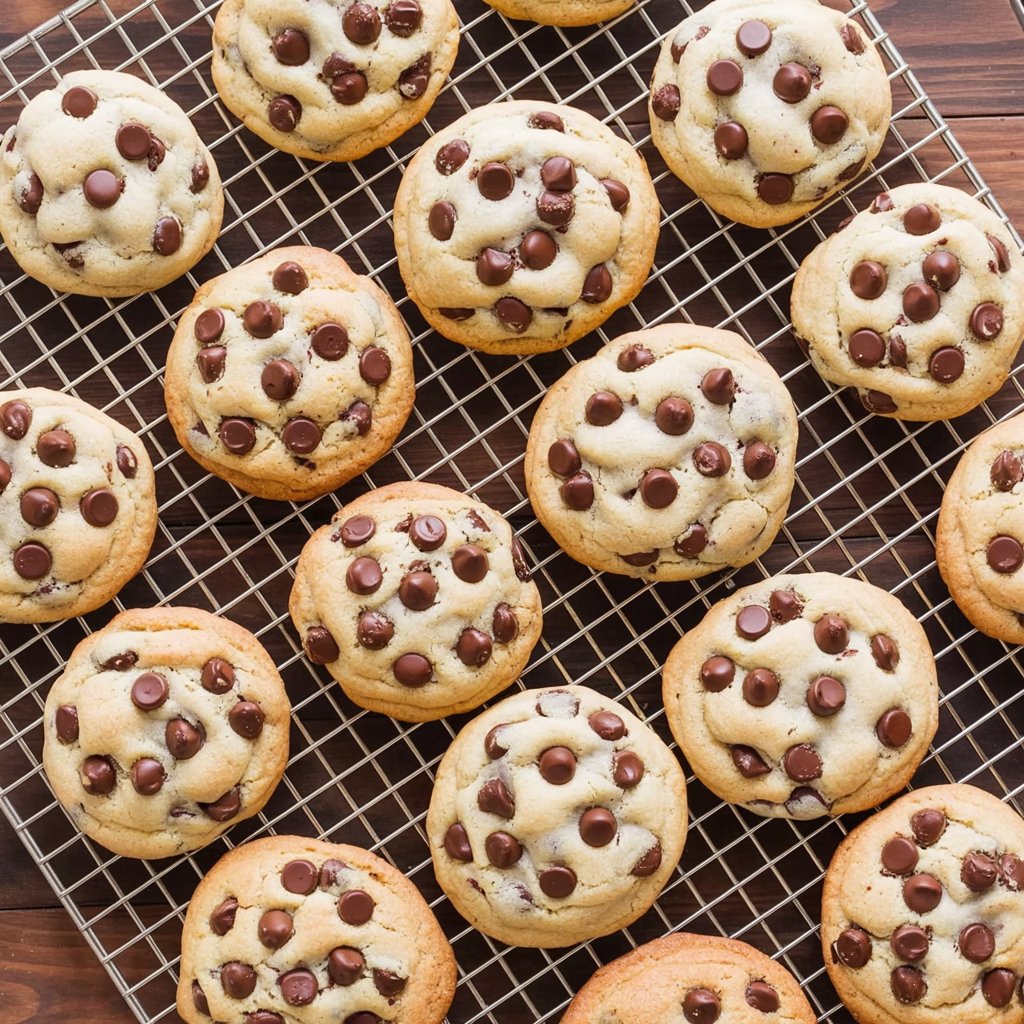
Step 5: Cool Completely
Remove the cookies from the oven and let them cool on the baking sheet for 5 minutes before transferring them to a wire rack. Crucial Step: The cookies must cool completely to room temperature before you begin assembly. Using warm cookies will result in a soupy, melted mess.
Part 2: Assembling and Freezing for Perfection
Step 6: Scoop and Sandwich
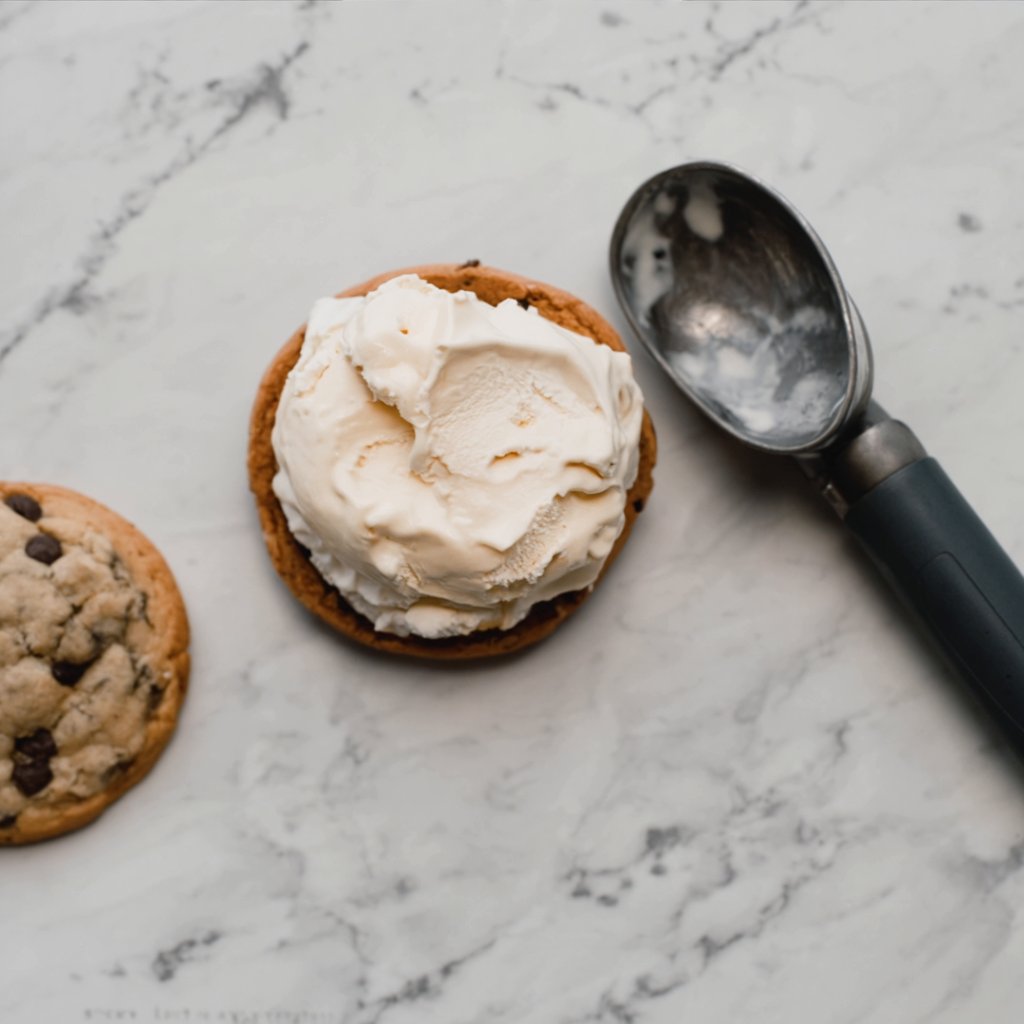
Take your container of ice cream out of the freezer and let it sit on the counter for 5-10 minutes to soften just enough to be scoopable. Flip one of the cooled cookies upside down. Place a generous scoop of ice cream (about 41 cup) onto the cookie. Place another cookie on top, top-side up.
Step 7: Press and Roll
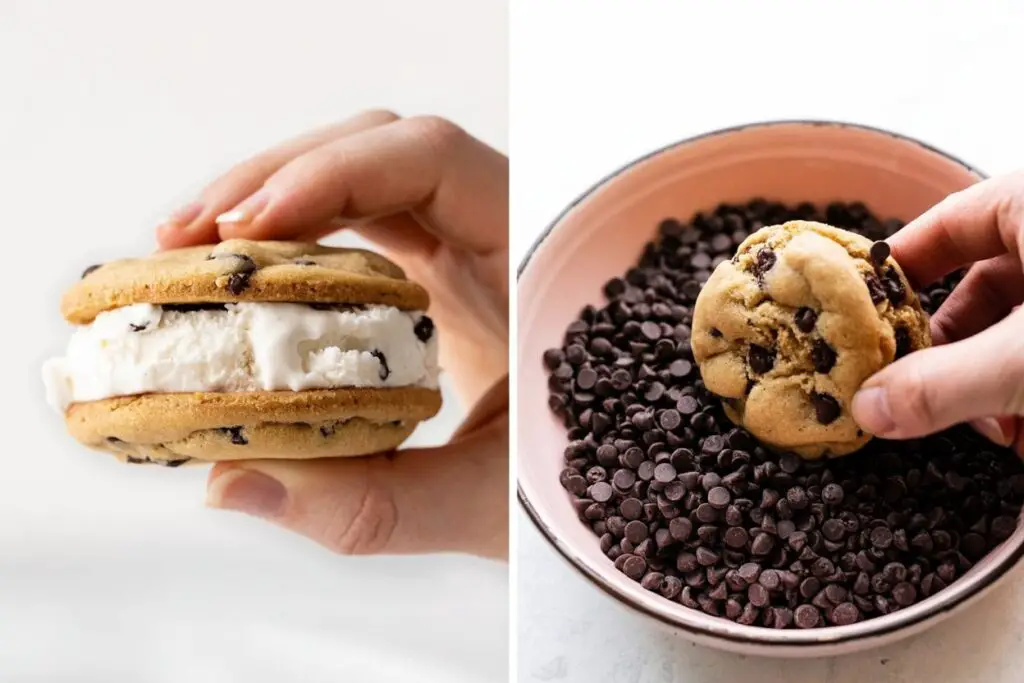
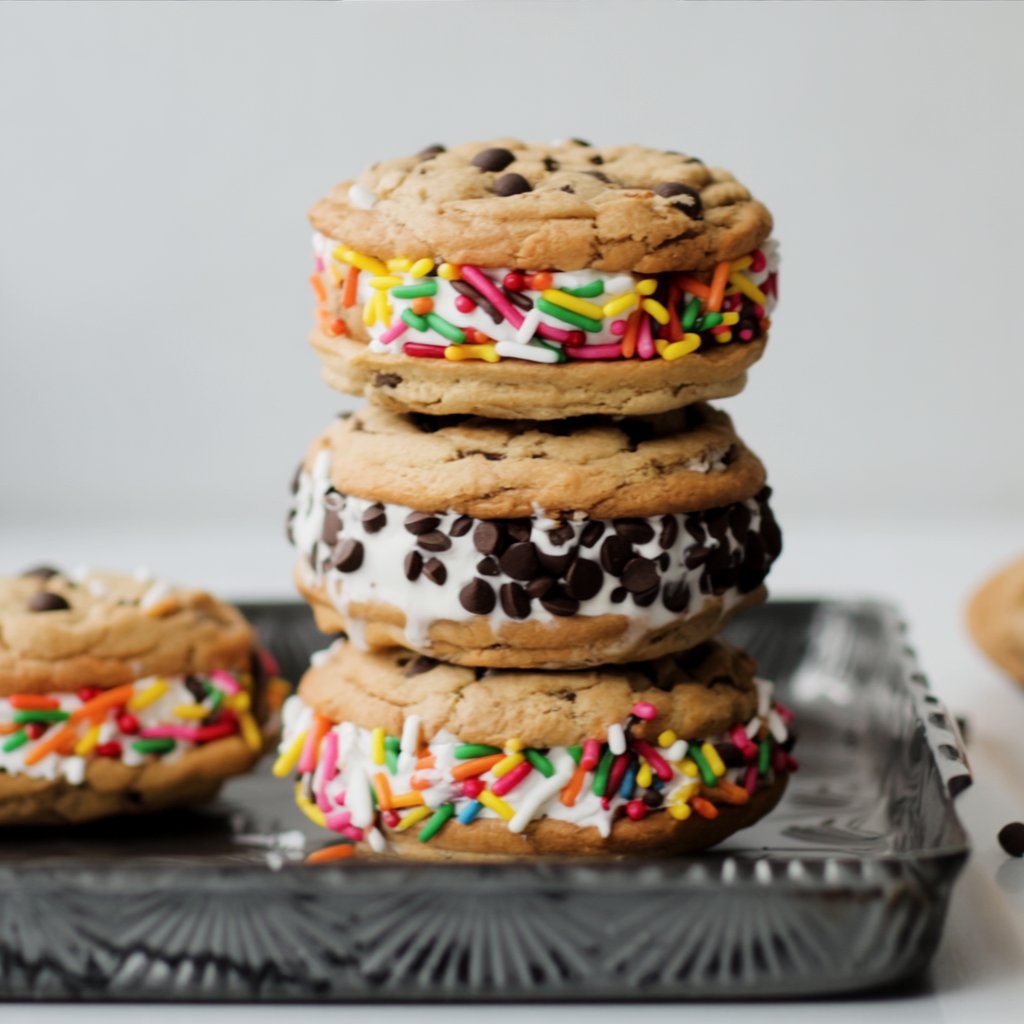
Gently press down on the center of the top cookie to push the ice cream to the edges, creating a compact sandwich. Immediately roll the exposed ice cream edges in your desired topping (mini chocolate chips, sprinkles, or chopped nuts).
Step 8: Wrap and Freeze
If you’re not eating them immediately, they will be soft and messy. Tightly wrap each assembled sandwich in plastic wrap or parchment paper. Place the wrapped sandwiches in the freezer and freeze for at least 3 hours, or until firm.
Nutritional Information
This is an indulgent dessert. Here is an approximate nutritional breakdown for one fully assembled ice cream sandwich.
- Calories: Approx. 420 kcal
- Fat: 22g
- Carbohydrates: 55g
- Sugar: 35g
- Protein: 6g
Disclaimer: Nutrition is estimated and will vary based on the ice cream and toppings used.
Variations and Dietary Needs
Customize these sweet treats to your heart’s content!
- Different Cookies: Swap the chocolate chips for butterscotch chips, or use a different cookie recipe altogether, like soft peanut butter or double chocolate cookies.
- Ice Cream Flavours: The sky is the limit! Try mint chocolate chip, strawberry, coffee, or cookie dough ice cream.
- Lighter Option: Use a lower-fat ice cream or frozen yogurt. For the cookies, you can substitute a portion of the all-purpose flour with white whole wheat flour.
- Gluten-Free: Use a high-quality 1-to-1 gluten-free baking flour blend in place of the all-purpose flour.
Serving Suggestions
These homemade ice cream sandwiches are a guaranteed hit at any summer gathering.
- Birthday Parties: A perfect alternative to a traditional birthday cake.
- BBQs & Pool Parties: Make them a day or two ahead for an easy, no-fuss dessert that will cool everyone down.
- Interactive Dessert Bar: For a fun party idea, set up a “Build Your Own Sandwich” station. Provide the cooled cookies, a few tubs of ice cream, and bowls of different toppings and let guests get creative!
Common Mistakes to Avoid
- Using Warm Cookies: This is the most common mistake. Even slightly warm cookies will instantly melt your ice cream. Be patient and ensure they are completely at room temperature.
- Ice Cream is Too Soft/Hard: If your ice cream is rock solid, you won’t be able to scoop it. If it’s too melty, it will squeeze out everywhere. Let it sit on the counter for just 5-10 minutes to reach the perfect scoopable consistency.
- Overbaking the Cookies: The key to a great ice cream sandwich is a soft, chewy cookie. Pull them from the oven when the centers still look slightly underdone. They will set up as they cool.
- Not Freezing Before Serving: It is so tempting to eat one right after assembling, but it will be a melty mess. Freezing for at least 3 hours is essential to allow the sandwich to firm up into a clean, easy-to-handle treat.
Storing Your Frozen Treasures
Proper storage is key to keeping your homemade ice cream sandwiches fresh and free of freezer burn.
- Wrap Tightly: Wrap each sandwich individually and snugly in plastic wrap, wax paper, or parchment paper.
- Store Securely: Place the individually wrapped sandwiches into a larger freezer-safe zip-top bag or an airtight container.
- Enjoy: They will keep beautifully in the freezer for up to 3 months.
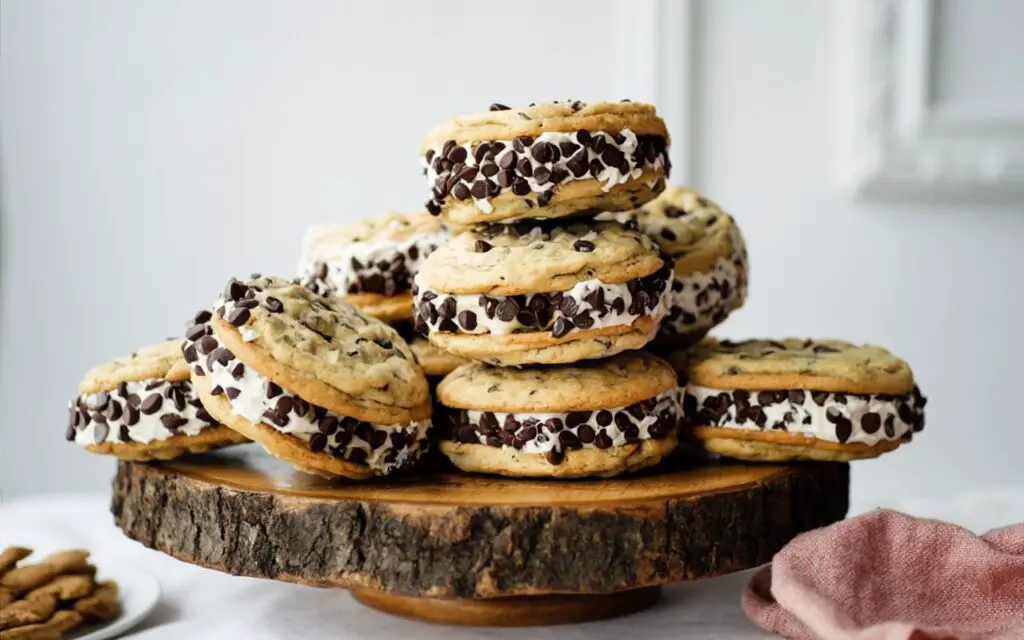
The Ultimate Summer Indulgence
There is nothing quite like a homemade ice cream sandwich on a hot day. The combination of the perfectly soft, chewy, chocolate-studded cookie with the cold, creamy ice cream is nostalgic, comforting, and absolutely delicious. This recipe gives you all the tools to create a treat that is far superior to anything you can buy from a truck or a store. It’s the ultimate summer dessert project.
We can’t wait for you to make these! Let us know your favourite cookie-and-ice-cream combinations in the comments below, and don’t forget to leave a rating. Subscribe for more sweet treats and nostalgic recipes!
FAQs
Q1: Why do my cookies spread too much when baking?
This is often because the butter was too soft or melted. Your butter should be softened to room temperature, but not greasy or liquid. Chilling the cookie dough for 30-60 minutes before scooping and baking can also help control spreading.
Q2: Can I use other types of cookies for this recipe?
Yes! While this recipe is designed for the perfect texture, you can use other soft cookie recipes. Soft peanut butter cookies with chocolate ice cream or soft snickerdoodles with vanilla or cinnamon ice cream would be amazing. Avoid using crunchy cookie recipes, as they will be very hard to bite through when frozen.
Q3: What’s the best way to get a neat layer of ice cream?
For perfectly uniform sandwiches, you can use this trick: line a baking pan with parchment paper, spread the softened ice cream in an even layer (the same thickness as your cookies), and freeze until solid. Then, use a round cookie cutter (the same size as your cookies) to cut out perfect discs of ice cream.
Q4: Can I make these dairy-free or gluten-free?
Yes. For gluten-free, use a quality 1-to-1 gluten-free flour blend. For dairy-free, use a block-style plant-based butter, dairy-free chocolate chips, and your favorite dairy-free ice cream. The results are fantastic!
Q5: Do I really have to freeze them after assembling?
Yes, this is a non-negotiable step for the best experience. The freezing time allows the ice cream to re-harden and the entire sandwich to fuse together, making it a clean, delicious treat instead of a sticky, melting handful.
Print
Easy Homemade Ice Cream Sandwiches (Better Than a Chipwich!)
- Total Time: 3 hours 43 minutes
- Yield: 12 Sandwiches 1x
Description
Soft, chewy chocolate-chip cookie “sandwiches” filled with generous scoops of ice cream and rolled in your favorite toppings. These make-ahead treats stay tender even straight from the freezer—no more rock-hard cookies!
Ingredients
Cookie Dough:
- 1/2 cup Butter softened
- 1/3 cup Brown sugar packed
- 1/4 cup Granulated sugar
- 1 large Egg
- 1 Egg yolk
- 1 tsp Vanilla extract
- 1 1/4 cups All-purpose flour
- 1/2 cup Graham crackers finely crushed
- 1/4 tsp Salt
- 3/4 tsp Baking soda
- 1 1/4 cups Mini semi-sweet chocolate chips
Sandwich Filling & Topping:
- 3 cups Vanilla ice cream or flavor of choice
- 1 cup Mini chocolate chips sprinkles, or chopped nuts
Instructions
Make the Dough:
- Preheat oven to 350°F (177°C). Line baking sheets with parchment.
- Cream butter and sugars until light, about 2 minutes. Beat in egg, yolk, and vanilla.
- Whisk flour, crushed graham crackers, salt, and baking soda; add to butter mixture, mixing just until combined. Fold in chocolate chips.
Bake the Cookies:
- Scoop dough (1½ Tbsp each) onto sheets, spacing 3 inches apart.
- Bake 12–13 minutes until edges are lightly golden but centers still look soft.
Cool Completely:
- Let cookies cool on the sheet 5 minutes, then transfer to a wire rack. Cookies must reach room temperature before assembly.
Assemble Sandwiches:
- Soften ice cream 5–10 minutes at room temperature.
- Place one cookie upside down, top with ~⅓ cup ice cream, then another cookie right-side up.
Press & Roll:
- Gently press to spread ice cream to the edges. Roll exposed ice cream in chips, sprinkles, or nuts.
Wrap & Freeze:
- Wrap sandwiches tightly in plastic wrap or parchment.
- Freeze at least 3 hours, or until firm.
Notes
-
Soft Cookies: The added cornstarch and extra yolk keep the cookies chewy when frozen.
-
Flavor Variations: Swap vanilla ice cream for chocolate, strawberry, or mint chip.
-
Make-Ahead: Complete through Step 3, cover, and refrigerate dough or baked cookies up to 24 hours.
-
Storage: Wrapped sandwiches keep up to 1 week in the freezer.
-
Extra Toppings: Crushed candy, toffee bits, or toasted coconut also work wonderfully.
- Prep Time: 30 minutes
- Cook Time: 13 minutes
- Category: Dessert, Snack
- Cuisine: American, Baking
Nutrition
- Calories: 420


