Do you adore the creamy, sweet filling and crisp shell of a classic Italian cannoli but feel intimidated by the thought of deep-frying pastry shells? What if you could capture that beloved cannoli experience in a bite-sized, incredibly easy, no-fry format? Prepare to be amazed!
- Ingredients
- Timing
- Step-by-Step Instructions
- Step 1: Preheat Oven and Prepare Crusts
- Step 2: Cut and Shape the Cups
- Step 3: Bake and Cool the Cannoli Cups
- Step 4: Prepare the Creamy Ricotta Filling
- Step 5: Chill the Filling
- Step 6: Fill and Garnish Just Before Serving
- Nutritional Information
- Healthier Alternatives
- Serving Suggestions
- Common Mistakes to Avoid
- Storing Tips
- Conclusion
- FAQs
- Q1: Can I make my own pie crust instead of using refrigerated?
- Q2: What if I don’t have a mini muffin tin?
- Q3: Can I add other flavors to the ricotta filling?
- Q4: My ricotta filling seems watery, what should I do?
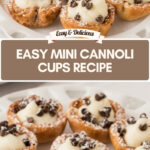
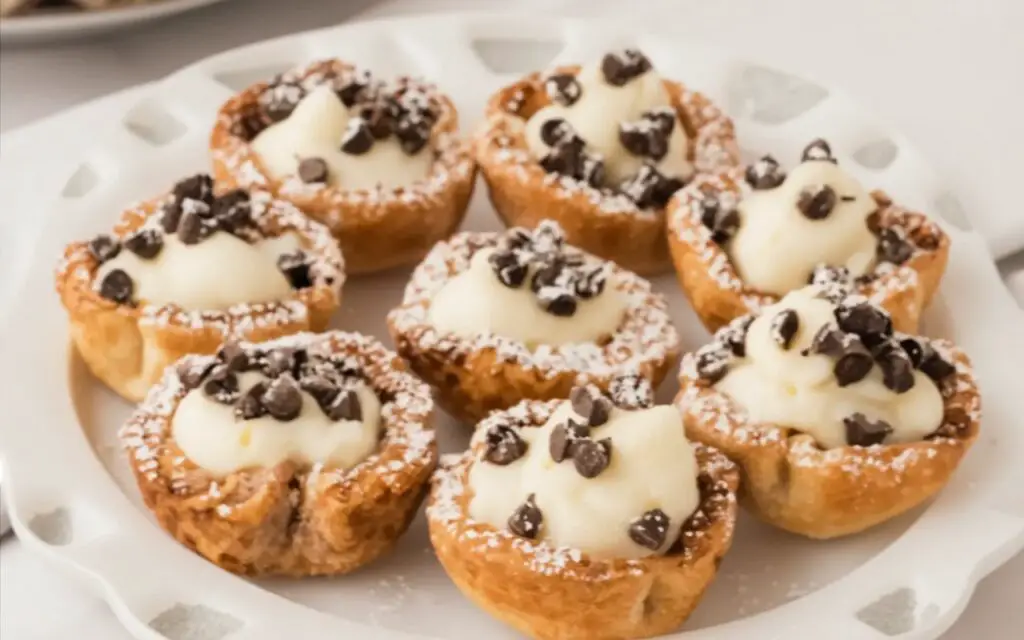
- Easy Mini Cannoli Cups Recipe (Quick Dessert!)
These adorable Mini Cannoli Cups are the perfect solution. We use a clever shortcut with refrigerated pie crusts baked in a mini muffin tin to create perfectly crisp, cinnamon-sugar dusted shells. Filled with a simple, luscious ricotta cream flavored with citrus zest and vanilla, these cannoli cups deliver all the delightful flavors and textures you love, minus the fuss. They’re perfect for parties, holidays, or any time you need a quick and elegant dessert!
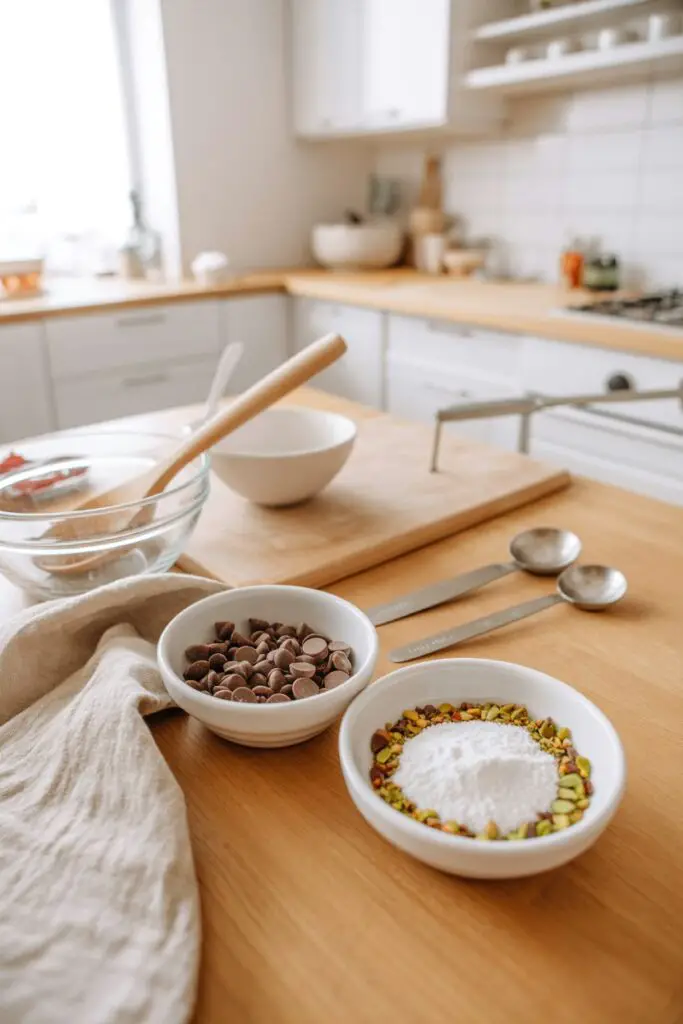
Ingredients
This recipe uses simple ingredients for both the crispy cups and the creamy filling. Using whole-milk ricotta is key for the richest flavor.
For the Cannoli Cups:
| Ingredient | Amount/Quantity | Notes |
| Refrigerated Pie Crusts | 1 box (2 count) | Softened according to package directions |
| Turbinado Sugar (Raw Sugar) | 3 tablespoons | For a sparkly, crunchy coating |
| Ground Cinnamon | 1 teaspoon |
For the Creamy Ricotta Filling:
| Ingredient | Amount/Quantity | Notes |
| Whole-Milk Ricotta Cheese | 1 container (15 oz) | Drain if very watery |
| Powdered Sugar | ½ cup | Sifted, if lumpy |
| Granulated Sugar | 2 tablespoons | |
| Finely Grated Orange or Lemon Zest | 1 teaspoon | Adds brightness |
| Pure Vanilla Extract | ½ teaspoon |
For Garnish (Choose Your Favorites):
| Ingredient | Amount/Quantity | Notes |
| Miniature Semisweet Chocolate Chips | ¼ cup | Classic cannoli pairing |
| Finely Chopped Pistachios | ¼ cup | Adds color and crunch |
| Additional Powdered Sugar | For dusting |

Timing
These delightful bites come together quickly, with most of the time spent baking and cooling the cups.
- Preparation Time: 20 minutes
- Cooking Time: 10 minutes
- Cooling Time: 30 minutes (minimum)
- Assembly Time: 10 minutes
- Total Time: Approximately 1 hour 10 minutes
Step-by-Step Instructions
Follow these easy steps to create delicious, bite-sized cannoli treats perfect for any occasion.
Step 1: Preheat Oven and Prepare Crusts
First, preheat your oven to 425°F (220°C). Have a 24-cup mini muffin tin ready (no need to grease it). Lightly flour your work surface and carefully unroll the softened pie crusts. In a small bowl, mix the turbinado sugar and ground cinnamon. Sprinkle this mixture evenly over both pie crusts. Gently run a rolling pin over the crusts just once or twice to press the sugar mixture lightly into the dough.
- Actionable Tip: Don’t press too hard with the rolling pin; you just want the sugar to adhere, not to thin out the crust significantly.
Step 2: Cut and Shape the Cups
Using a 2½-inch round cookie or biscuit cutter, cut out as many circles as possible from the sugared pie crusts. Gently press each pastry circle into one of the mini muffin cups, fitting it snugly against the bottom and sides. Gather the dough scraps, gently re-roll them (avoid overworking), and cut out additional circles until you have 48 pastry rounds filling two standard 24-cup mini muffin tins (or work in batches).
- Actionable Tip: If the dough becomes too soft while working, briefly chill the cut circles or the re-rolled scraps in the refrigerator for 5-10 minutes to make them easier to handle.
Step 3: Bake and Cool the Cannoli Cups
Place the mini muffin tin(s) in the preheated oven. Bake for 10 minutes, or until the pastry cups are puffed and a beautiful golden brown. Carefully remove the tin(s) from the oven and let the cannoli cups cool completely in the pans on a wire rack, about 15-20 minutes. Once cool, gently remove the cups from the tin and let them finish cooling completely on the wire rack.
- Actionable Tip: Allowing the cups to cool fully in the pan helps them set their shape and prevents breakage when you remove them. They must be completely cool before filling.
Step 4: Prepare the Creamy Ricotta Filling
While the cups are cooling, prepare the filling. In a large mixing bowl, combine the whole-milk ricotta cheese, powdered sugar, granulated sugar, finely grated citrus zest, and vanilla extract. Using an electric mixer on medium speed, beat the ingredients together until they are smooth, creamy, and well combined (about 1-2 minutes).
- Actionable Tip: For the smoothest filling, ensure your ricotta isn’t overly watery. If it seems very wet, you can let it drain in a fine-mesh sieve lined with cheesecloth for about 30 minutes before using.
Step 5: Chill the Filling
Transfer the prepared ricotta filling into a large (1-gallon) zip-top resealable bag or a piping bag fitted with a large round or star tip. Seal the bag, pressing out any excess air. Refrigerate the filling for at least 30 minutes (or until ready to serve) to allow it to firm up slightly and the flavors to meld.
Step 6: Fill and Garnish Just Before Serving
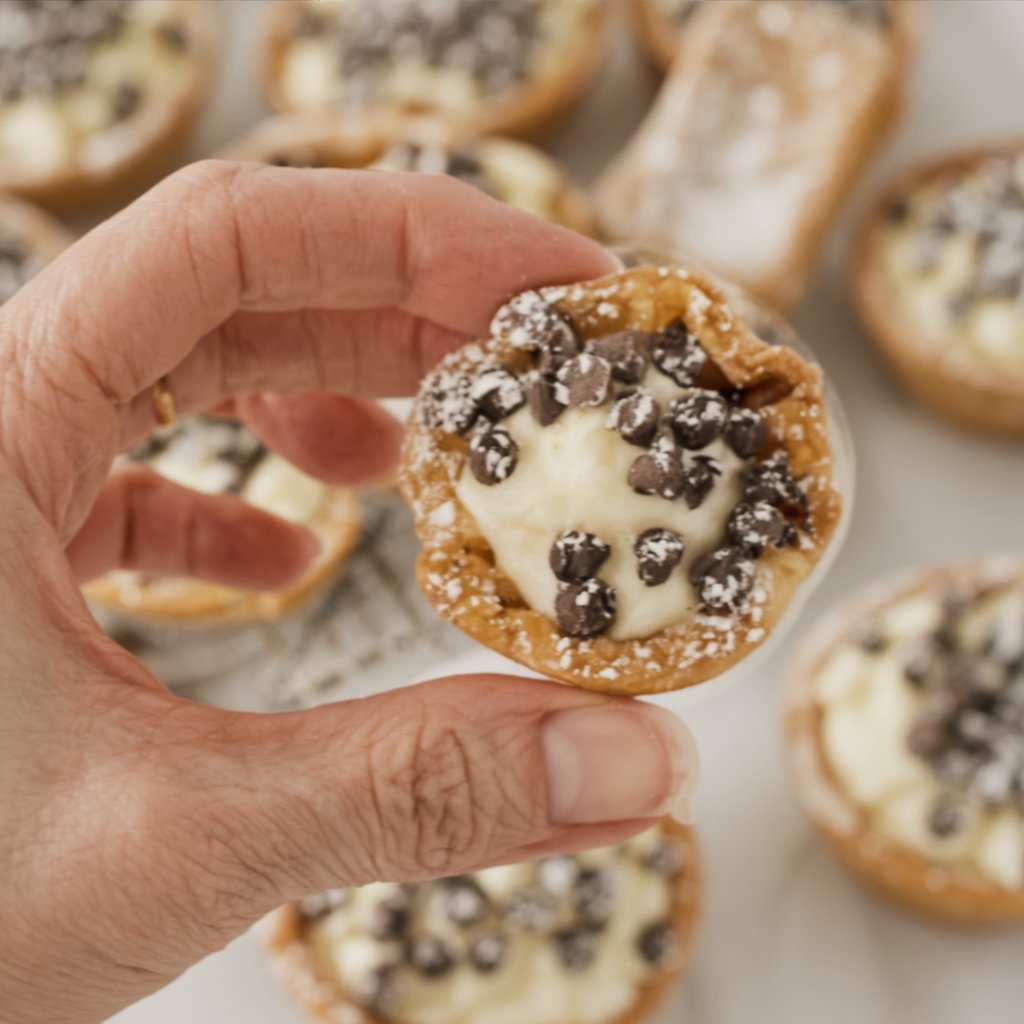
When you are ready to serve, remove the chilled filling from the refrigerator. If using a zip-top bag, snip off one bottom corner (about ½ inch). Carefully pipe approximately 1 tablespoon of the ricotta filling into each cooled pastry cup. Immediately sprinkle the tops with mini chocolate chips or finely chopped pistachios. Dust lightly with additional powdered sugar, if desired.
- Actionable Tip: Fill the cannoli cups just before serving! This is crucial for maintaining the crispness of the pastry shells. If filled too far in advance, the cups will become soggy.
Nutritional Information
Nutritional information is an estimate per cannoli cup and can vary based on specific ingredients and brands used.
- Calories: Approx. 80-100 kcal
- Protein: 1-2 g
- Carbohydrates: 8-10 g
- Fat: 5-7 g
- Saturated Fat: 3-4 g
- Sugar: 4-6 g
Healthier Alternatives
While these are indulgent bites, you could consider:
- Ricotta: Using part-skim ricotta cheese instead of whole-milk ricotta will reduce the fat content, though the filling may be slightly less rich and creamy.
- Sugar: You could experiment with reducing the sugar in the filling slightly or using a powdered sugar substitute, keeping in mind potential texture changes.
- Crust: For a completely different (and gluten-free) base, baked wonton wrappers could be used, though the flavor and texture would differ significantly from traditional cannoli.
Serving Suggestions
These Mini Cannoli Cups are perfect little bites for parties and gatherings!
- Dessert Platter: Arrange them beautifully on a platter for an easy and elegant addition to a dessert table. Offer bowls of both mini chocolate chips and chopped pistachios so guests can choose their favorite topping.
- Coffee Pairing: They are delightful served alongside espresso or coffee after dinner.
- Holiday Treat: These make a wonderful addition to Christmas, Easter, or any holiday cookie/dessert tray. Dusting with powdered sugar makes them look extra festive.
Common Mistakes to Avoid
For perfect mini cannoli cups, watch out for these potential issues:
- Pie Crust Too Warm/Cold: If the crust is too cold, it might crack when pressed into the cups. If too warm, it can become sticky and difficult to handle. Solution: Let the crust soften slightly as directed on the box, but don’t let it get overly warm. Work relatively quickly.
- Underbaking the Cups: Pale, underbaked cups won’t be crisp. Solution: Bake until they are a definite golden brown all over. Mini muffin tins can vary, so keep an eye on them.
- Filling Cups Too Early: This is the #1 way to get soggy cannoli cups. Solution: Always, always fill them just before you plan to serve them (within an hour is usually okay).
- Grainy Filling: Can happen if the ricotta is lower quality or not mixed well. Solution: Use good quality whole-milk ricotta and beat the filling until smooth. Draining excess liquid can also help.
Storing Tips
The key to storing these treats is to keep the components separate until serving time.
- Unfilled Cups: Store the completely cooled, unfilled pastry cups in an airtight container at room temperature for up to 3 days. They may lose some crispness over time.
- Ricotta Filling: Store the prepared ricotta filling in its sealed bag or an airtight container in the refrigerator for up to 3 days.
- Assembled Cups: As mentioned, assembled cannoli cups are best eaten immediately and do not store well, as the shells will quickly become soggy from the moist filling.
Conclusion
These Easy Mini Cannoli Cups are a delightful shortcut to enjoying the classic flavors of Italy’s favorite pastry. With crispy, cinnamon-sugar shells made from simple pie crust and a creamy, dreamy ricotta filling, they offer maximum deliciousness with minimal effort. Perfect for parties, gatherings, or just a sweet treat, these bite-sized wonders are sure to impress!
Ready to try this easy and elegant dessert? Bake a batch and let us know what you think in the comments below! Did you top them with chocolate chips or pistachios? We love hearing your feedback! Don’t forget to rate the recipe and subscribe for more delicious and easy dessert ideas!
FAQs
Q1: Can I make my own pie crust instead of using refrigerated?
Absolutely! If you have a favorite homemade pie crust recipe, feel free to use it. You’ll need enough dough for two 9-inch crusts. Roll it out, sprinkle with the cinnamon sugar, and proceed as directed.
Q2: What if I don’t have a mini muffin tin?
You could try pressing slightly larger circles (maybe 3-inch) into a standard-sized muffin tin. The baking time might need to be adjusted slightly longer (12-15 minutes), and the yield will be much lower. The mini size is really ideal for this recipe.
Q3: Can I add other flavors to the ricotta filling?
Yes! Feel free to get creative. Add a pinch of cinnamon, mini chocolate chips stirred directly into the filling, or even a tablespoon of cocoa powder for a chocolate ricotta filling. Ensure any additions don’t make the filling too wet.
Q4: My ricotta filling seems watery, what should I do?
Some brands of ricotta have more whey (liquid) than others. For the best, creamiest filling, it’s a good idea to drain your ricotta. Place it in a fine-mesh sieve lined with cheesecloth or a coffee filter set over a bowl, cover, and refrigerate for at least 30 minutes (or even a few hours) to allow excess liquid to drain away before making the filling.
Print
Easy Mini Cannoli Cups Recipe (Quick Dessert!)
- Total Time: 1 hour 10 minutes
- Yield: 48 Mini Cups 1x
Description
Capture the beloved cannoli experience in a bite-sized, incredibly easy, no-fry format! We use a clever shortcut with refrigerated pie crusts baked in a mini muffin tin to create perfectly crisp shells. Filled with a simple, luscious ricotta cream flavored with citrus zest and vanilla, these cannoli cups deliver all the delightful flavors and textures you love, minus the fuss. Perfect for parties or any time you need a quick and elegant dessert!
Ingredients
For the Cannoli Cups
- 1 box (2 count) Refrigerated Pie Crusts, softened
- 3 tablespoons Turbinado Sugar (Raw Sugar)
- 1 teaspoon Ground Cinnamon
For the Creamy Ricotta Filling
- 1 container (15 oz) Whole-Milk Ricotta Cheese
- 1/2 cup Powdered Sugar, sifted
- 2 tablespoons Granulated Sugar
- 1 teaspoon Finely Grated Orange or Lemon Zest
- 1/2 teaspoon Pure Vanilla Extract
For Garnish (Choose Your Favorites)
- 1/4 cup Miniature Semisweet Chocolate Chips
- 1/4 cup Finely Chopped Pistachios
- Additional Powdered Sugar, for dusting
Instructions
- Preheat Oven & Prep Crusts: Preheat oven to 425°F (220°C). Have a 24-cup mini muffin tin ready. Lightly flour your work surface and unroll the softened pie crusts. In a small bowl, mix turbinado sugar and cinnamon; sprinkle evenly over both crusts. Gently roll a rolling pin over the crusts once or twice to press the sugar in lightly.
- Cut and Shape Cups: Using a 2½-inch round cutter, cut out circles from the crusts. Gently press each circle into a mini muffin cup. Gather scraps, re-roll gently, and cut more circles until you have 48.
- Bake and Cool Cups: Bake for 10 minutes, or until the pastry cups are puffed and golden brown. Let the cups cool completely in the tin(s) on a wire rack (about 15-20 minutes). Once cool, gently remove them from the tin.
- Prepare the Filling: While cups cool, combine the ricotta, powdered sugar, granulated sugar, citrus zest, and vanilla extract in a large bowl. Beat with an electric mixer on medium speed for 1-2 minutes until smooth and creamy.
- Chill the Filling: Transfer the ricotta filling into a zip-top bag or piping bag. Refrigerate for at least 30 minutes to firm up slightly.
- Fill and Garnish (Just Before Serving): Snip a corner off the zip-top bag (or use piping bag). Pipe about 1 tablespoon of filling into each completely cooled pastry cup. Immediately sprinkle with mini chocolate chips or pistachios. Dust with powdered sugar, if desired. Serve immediately.
Notes
- Press Sugar Gently: When rolling over the cinnamon sugar, don’t press too hard; you just want it to adhere without thinning the crust.
- Cool Cups Fully: Allowing the cups to cool completely in the pan helps them set their shape and prevents breakage. They must be completely cool before filling.
- Drain Ricotta if Needed: For the smoothest filling, ensure your ricotta isn’t overly watery. If it seems very wet, let it drain in a fine-mesh sieve lined with cheesecloth for 30 minutes before using.
- Fill Just Before Serving: This is crucial! To keep the pastry cups delightfully crisp, fill them only right before you plan to serve them. Filling too far in advance will make the cups soggy.
- Prep Time: 20 minutes
- Cook Time: 10 minutes
- Category: Dessert, Appetizer, No-Fry
- Method: Baking, Filling
- Cuisine: Italian-American
Nutrition
- Serving Size: 1 mini cup
- Calories: 85 kcal
- Sugar: 5 g
- Sodium: 65 mg
- Fat: 5.5 g
- Saturated Fat: 3.2 g
- Unsaturated Fat: 2.3 g
- Trans Fat: 0 g
- Carbohydrates: 8.5 g
- Fiber: 0.3 g
- Protein: 1.5 g
- Cholesterol: 10 mg