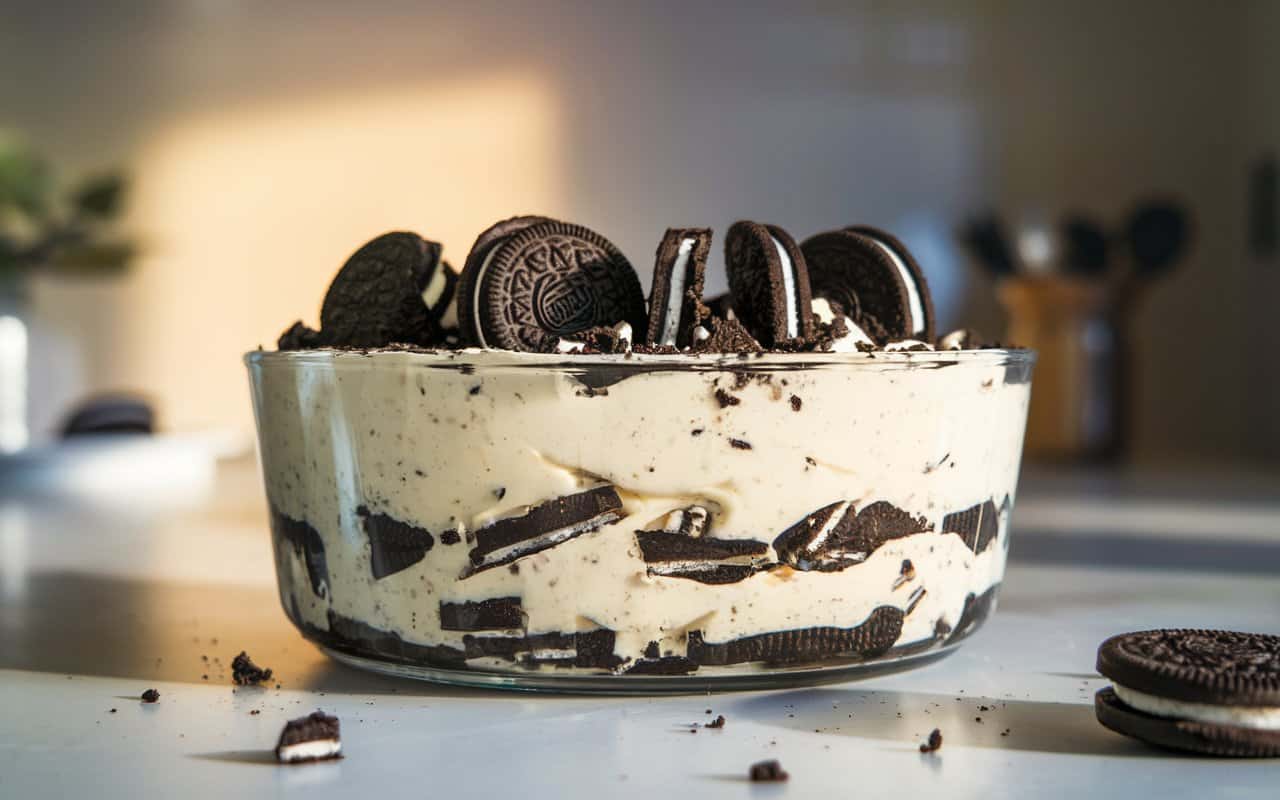
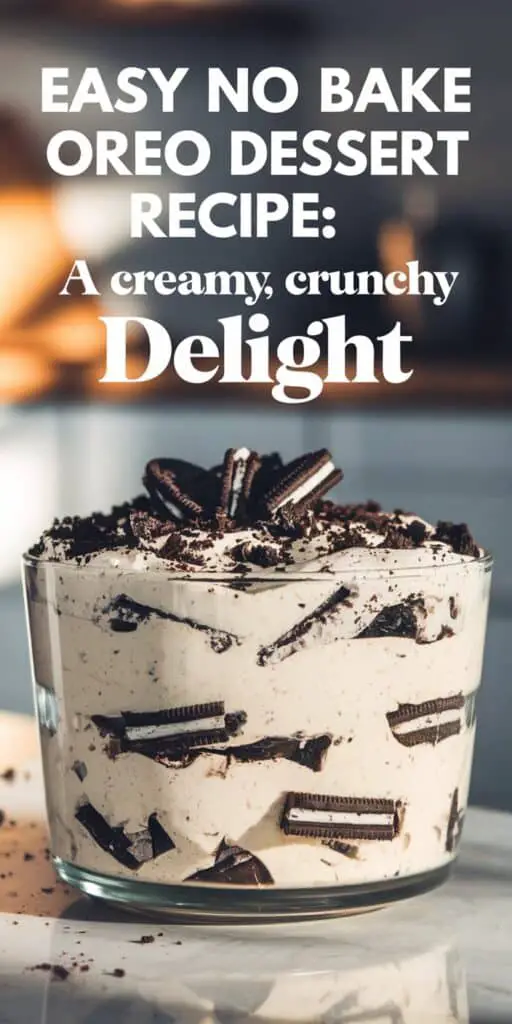
On those days when the craving for something sweet hits hard but you can’t be bothered to preheat an oven—or when it’s simply too hot outside to bear switching it on—a no-bake dessert is your best friend. And if you’re an Oreo lover, you’re in for a treat. This Easy No Bake Oreo Dessert Recipe is the ultimate comfort sweet, combining the crunchy, chocolaty goodness of Oreo cookies with a fluffy cream cheese filling. It’s perfect for an impromptu gathering, a weekend indulgence, or a fun activity to make with kids. Let’s dive into the details of this creamy and crunchy delight that’s bound to become a household favorite.

Why Go No-Bake?
If you’re new to no-bake recipes, prepare to be amazed. Unlike traditional cheesecakes or pies, a no-bake dessert saves you time and effort in the kitchen. There’s no need to worry about whether your crust is underbaked or if your filling has cracked in the oven. No-bake desserts often rely on simple, readily available ingredients and can be chilled to set, freeing you up for other tasks. Whether you’re short on time, lacking experience in baking, or just don’t want to heat up your home, a no-bake treat is a glorious solution.
Ingredients & Preparation Overview
Let’s begin by laying out all the essentials you’ll need. You might already have most of these in your pantry or fridge, making it all the more convenient.
| Ingredient | Quantity | Notes |
|---|---|---|
| Oreo Cookies | ~30-35 cookies | Divided for crust and filling |
| Cream Cheese | 8 oz (1 package) | Softened |
| Whipped Topping | 8 oz (1 container) | Thawed, or homemade whipped cream |
| Powdered Sugar | 1 cup | Adjust to taste |
| Butter (Unsalted) | 4 tablespoons (1/2 stick) | Melted |
| Milk | 2-3 tablespoons | For thinning the filling if needed |
| Vanilla Extract | 1 teaspoon | Optional, enhances flavor |
Ingredient Highlights
- Oreo Cookies: The star of the show. You’ll use them for both the crust and to add crunchy texture on top.
- Cream Cheese: Provides a slight tang and rich creaminess. Make sure it’s softened for easy blending.
- Whipped Topping: Lightens the filling’s texture, giving it an airy mouthfeel. You can use store-bought whipped topping or whip your own heavy cream.
- Powdered Sugar: Sweetens the filling without leaving a grainy texture.
- Butter: Binds the crushed Oreos for a firm crust.
- Milk: A little bit helps adjust the consistency if your filling is too thick.
- Vanilla Extract: Adds another dimension of flavor, though it’s optional.
Step-by-Step Instructions
1. Create the Oreo Crust
- Crush the Cookies: Start by separating about 20-25 Oreos for the crust. Use a food processor to pulse them into a fine crumb. Alternatively, place the cookies in a sealed plastic bag and crush them with a rolling pin—an effective method if you enjoy a bit of a manual workout.
- Combine with Butter: In a bowl, mix the crushed Oreos with melted butter until all the crumbs are moistened. The mixture should resemble wet sand.
- Press into Dish: Transfer the crumb mixture into a 9×9-inch square dish (or a similar-sized pan). Use the back of a spoon or a flat-bottomed glass to press down firmly, creating an even layer. Pop this crust into the refrigerator to set while you prepare the filling.
2. Whip Up the Creamy Filling
- Soften the Cream Cheese: If you haven’t already, let your cream cheese sit at room temperature for about 20-30 minutes. It should be easy to blend without lumps.
- Beat Cream Cheese & Sugar: In a mixing bowl, beat the softened cream cheese with 1 cup powdered sugar. Start on low to avoid a sugar cloud, then increase speed until you get a smooth mixture. Taste and adjust sweetness if needed.
- Add Whipped Topping: Gently fold in the thawed whipped topping. Folding helps maintain the airy structure, so avoid vigorously stirring. If the mixture appears too thick, add a splash of milk to thin it out. You want a spreadable but stable consistency.
- Vanilla Extract (Optional): Stir in the vanilla extract for extra flavor depth.
3. Assemble the Layers
- Spread the Filling: Remove the crust from the fridge. Spoon the cream cheese mixture onto the crust, spreading it into an even layer with a spatula.
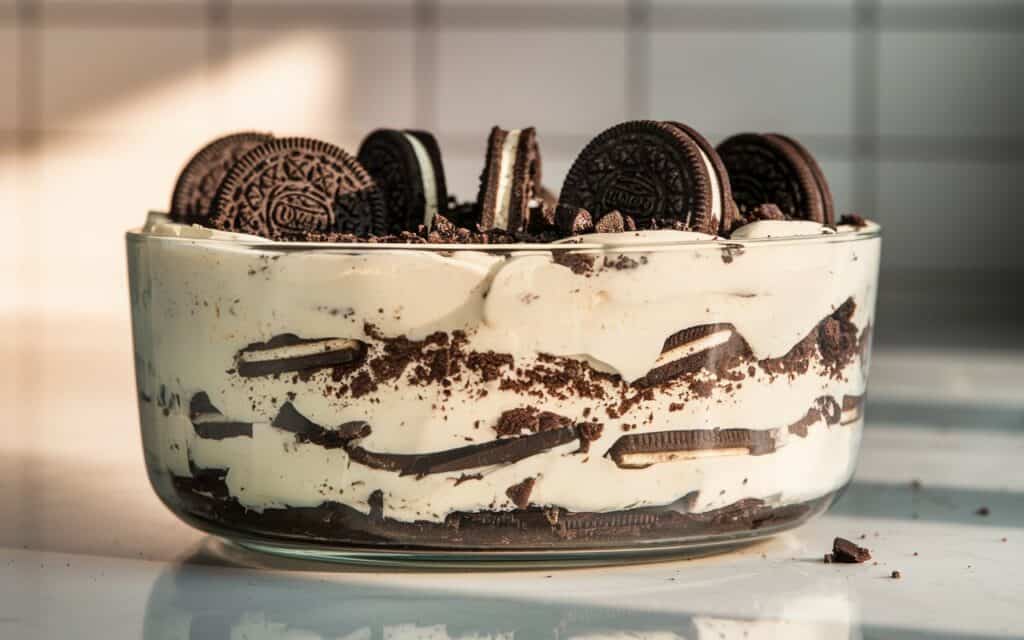
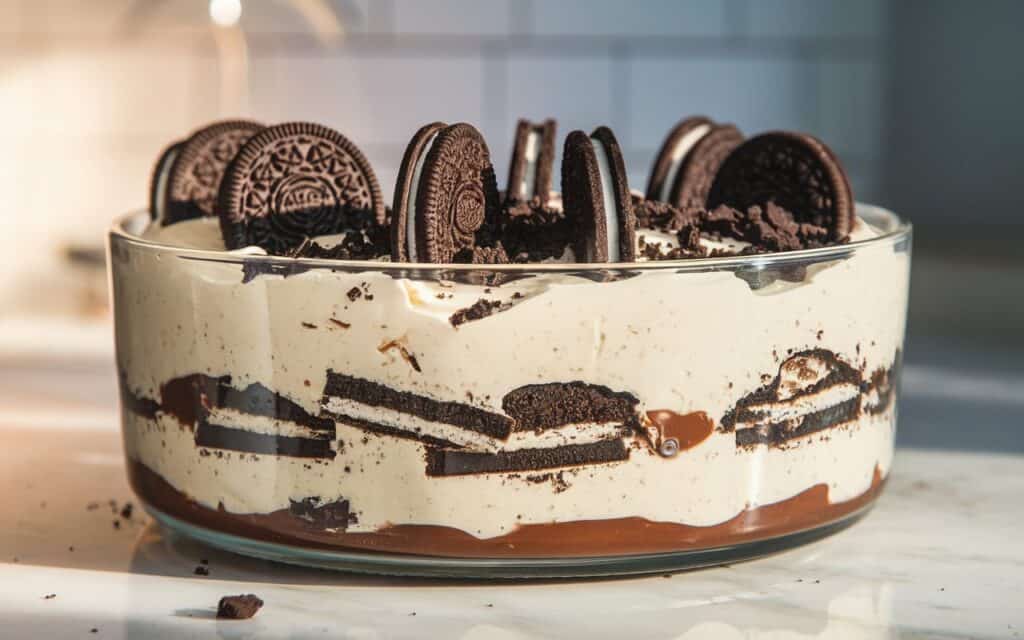
- Top with Crushed Oreos: Take the remaining 5-10 Oreo cookies, crush or chop them into smaller bits, and sprinkle them generously over the top of the cream layer. You can press them in slightly or leave them scattered for a rustic look.
- Chill Again: Place the entire dish back into the refrigerator. Chill for at least 2-3 hours, or until the dessert sets well. If you have time, overnight chilling makes the flavors meld more thoroughly.
Tips, Variations & Serving Suggestions
- Flavored Oreos: Try mint Oreos for a refreshing twist, peanut butter Oreos for a sweet-salty combo, or any seasonal Oreo variety that catches your eye.
- Toppings Galore: Add a drizzle of chocolate syrup or caramel sauce over the top before serving. You could also garnish with fresh strawberries or sliced bananas for a fruity note.
- Individual Servings: Instead of one large dish, layer the crumbs and filling in individual ramekins or cups. This not only looks adorable but also makes serving easier for parties.
- Extra Decadence: Fold in mini chocolate chips or chopped nuts into the filling for an additional layer of texture.
FAQ: Your Burning Oreo Dessert Questions
Q: How do I keep the crust from crumbling?
A: Make sure the cookie crumbs are thoroughly coated with melted butter. Press them firmly and evenly into your dish, then give the crust sufficient fridge time (at least 30 minutes) before adding the filling.
Q: Can I freeze this dessert?
A: Absolutely. You can pop it into the freezer for an ice-cream-cake-like texture, though the crust may be a bit firmer when you slice it. Let it thaw for about 10 minutes at room temperature before serving.
Q: How long should it chill before serving?
A: For best results, allow at least 2-3 hours in the fridge. If you’re not in a hurry, chilling overnight helps the flavors set and mingle, delivering a more cohesive dessert.
The Joy of Simplicity
This Easy No Bake Oreo Dessert Recipe perfectly demonstrates how you don’t need fancy equipment or a long list of ingredients to create something delightful. By harnessing the beloved flavors of America’s favorite cookie—Oreos—and pairing them with a tangy-sweet cream cheese filling, you deliver a dessert that has just the right balance of crunchy and creamy. The fact that you never have to turn on the oven is a bonus that busy home cooks can appreciate any time of the year.
Why You’ll Love This Dessert
- Minimal Effort, Maximum Flavor: A handful of accessible ingredients and minimal steps yield big results.
- Versatility: You can customize based on your favorite Oreo flavors or add different toppings.
- Great for All Ages: Kids love it because it’s cookies and cream; adults love it because it’s delicious and easy.
- Travel-Friendly: Perfect for potlucks or parties since it stays stable after being chilled and can be easily transported.
Who says you need an oven or a complicated technique to impress your friends and family with dessert? This Easy No Bake Oreo Dessert Recipe combines the iconic taste of Oreos with the tangy richness of a cream cheese-based filling to produce a treat that appeals to just about everyone. Whip it up for your next gathering—or just because—and watch as the dish empties in no time.
Ready to give it a try? Grab your Oreos, whip up the filling, and let your fridge do the heavy lifting. Whether you add a special garnish or keep it classic, you’ll soon see why no-bake desserts are all the rage. Go ahead—treat yourself (and your loved ones) to this sweet, fuss-free indulgence!
Print
Easy No Bake Oreo Dessert Recipe: A Creamy, Crunchy Delight
- Total Time: 4 hours 15 minutes
- Yield: 8 1x
Description
Indulge in a no-bake treat that’s both creamy and crunchy! This dessert layers a rich, velvety cheesecake-like filling over a buttery Oreo crust, then tops it with coarsely chopped Oreos and a drizzle of chocolate syrup for an irresistible finish. Perfect for satisfying your sweet tooth with minimal effort, this recipe is an ultimate crowd-pleaser for any occasion.
Ingredients
For the Crust:
- 24 pieces Oreo cookies (Crushed about 2 cups)
- 1/4 cup Unsalted butter (Melted)
For the Filling:
- 8 oz Cream cheese (Soften to room temperature)
- 1/3 cup Powdered sugar (Sifted)
- 1 tsp Vanilla extract
- 1 cup Heavy cream (Whipped to soft peaks)
For the Topping:
- 6 pieces Oreo cookies (Coarsely chopped)
Instructions
Prepare the Crust:
- In a bowl or food processor, crush the 24 Oreo cookies until fine.
- Mix in the melted butter until evenly combined.
- Press the mixture firmly into the bottom of a 9-inch springform pan, ensuring an even layer.
Make the Filling:
- In a separate mixing bowl, beat the softened cream cheese with the powdered sugar and vanilla extract until smooth and creamy.
- Gently fold in the whipped heavy cream until fully incorporated, creating a light and fluffy filling.
Assemble and Chill:
- Pour the cream cheese filling over the Oreo crust, smoothing the top with a spatula.
- Refrigerate for at least 4 hours (or overnight) until the filling is set.
Garnish and Serve:
- Just before serving, sprinkle the coarsely chopped Oreos over the top.
- If desired, drizzle a little chocolate syrup for extra indulgence.
- Slice into 8 squares and serve chilled.
Notes
- Ensure the cream cheese is fully softened for a lump-free filling.
- For best results, allow the dessert to chill overnight to achieve a firmer texture.
- Feel free to experiment with additional toppings such as chocolate shavings or a dusting of cocoa powder for an extra twist.
Enjoy your Easy No Bake Oreo Dessert—a luscious, no-bake treat that perfectly balances creamy and crunchy textures for a delightful dessert experience!
- Prep Time: 15 minutes
- Category: Dessert
- Cuisine: American
Nutrition
- Calories: 320