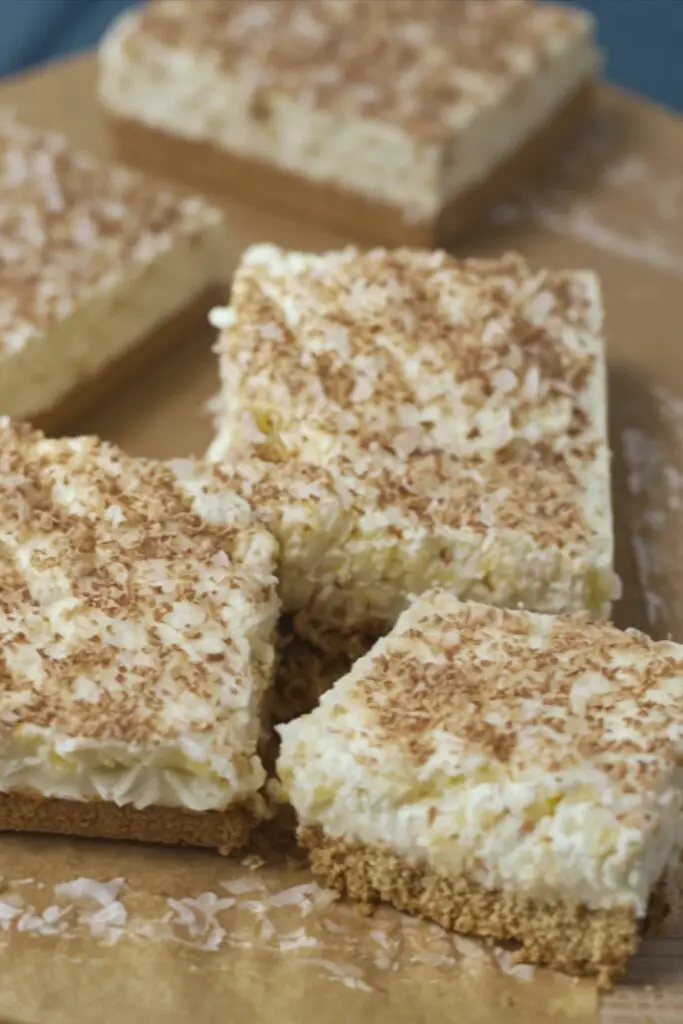
There is a special kind of magic reserved for no-bake desserts. In a world of complicated recipes and long baking times, the ability to create a truly spectacular treat without ever turning on the oven is a skill every home baker should have. If you’re looking for an easy, crowd-pleasing dessert that is perfect for any occasion, allow us to introduce you to a beloved classic. This No-Bake Traybake, often called Pineapple Squares or Pineapple Delight, is a staple in Northern Ireland for a reason. With its crunchy biscuit base, a rich cream cheese layer, and a light, fruity pineapple cream topping, it’s a masterclass in texture and flavour that comes together with minimal fuss.
- Ingredients
- Timing
- Step-by-Step Instructions
- Step 1: Prepare the Pan and Pineapple
- Step 2: Create the Biscuit Base
- Step 3: Whip Up the Cream Cheese Filling
- Step 4: Prepare the Pineapple Cream Topping
- Step 5: Assemble and Chill
- Nutritional Information
- Healthier Alternatives
- Serving Suggestions
- Common Mistakes to Avoid
- Storing Tips
- Conclusion
- FAQs
- Q1. What kind of biscuits (cookies) are best for the base?
- Q2. Can I use fresh pineapple instead of canned?
- Q3. Can I make this in a different sized pan?
- Q4. How far in advance can I make this dessert?
- Easy No-Bake Pineapple Traybake (A Northern Irish Classic!)
Ingredients
This recipe uses simple, accessible ingredients to create three distinct and delicious layers. Using whipped cream cheese will make the filling layer extra light and easy to mix.
| Ingredient | Amount/Quantity |
| Digestive Biscuits or Shortbread Cookies | 10 oz (about 300g) |
| Unsalted Butter | 8 oz (225g), divided |
| Powdered (Icing) Sugar | 6 oz (about 1 ¾ cups) |
| Whipped Cream Cheese | 4 oz (113g), softened |
| Heavy Whipping Cream | 4 oz (½ cup), chilled |
| Canned Crushed Pineapple | 1 (20 oz) can, in juice |
Timing
The beauty of this no-bake recipe is its simplicity and minimal active time. The hardest part is waiting for it to chill!
- Preparation Time: 25 minutes
- Chilling Time: 4 hours (minimum)
- Total Time: Approximately 4 hours 25 minutes
Step-by-Step Instructions
Follow these simple steps to assemble this classic layered dessert. Precision in each layer is the key to a perfect result.
Step 1: Prepare the Pan and Pineapple

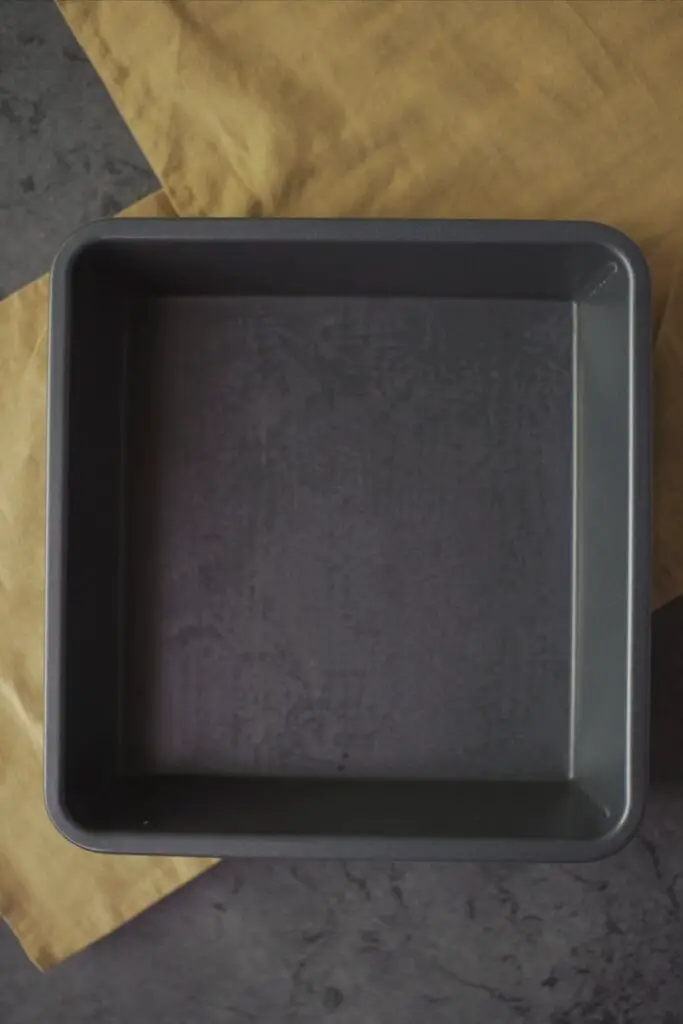
First, line a square cake pan (an 8×8 or 9×9 inch pan works perfectly) with parchment paper, leaving some overhang on the sides to make it easy to lift the traybake out later. Next, and this is the most crucial step, pour the can of crushed pineapple into a fine-mesh sieve set over a bowl. Let it drain thoroughly, pressing down gently with a spoon every so often to remove as much liquid as possible. Set it aside to continue draining while you prepare the other layers.
Step 2: Create the Biscuit Base

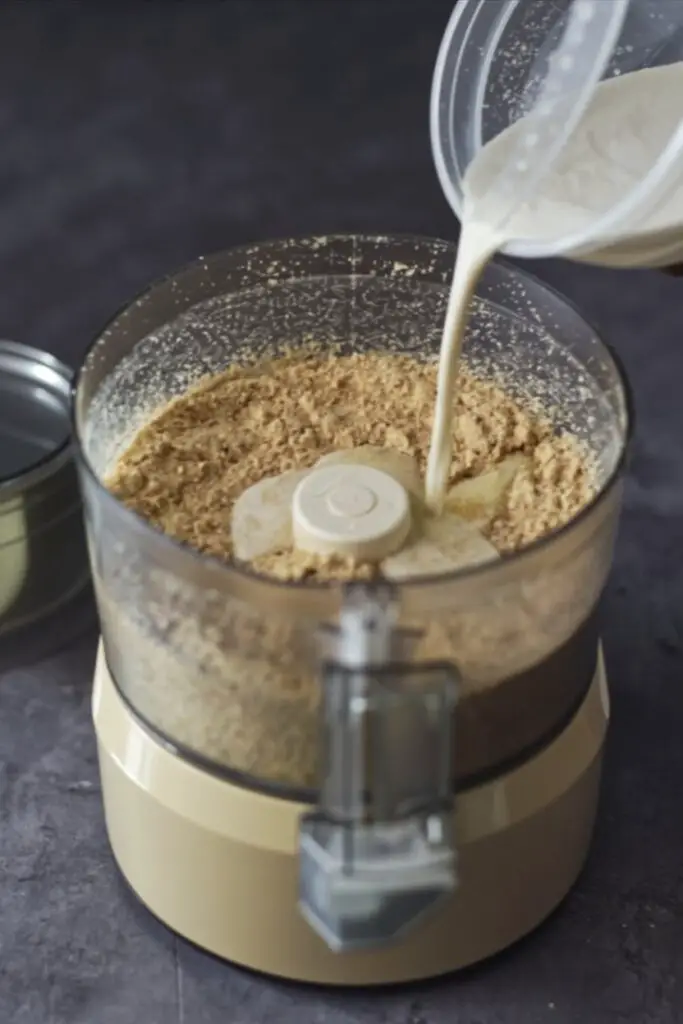
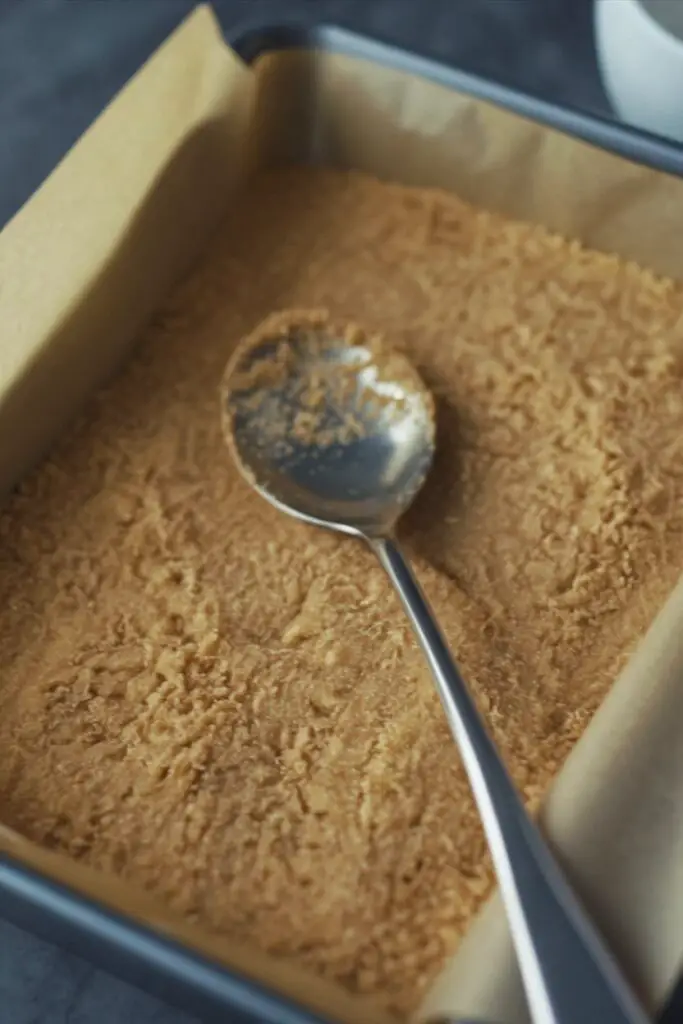
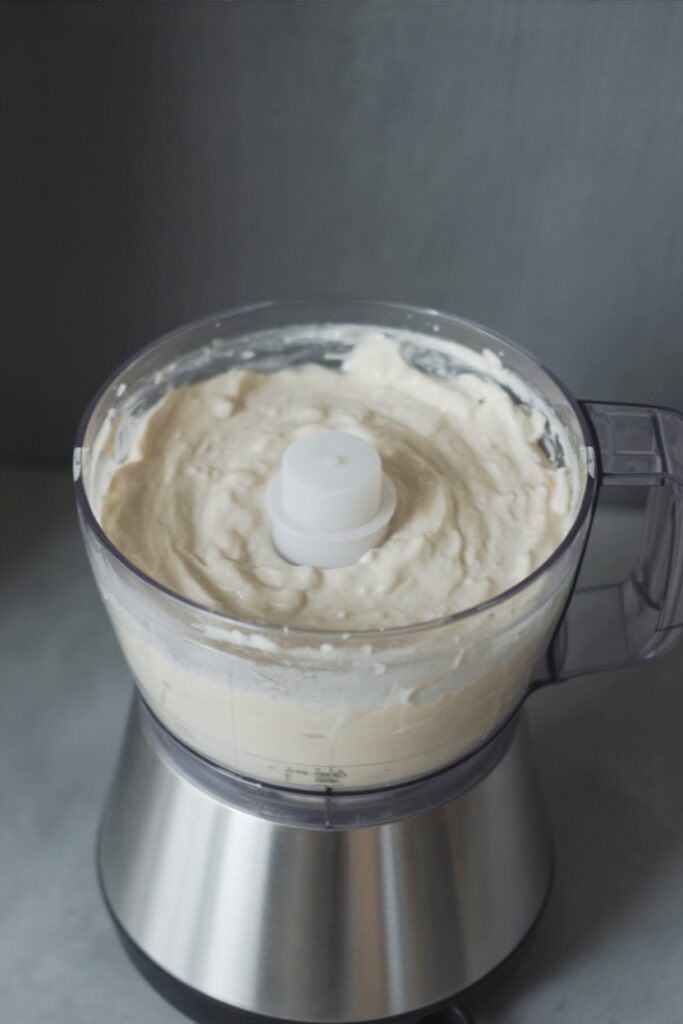
Place your biscuits or cookies in a food processor and pulse until they form fine crumbs. If you don’t have a food processor, you can place them in a sealed bag and crush them with a rolling pin. Melt half of the butter (4 oz) and pour it into the crumbs. Pulse a few more times until the mixture resembles wet sand. Firmly press this crumb mixture into the bottom of your prepared pan, using the back of a spoon or the bottom of a glass to create a flat, compact base.
Step 3: Whip Up the Cream Cheese Filling

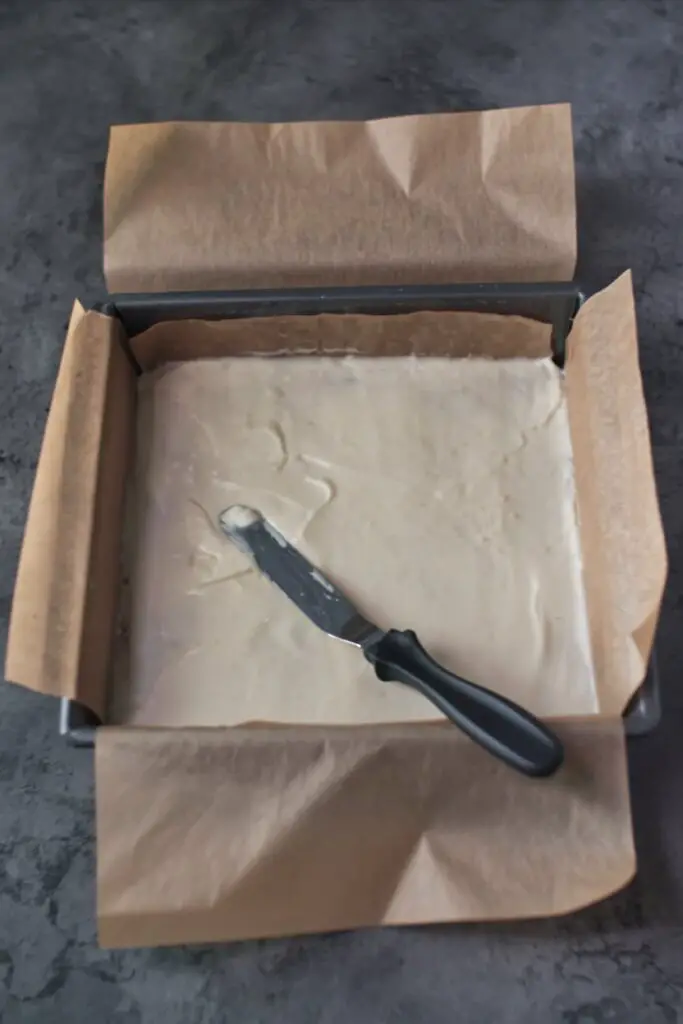
In a medium bowl, use an electric mixer to cream together the remaining 4 oz of butter with the powdered sugar until light and fluffy. Add the softened whipped cream cheese and continue to beat until the mixture is completely smooth and well combined. Carefully spread this rich filling in an even layer over the biscuit base.
Step 4: Prepare the Pineapple Cream Topping
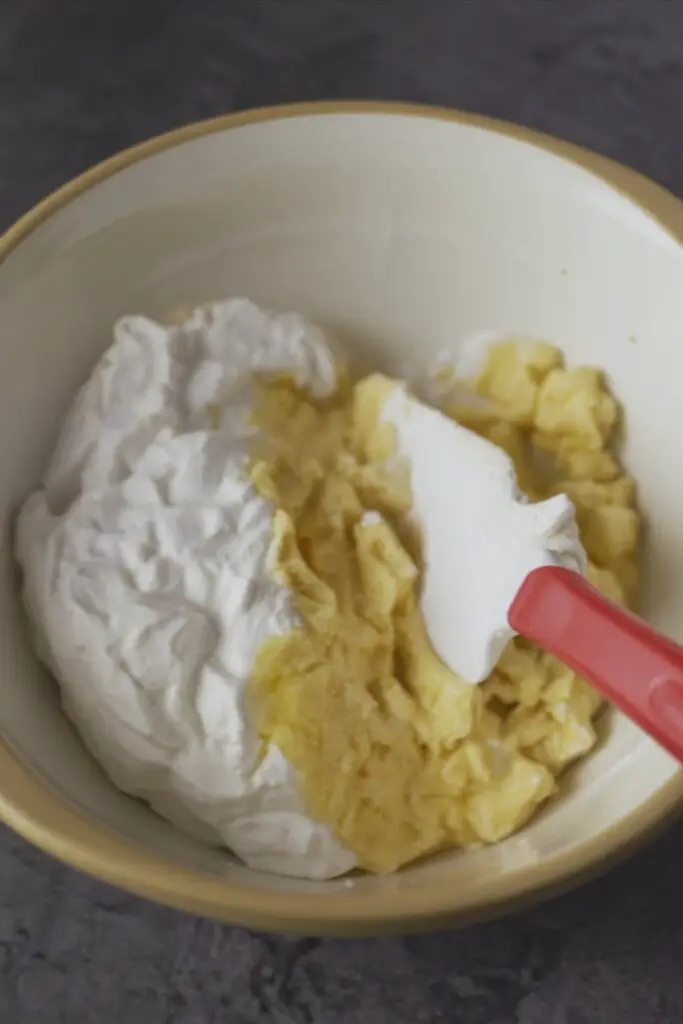

In a clean bowl (you can reuse your food processor bowl if it has a whisk attachment), whip the cold heavy cream until stiff peaks form. In a separate bowl, gently fold the whipped cream into the well-drained crushed pineapple until just combined. Be careful not to overmix, as you want to keep the topping light and airy.
Step 5: Assemble and Chill
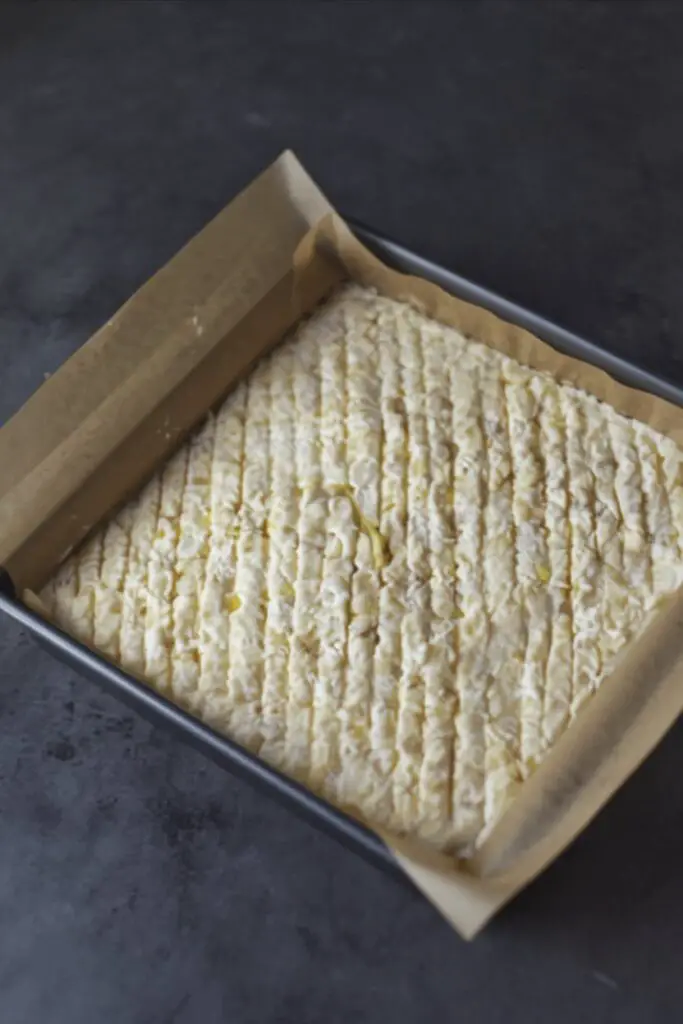
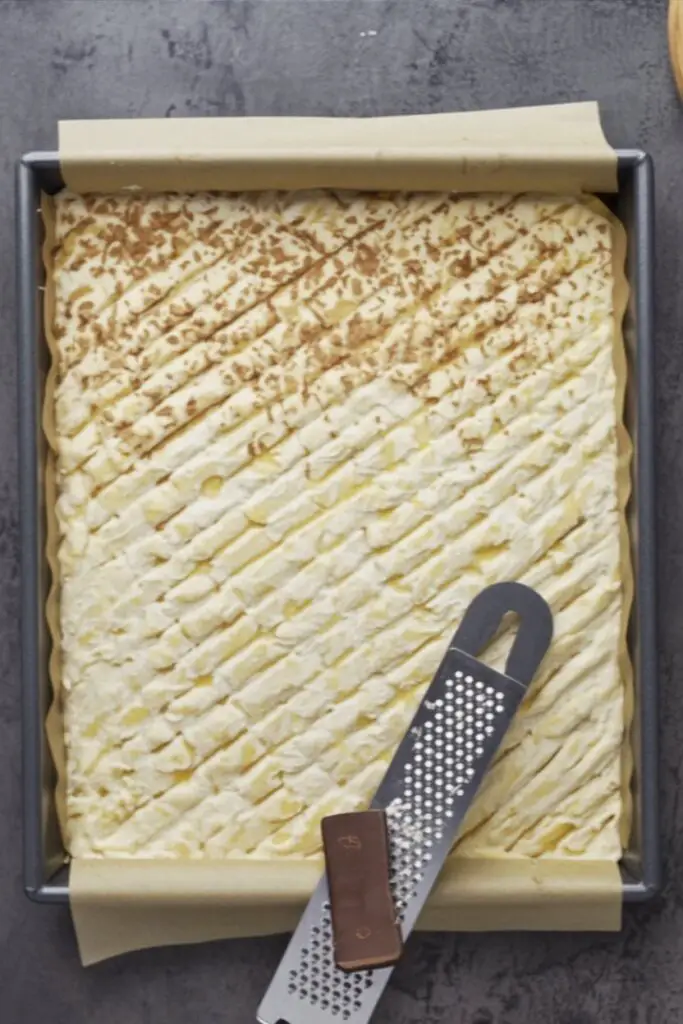
Gently spread the pineapple and cream mixture over the cream cheese layer, smoothing the top with a spatula. You can make a decorative design with the back of a spoon if you wish. Cover the pan with plastic wrap and place it in the refrigerator to chill for at least 4 hours, or preferably overnight. This chilling time is essential for the dessert to set properly. Once chilled, cut it into 16 squares and decorate with grated chocolate or a dusting of cocoa powder before serving.
Nutritional Information
This is an indulgent dessert, perfect for a special treat. The nutritional information is an estimate and can vary based on the specific ingredients used.
- Serving Size: 1 square (when cut into 16)
- Key Nutrients: This dessert is a source of carbohydrates and fats for energy.
- Note: This is a rich, sweet treat best enjoyed in moderation.
Healthier Alternatives
While this recipe is a classic indulgence, you can make a few swaps to lighten it up.
- Lower-Sugar: Use a powdered sugar substitute suitable for no-bake recipes. Ensure your canned pineapple is packed in 100% juice, not heavy syrup, to avoid added sugars.
- Lower-Fat: Opt for a low-fat cream cheese (Neufchâtel) and a light butter or margarine spread. Be aware that this may result in a slightly softer set and a less rich flavour.
- Gluten-Free: This recipe is easily made gluten-free by simply substituting the regular biscuits with your favorite brand of gluten-free shortbread or digestive-style cookies.
Serving Suggestions
This versatile No-Bake Traybake is perfect for almost any occasion and is a guaranteed crowd-pleaser.
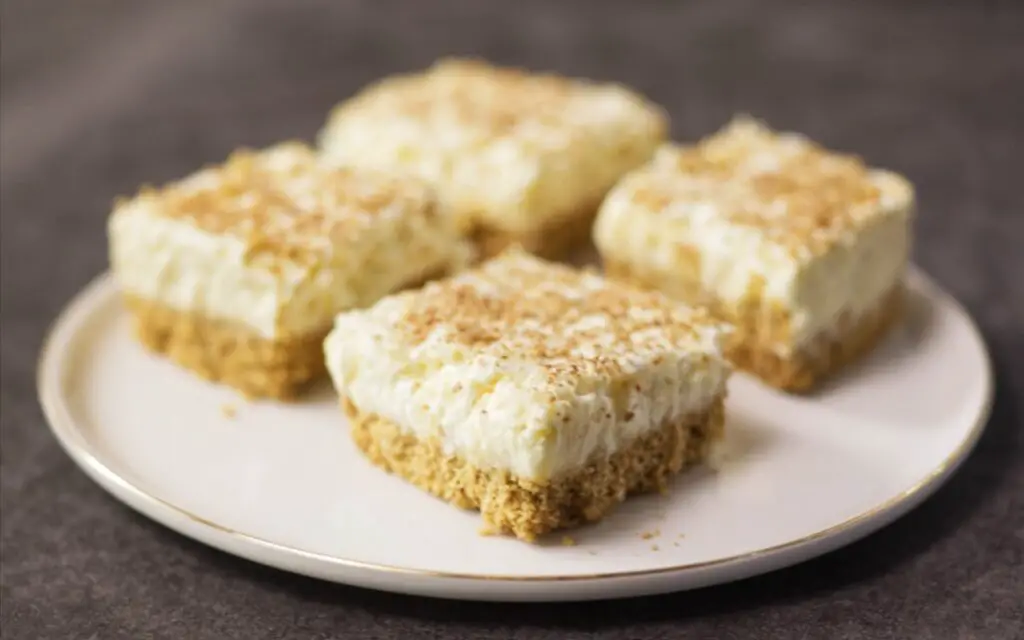
- Afternoon Tea: Serve chilled squares alongside a pot of hot tea or coffee for a delightful afternoon treat.
- Party Perfect: Because it can be made a day or two in advance, it’s the ideal stress-free dessert for parties, potlucks, and family gatherings.
- Simple Elegance: For a simple but elegant presentation, top each square with a sprinkle of finely grated dark chocolate, a dusting of cocoa powder, or a few leftover biscuit crumbs.
Common Mistakes to Avoid
Follow these tips to ensure your traybake is a stunning success every time.
- Not Draining the Pineapple Enough: This is the most critical error and will result in a watery, unset topping that makes the whole dessert soggy. Solution: Be patient. Let the pineapple drain in a sieve for at least 30 minutes. Press it firmly with a spoon to squeeze out every last drop of juice before using.
- A Crumbly Base: If the biscuit base falls apart when you cut it, it likely wasn’t packed down firmly enough or needed a touch more butter. Solution: Make sure your crumb mixture is thoroughly moistened with the melted butter. Press it into the pan very firmly to create a solid foundation.
- Not Chilling for Long Enough: Cutting into the traybake before it has fully set will result in messy squares and layers that meld together. Solution: Do not rush the chilling process. A minimum of 4 hours is required, but chilling it overnight is even better for perfectly firm, clean-cut squares.
Storing Tips
This is a fantastic make-ahead dessert, and leftovers (if you have any!) are easy to store.
- To Store: Keep the traybake covered with plastic wrap or in an airtight container in the refrigerator. It will stay fresh and delicious for up to 4 days.
- Freezing: This dessert does not freeze well, as the cream cheese and whipped cream layers can separate and become watery upon thawing. It is best enjoyed fresh from the refrigerator.
Conclusion
This Easy No-Bake Pineapple Traybake is a timeless classic for a reason. It’s incredibly simple to make, requires no oven time, and delivers a delightful combination of crunchy, creamy, and fruity layers. It’s the perfect, reliable recipe to have in your collection for when you need a dessert that is both effortless and impressive. The light, refreshing taste of pineapple makes it a wonderful treat year-round.
We are certain this will become a new favorite in your no-bake repertoire. Try it out and let us know in the comments how much you enjoyed it! We love hearing from you. Don’t forget to rate the recipe and subscribe for more easy and delicious dessert ideas.
FAQs
Q1. What kind of biscuits (cookies) are best for the base?
Traditionally, this is made with digestive biscuits, which are common in the UK and Ireland. However, any plain, crisp cookie like shortbread, vanilla wafers, or even graham crackers would work beautifully.
Q2. Can I use fresh pineapple instead of canned?
Yes, you can use fresh pineapple. You will need to chop it very finely and then let it drain thoroughly in a sieve, just like the canned version, to remove as much excess juice as possible.
Q3. Can I make this in a different sized pan?
You can. A rectangular 9×13 inch pan will also work, but it will result in thinner layers. If you use a smaller pan, the layers will be thicker, and you may need to increase the chilling time to ensure it sets completely.
Q4. How far in advance can I make this dessert?
This is a perfect make-ahead recipe. You can prepare it up to 2 days in advance. Just keep it covered in the refrigerator until you are ready to cut and serve it. In fact, the flavor often gets even better on the second day!
Print
Easy No-Bake Pineapple Traybake (A Northern Irish Classic!)
- Total Time: 4 hours 25 minutes
- Yield: 16 Squares 1x
Description
This classic Northern Irish recipe uses simple, accessible ingredients to create three distinct and delicious layers. The beauty of this no-bake dessert is its simplicity and minimal active time. The hardest part is waiting for it to chill!
Ingredients
- oz () Digestive Biscuits or Shortbread Cookies
- oz () Unsalted Butter, divided
- oz (about cups) Powdered (Icing) Sugar
- oz () Whipped Cream Cheese, softened
- oz ( cup) Heavy Whipping Cream, chilled
- (20 oz) can Canned Crushed Pineapple, in juice
Instructions
- Prep the Pan & Pineapple: Line an 8×8 or 9×9 inch square pan with parchment paper, leaving an overhang on the sides. Pour the can of crushed pineapple into a fine-mesh sieve over a bowl and let it drain thoroughly, pressing down gently to remove as much liquid as possible.
- Create the Biscuit Base: Crush the biscuits into fine crumbs using a food processor or a rolling pin. Melt half the butter (4 oz) and mix it into the crumbs until the mixture resembles wet sand. Press this mixture firmly and evenly into the bottom of your prepared pan.
- Whip the Cream Cheese Filling: In a medium bowl, use an electric mixer to cream the remaining 4 oz of butter with the powdered sugar until light and fluffy. Add the softened whipped cream cheese and beat until completely smooth. Spread this filling in an even layer over the biscuit base.
- Prepare the Pineapple Topping: In a clean bowl, whip the cold heavy cream until stiff peaks form. Gently fold the whipped cream into the well-drained crushed pineapple until just combined.
- Assemble and Chill: Gently spread the pineapple cream mixture over the cream cheese layer. Cover the pan and refrigerate for at least 4 hours, or preferably overnight, to allow the dessert to set completely. Once chilled, lift out of the pan, cut into 16 squares, and serve.
Notes
- Drain Pineapple Thoroughly: This is the most crucial step! Draining the pineapple very well in a fine-mesh sieve prevents the topping from becoming watery and ensures the traybake sets properly.
- Essential Chilling Time: Don’t rush the chilling. The minimum 4-hour chilling time is essential for the layers to firm up for clean slicing.
- Easy Removal: Use the overhanging parchment paper as “handles” to easily lift the entire traybake out of the pan before cutting.
- Prep Time: 25 minutes
- Category: Dessert, No-Bake, Traybake
- Method: No-Bake, Chilling
- Cuisine: Northern Irish, Irish
Nutrition
- Serving Size: 1 square
- Calories: 290kcal
- Sugar: 20g
- Sodium: 150mg
- Fat: 20g
- Saturated Fat: 12g
- Unsaturated Fat: 6g
- Trans Fat: 0.5g
- Carbohydrates: 28g
- Fiber: 1g
- Protein: 2g
- Cholesterol: 50mg