Ever crave that rich, velvety slice of cheesecake but can’t bear the thought of turning on the oven? We’ve all been there. Baking a traditional cheesecake can be a fussy, time-consuming affair, complete with water baths and worrying about those dreaded cracks. What if I told you that you could achieve that same decadent, creamy texture without any baking at all?
- Ingredients You’ll Need
- How Long Will This Take?
- Step-by-Step Instructions
- Step 1: Crush the Graham Crackers
- Step 2: Mix and Press the Crust
- Step 3: Chill the Crust
- Step 4: Beat the Cream Cheese
- Step 5: Add Sugar, Vanilla & Pudding
- Step 6: Whip and Fold the Cream
- Step 7: Assemble and Chill Your Cheesecake
- Step 8: Create the Crumb Topping
- Step 9: Slice and Serve Perfection
- Estimated Nutritional Information
- Healthier Alternatives & Variations
- Serving Suggestions
- Common Mistakes to Avoid
- Storing Your Cheesecake
- The Easiest, Creamiest Dessert Awaits!
- Frequently Asked Questions (FAQs)
- Q1. Why is my no-bake cheesecake not firm?
- Q2. Can I use a springform pan instead of a baking dish?
- Q3. Can I make this gluten-free?
- Q4. Do I really have to use the instant pudding mix?
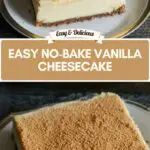
- Easy No-Bake Vanilla Cheesecake: The Ultimate Creamy Recipe
This Easy No-Bake Vanilla Cheesecake is the answer. It’s a game-changer for summer parties, potlucks, or any time you need a stunning dessert without the stress. This recipe for No-Bake Vanilla Cheesecake with a Graham Cracker Crust is about to become your new go-to. It’s foolproof, incredibly simple, and uses a secret ingredient (instant pudding!) to guarantee a perfectly set, luxurious, and sliceable dessert every single time.

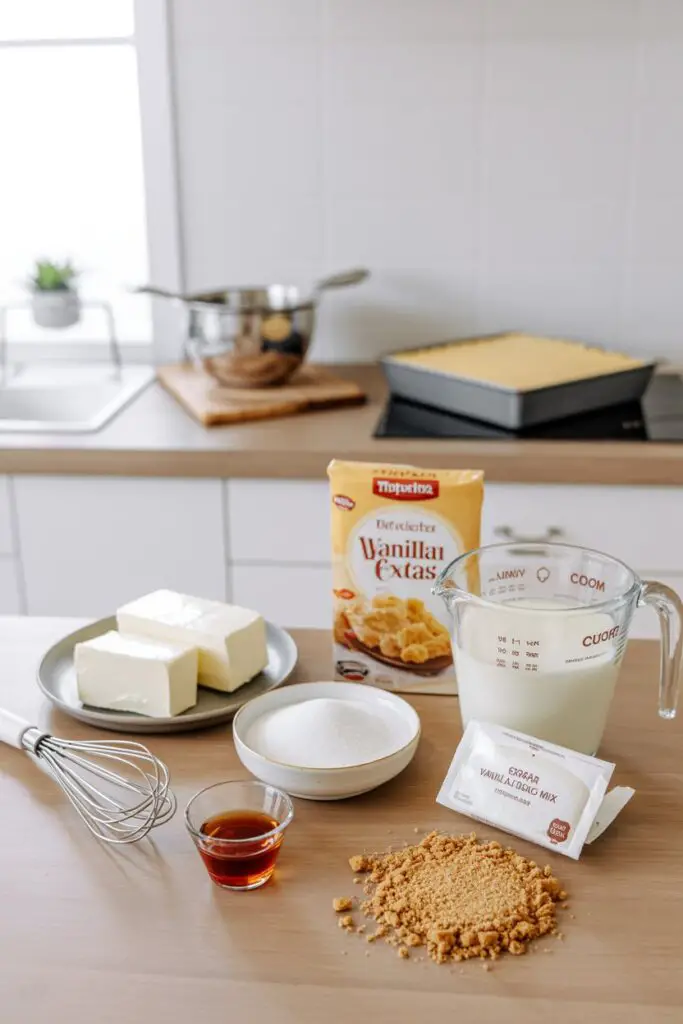
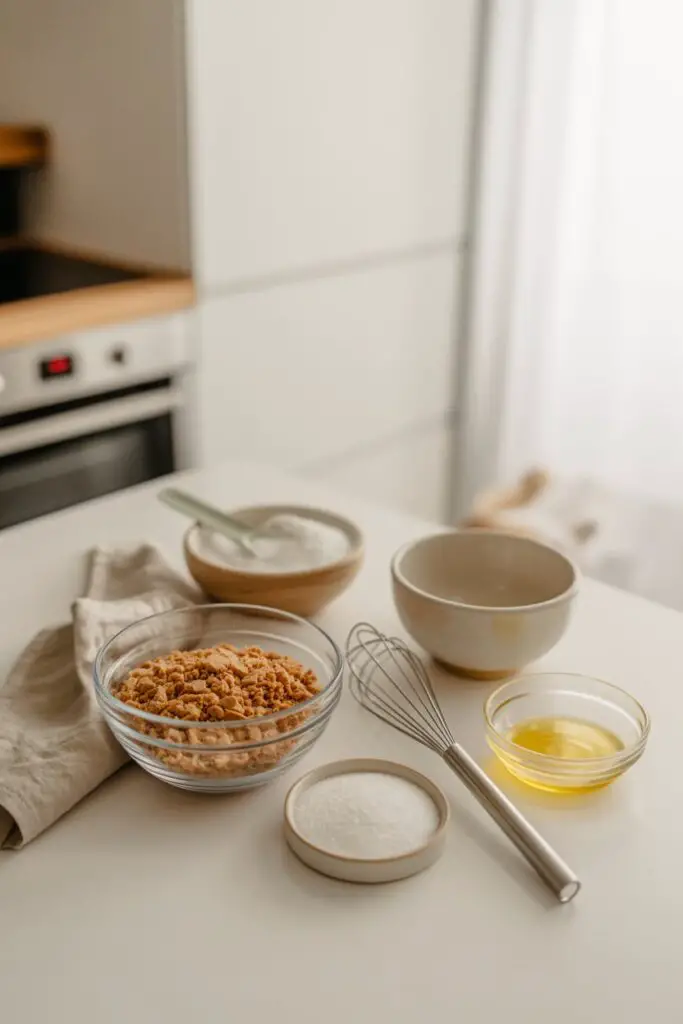
Ingredients You’ll Need
Here’s everything you need to create this simple yet elegant dessert. The key is using softened cream cheese and cold heavy cream to get the perfect texture.
For the Crust:
- 1 1/2 cups Graham Cracker Crumbs (from 15-18 crackers)
- 1/4 cup (50g) Granulated Sugar
- 1/2 cup (113g) Unsalted Butter, melted and slightly cooled
For the Cheesecake Filling:
- 2 packages (8-oz / 226g each) Cream Cheese, softened
- 1 cup (200g) Granulated Sugar
- 1 teaspoon Pure Vanilla Extract
- 1 cup (240ml) Heavy Cream, cold
- 1 package (3.4-oz / 96g) Instant Vanilla Pudding Mix, dry
For the Crumb Topping:
- 1/2 cup Graham Cracker Crumbs (from 5-6 crackers), crushed finely
Essential Equipment
- 8×8 inch (20×20 cm) or 9×9 inch (23×23 cm) square baking dish
- Large and medium mixing bowls
- Electric mixer (stand or hand mixer)
- Spatula
How Long Will This Take?
The beauty of this recipe is the minimal active time. The magic happens in the fridge!
- Prep time: 30 minutes (That’s it! Just for mixing and pressing.)
- Cook time: 0 minutes
- Chill time: 6 hours (or overnight for best results)
- Total time: 6 hours 30 minutes (The hardest part is just waiting for it to set!)
Step-by-Step Instructions
Follow these steps closely, and you’ll have a flawless no-bake cheesecake.
Step 1: Crush the Graham Crackers
If you’re not using pre-made crumbs, it’s time to make your own. You’ll need about 2 cups of crumbs total ($1 \frac{1}{2}$ for the crust, $\frac{1}{2}$ for the topping). The easiest way to get a uniform, fine crumb is in a food processor. You can also place the crackers in a large zip-top bag and crush them with a rolling pin.
Step 2: Mix and Press the Crust
In a medium bowl, combine the $1 \frac{1}{2}$ cups of graham cracker crumbs and $\frac{1}{4}$ cup of granulated sugar. Pour in the $\frac{1}{2}$ cup of melted butter and mix with a fork until all the crumbs are evenly moistened. The texture should be like wet sand.
Dump the buttery crumbs into your 8×8 inch baking dish. Using the bottom of a flat glass or a measuring cup, press the mixture firmly and evenly into the bottom of the dish to create a packed, level crust.
Step 3: Chill the Crust
Place the pan with the crust into the refrigerator to chill and set for at least 15 minutes. This step is crucial for ensuring your crust is firm and doesn’t crumble when you add the filling.
Step 4: Beat the Cream Cheese
While the crust chills, start the filling. In a large mixing bowl, place your two packages of softened cream cheese. Using an electric mixer on medium speed, beat the cream cheese until it’s completely smooth and creamy, with no lumps remaining. This usually takes about 2-3 minutes.
- Pro Tip: Scrape down the sides and bottom of the bowl with a spatula at least once to ensure every bit of cream cheese is incorporated.
Step 5: Add Sugar, Vanilla & Pudding
Add the 1 cup of granulated sugar and 1 teaspoon of vanilla extract to the beaten cream cheese. Mix on medium speed for another 1-2 minutes until everything is light and fluffy.
Next, add the entire packet of dry instant vanilla pudding mix. Beat on low speed until the pudding mix is just combined. The mixture will start to thicken up almost immediately.
Step 6: Whip and Fold the Cream
In a separate, chilled bowl, pour your 1 cup of cold heavy cream. Using clean beaters, whip the cream on high speed until soft or medium peaks form. Be careful not to over-whip it into butter!
Gently add the whipped cream to your cream cheese mixture. Using a spatula, fold the cream in gently. Use a figure-eight or an “under-and-over” motion until no white streaks of cream remain. The final filling should be thick, light, and airy.
Step 7: Assemble and Chill Your Cheesecake
Retrieve your chilled crust from the fridge. Spoon the cheesecake filling onto the crust and spread it into an even, smooth layer using your spatula.
Cover the baking dish tightly with plastic wrap. Place it in the refrigerator to chill for at least 6 hours, though overnight is even better. This chilling time is essential; it allows the pudding mix and fats to set up, giving you those clean, beautiful slices.
Step 8: Create the Crumb Topping
Just before serving, or after the cheesecake is fully set, prepare your topping. Take the remaining $\frac{1}{2}$ cup of graham cracker crumbs and crush them very finely, almost to the consistency of powder. A food processor or a clean coffee grinder works best for this.
Once the cheesecake is set, evenly sprinkle or sift this fine crumb powder over the entire top surface.
Step 9: Slice and Serve Perfection
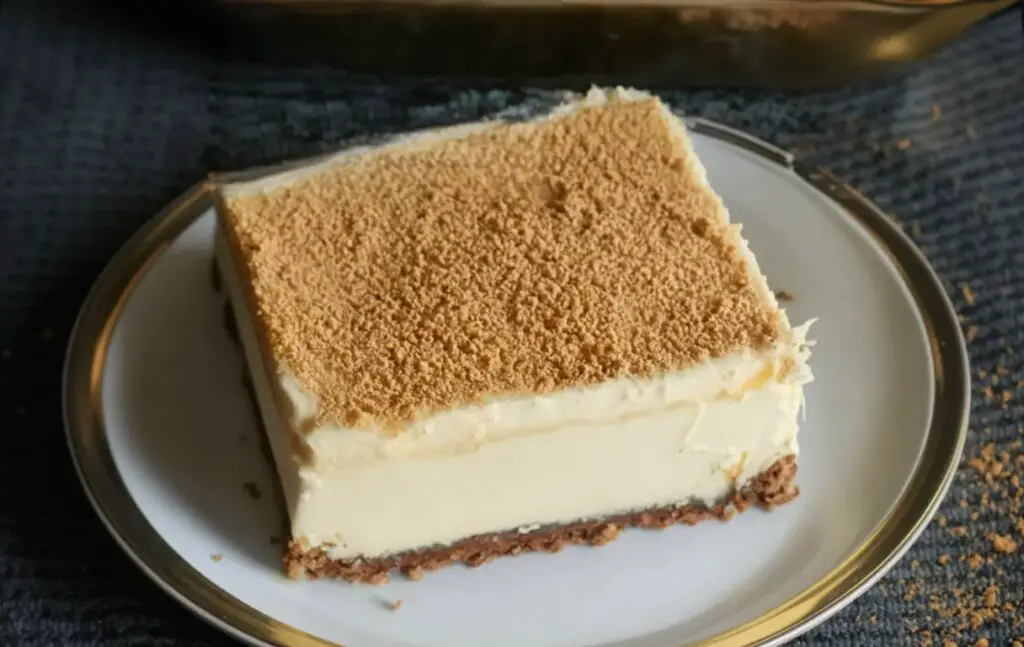
To get those perfect, clean-cut squares seen in the picture, use a large, sharp knife.
- Pro Tip: For the cleanest slices, run the knife under hot water, wipe it dry, make one cut, and then repeat for every single cut. This melts the fat just enough to glide through without dragging.
Lift the slices out carefully with a spatula and serve immediately.
Estimated Nutritional Information
Please note this is a decadent dessert! The following nutritional information is an estimate per serving, assuming the dish is cut into 12 squares.
- Calories: 460 kcal
- Protein: 5 g
- Fat: 32 g (Saturated: 19 g)
- Carbohydrates: 39 g
- Sugar: 29 g
- Sodium: 410 mg
Healthier Alternatives & Variations
Want to tweak this No-Bake Vanilla Cheesecake? It’s easy to customize!
- Gluten-Free: The easiest swap! Simply use your favorite gluten-free graham-style crackers for the crust and topping. The filling is naturally gluten-free.
- Lower Sugar: You can successfully substitute the granulated sugar in the filling with a 1:1 baking substitute like monk fruit or erythritol. You can also use a sugar-free instant pudding packet.
- Lower Fat: Use Neufchâtel cheese (often labeled “1/3 less fat”) instead of full-fat cream cheese. The texture will be slightly less rich but still delicious.
- Add Some Zest: For a bright, fresh flavor, fold in the zest of one lemon along with the vanilla extract.
- Change the Topping: Instead of the crumb topping, serve with a pile of fresh raspberries or blueberries, or a drizzle of chocolate or caramel sauce.
Serving Suggestions
This cheesecake is a star on its own, but it loves company.
- With Fruit: Serve a slice with a simple coulis made from blended strawberries or raspberries. The tartness beautifully cuts through the richness.
- With a Drizzle: A light drizzle of melted chocolate, salted caramel, or even butterscotch is pure indulgence.
- With a Drink: This dessert pairs perfectly with a hot cup of coffee, a strong black tea, or a small glass of dessert wine like a late-harvest Riesling.
- The Occasion: This is the ultimate potluck or BBQ dessert. It’s made entirely in advance, travels well (in a cooler), and requires no last-minute fuss.
Common Mistakes to Avoid
This recipe is simple, but a few common slip-ups can affect the final texture.
- Using Cold Cream Cheese: This is the #1 mistake. Cold cream cheese will not blend smoothly and will leave you with a lumpy filling. Solution: Let it sit on the counter for at least 1-2 hours until it’s very soft to the touch.
- Using “Cook & Serve” Pudding: This recipe requires instant pudding mix. The cook-and-serve kind will not set properly without being heated.
- Not Chilling Long Enough: Patience is key. If you slice it after only 2-3 hours, it will be soft and messy. Solution: Give it the full 6 hours, or better yet, make it the day before you plan to serve it.
- Over-whipping the Cream: If you whip the heavy cream until it’s stiff and grainy, it won’t fold into the cream cheese mixture smoothly. Solution: Stop whipping as soon as you have soft peaks (the peak just flops over when you lift the beater).
Storing Your Cheesecake
This is a perfect make-ahead dessert because it stores so well.
- In the Refrigerator: Store the cheesecake covered tightly with plastic wrap (or in an airtight container) in the fridge for up to 4 days. The crust will soften slightly over time but will still be delicious.
- In the Freezer: Yes, this cheesecake freezes beautifully! You can freeze the entire pan or individual slices. Wrap tightly in plastic wrap, then a layer of aluminum foil. It will keep for up to 1 month. To save, thaw it in the refrigerator overnight.
The Easiest, Creamiest Dessert Awaits!
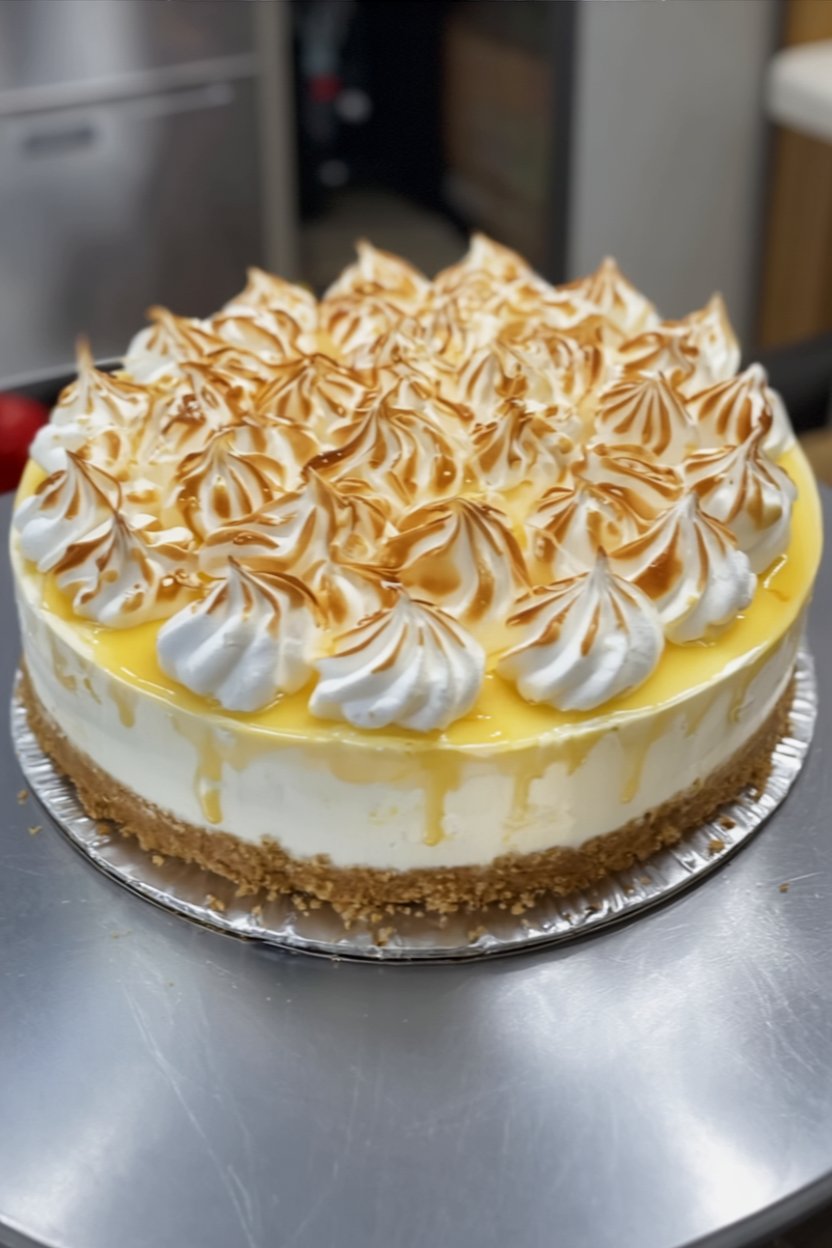
And there you have it—a stunning, creamy, and Easy No-Bake Vanilla Cheesecake that’s guaranteed to impress, all without ever touching your oven. This recipe proves that you don’t need complicated techniques or a water bath to create a truly luxurious dessert. The balance of the buttery graham cracker crust, the rich vanilla filling, and the delicate crumb topping is pure perfection.
Did you try this recipe? We’d love to hear how it went! Leave a comment below, rate the recipe, and let us know any variations you tried. Don’t forget to subscribe for more simple and delicious recipes!
Frequently Asked Questions (FAQs)
Q1. Why is my no-bake cheesecake not firm?
This almost always comes down to two things: 1) You didn’t chill it long enough (it truly needs 6+ hours), or 2) You accidentally used “Cook & Serve” pudding mix instead of Instant pudding mix. The instant pudding contains stabilizers that are activated by the cold milk/cream and are essential for setting the cheesecake.
Q2. Can I use a springform pan instead of a baking dish?
Absolutely! An 8-inch or 9-inch round springform pan works perfectly for this recipe. It makes for a beautiful presentation, as you can remove the ring and serve the cheesecake whole. Just press the crust into the bottom and slightly up the sides.
Q3. Can I make this gluten-free?
Yes, this is very easy to make gluten-free. Simply substitute the graham crackers in the crust and topping with your favorite gluten-free graham-style crackers or a similar GF biscuit. The filling ingredients are naturally gluten-free (but always double-check your pudding mix packet).
Q4. Do I really have to use the instant pudding mix?
In this specific recipe, yes. The pudding mix is the key stabilizing agent that replaces traditional gelatin or baked eggs. It’s what ensures the cheesecake sets up firmly enough to be sliced cleanly, rather than being a soft, mousse-like consistency. If you omit it, the filling will be quite soft and will not hold its shape.
Print
Easy No-Bake Vanilla Cheesecake: The Ultimate Creamy Recipe
- Total Time: 6 hours 30 minutes
- Yield: 12 Servings 1x
Description
This ultimate no-bake vanilla cheesecake is the perfect easy, elegant dessert. It features a buttery graham cracker crust and a simple, lusciously creamy filling made from cream cheese, instant pudding, and whipped cream. Chilled to perfection and topped with graham cracker crumbs, it’s a flawless dessert that requires no oven time.
Ingredients
For the Crust
- 1 1/2 cups Graham Cracker Crumbs (from 15-18 crackers)
- 1/4 cup (50g) Granulated Sugar
- 1/2 cup (113g) Unsalted Butter, melted and slightly cooled
For the Cheesecake Filling
- 2 packages (8-oz / 226g each) Cream Cheese, softened
- 1 cup (200g) Granulated Sugar
- 1 teaspoon Pure Vanilla Extract
- 1 cup (240ml) Heavy Cream, cold
- 1 package (3.4-oz / 96g) Instant Vanilla Pudding Mix, dry
For the Crumb Topping
- 1/2 cup Graham Cracker Crumbs (from 5-6 crackers), crushed finely
Instructions
- Crush Graham Crackers: If making your own crumbs, use a food processor to crush crackers into fine crumbs (you need 2 cups total).
- Mix and Press Crust: In a medium bowl, combine the 1 1/2 cups of graham cracker crumbs and 1/4 cup of granulated sugar. Pour in the melted butter and mix with a fork until all crumbs are moistened (like wet sand). Press this mixture firmly into the bottom of an 8×8 inch baking dish.
- Chill the Crust: Place the pan with the crust into the refrigerator to chill and set for at least 15 minutes.
- Beat Cream Cheese: In a large bowl, use an electric mixer to beat the softened cream cheese on medium speed for 2-3 minutes, until completely smooth and free of lumps.
- Add Sugar & Pudding: Add the 1 cup of granulated sugar and 1 teaspoon of vanilla extract. Mix for another 1-2 minutes until light and fluffy. Add the dry instant vanilla pudding mix and beat on low speed until just combined. The mixture will thicken quickly.
- Whip and Fold Cream: In a separate, chilled bowl, whip the 1 cup of cold heavy cream on high speed until soft or medium peaks form. Gently fold the whipped cream into the cream cheese mixture with a spatula until no white streaks remain.
- Assemble and Chill: Spoon the cheesecake filling onto the chilled crust and spread it into an even layer. Cover tightly with plastic wrap and refrigerate for at least 6 hours, or overnight, until firm.
- Top and Serve: Just before serving, crush the remaining 1/2 cup of crumbs into a fine powder. Sprinkle or sift this crumb powder evenly over the top of the set cheesecake.
- Slice and Serve: Use a large, sharp knife (run under hot water and wiped dry for clean cuts) to slice into squares. Serve immediately.
Notes
- Lump-Free Filling: Scrape down the sides and bottom of the bowl with a spatula at least once while beating the cream cheese to ensure every bit is incorporated and smooth.
- Firm Crust: Chilling the crust for 15 minutes before adding the filling is crucial to ensure it is firm and doesn’t mix with the filling.
- Don’t Over-Whip: Be careful not to over-whip the heavy cream past medium peaks, or it may turn into butter.
- Patience is Key: The 6-hour (or overnight) chilling time is essential. It allows the pudding mix and fats to set up, giving you those clean, beautiful slices.
- Clean Cuts: For the cleanest slices, run your knife under hot water, wipe it dry, make one cut, and then repeat this process for every single cut.
- Prep Time: 30 minutes
- Cook Time: 0 minutes
- Category: Dessert, No-Bake, Cheesecake
- Method: No-Bake, Chilling, Mixing
- Cuisine: American
Nutrition
- Serving Size: 1 square (1/12th of dish)
- Calories: 460 kcal
- Sugar: 29 g
- Sodium: 410 mg
- Fat: 32 g
- Saturated Fat: 19 g
- Unsaturated Fat: 13 g
- Trans Fat: 0 g
- Carbohydrates: 39 g
- Fiber: 0.5 g
- Protein: 5 g
- Cholesterol: 115 mg