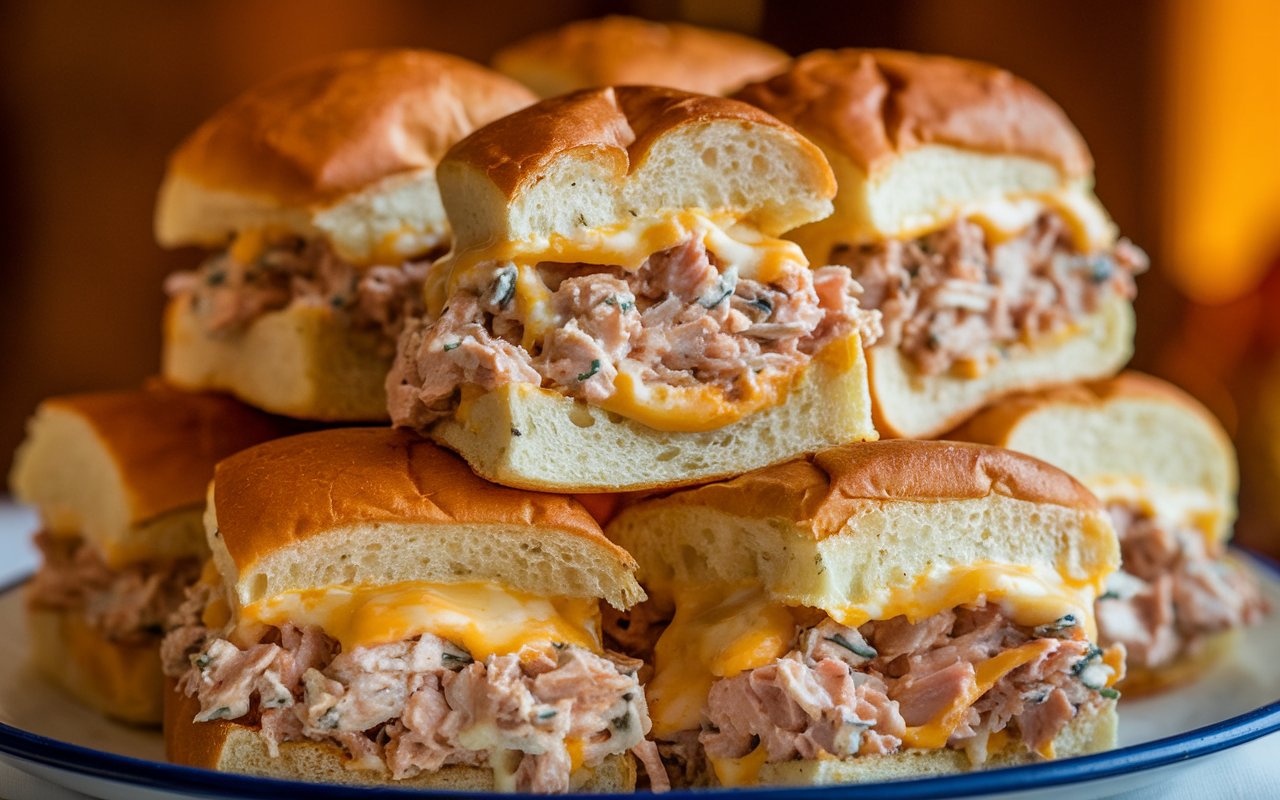
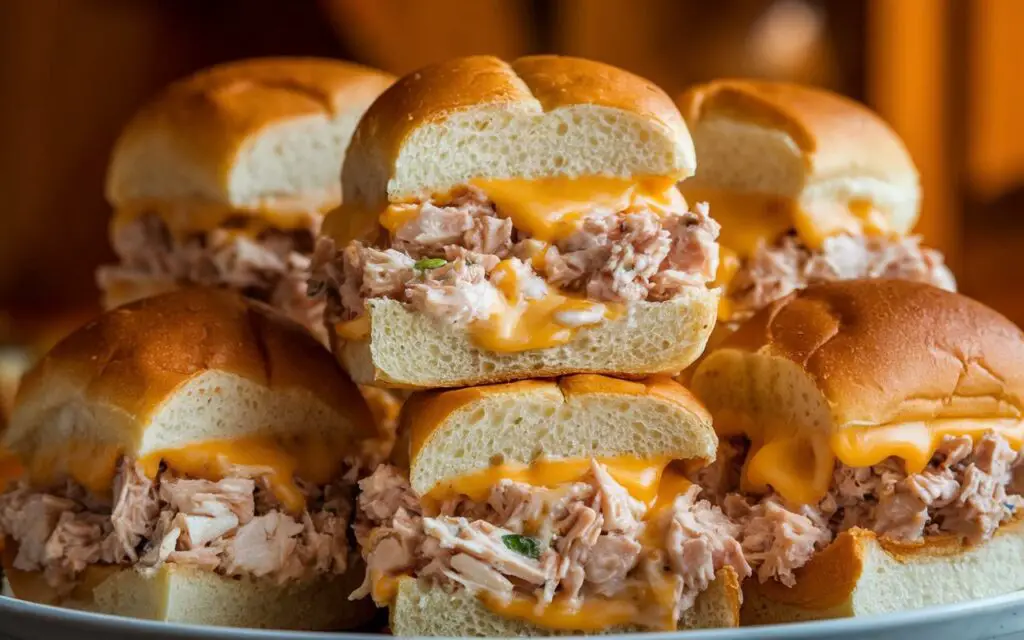
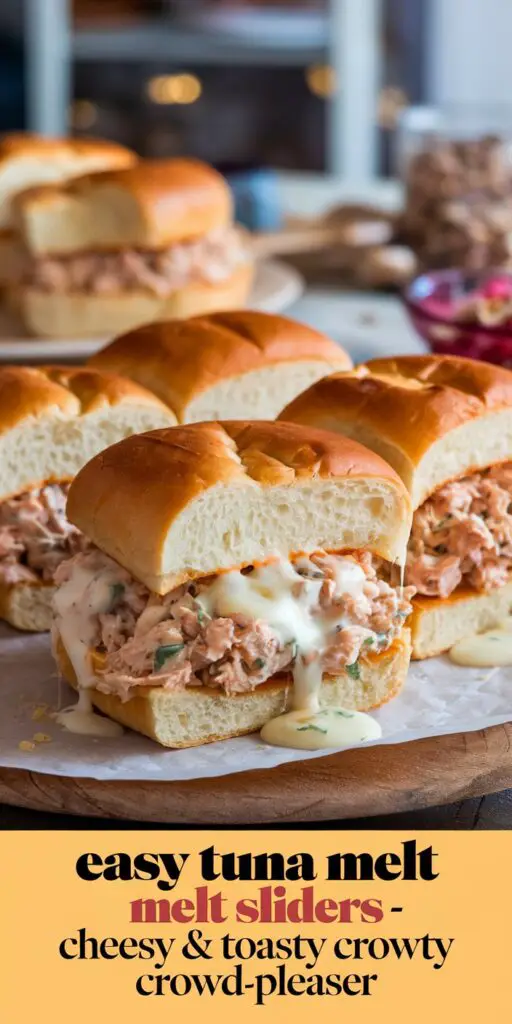
Tuna melts embody retro comfort: warm, melty cheese paired with tangy tuna salad, often served on bread that’s griddled to golden-brown perfection. Now imagine that tasty combo on slider buns, baked all at once to feed a crowd with minimal fuss—introducing Easy Tuna Melt Sliders – Cheesy & Toasty Crowd-Pleaser. Whether it’s a game-day snack, quick lunch, or potluck favorite, these sliders come together in a snap yet taste like you lavished time on them.
- Why Tuna Melt Sliders?
- Key Ingredients in Table Form
- Step-by-Step Guide
- 1. Prepare Tuna Salad (5 minutes)
- 2. Assemble Sliders (5 minutes)
- 3. Bake & Melt (10–15 minutes)
- 4. Serve Hot (Immediate)
- Flavor Tweaks & Variations
- Serving & Presentation
- Why These Sliders Work
- Storing & Reheating
- Frequently Asked Questions
- Conclusion
In this comprehensive guide, you’ll learn how to select quality tuna, create a balanced salad mixture, layer on cheese for maximum gooeyness, and toast everything to crunchy, savory bliss. We’ll also cover a table of essential ingredients, possible variations to suit different tastes, and how to assemble these sliders so they look as good as they taste. By the end, you’ll have all the tools and tips to whip up a batch of tuna melt sliders that can stand proudly on any appetizer table—or simply become your family’s new go-to lunch.

Why Tuna Melt Sliders?
- Crowd-Friendly
Traditional tuna melts can be made individually in a skillet, but sliders let you bake a dozen or more at once. Ideal for parties or busy weeknights. - Classic Comfort
The savory tuna and melted cheese evoke nostalgia—like a grilled cheese, but with extra protein and tangy goodness. - Customizable
Adjust seasoning, spice level, or type of cheese. Add pickles, tomatoes, or even bacon. Sliders are flexible and easy to adapt. - Minimal Cleanup
Just one baking dish or tray, plus a mixing bowl for the tuna salad. No flipping sandwiches on a griddle individually.
Key Ingredients in Table Form
Here’s a concise table outlining the main components for about 12 sliders (one typical pack of slider buns):

| Ingredient | Quantity (Approx.) | Purpose / Notes |
|---|---|---|
| Slider Buns | 12 buns (1 pack) | Soft, small buns ideal for bite-sized melts. |
| Canned Tuna (in water/oil) | 2 cans (5 oz each) | Main protein; drained. Choose solid or chunk. |
| Mayonnaise | ~1/3 cup | Binds tuna, adds creaminess; Greek yogurt can sub for lighter version. |
| Celery (finely diced) | ~1/4 cup | Crunchy texture in tuna salad; can omit or use onion. |
| Onion (or Green Onions) | 2–3 tbsp (minced) | Savory bite in tuna mix; optional if you prefer mild flavor. |
| Pickle Relish or Dijon | 1–2 tbsp | Adds tang and brightness to tuna salad mixture. |
| Salt & Pepper | To taste | Basic seasoning. May add Old Bay or lemon pepper for an extra kick. |
| Cheese (Cheddar/Swiss) | 6–8 slices | Melts over tuna, providing gooey factor. Shredded cheese also works. |
| Butter (melted) | 2–3 tbsp | Optional brushing on buns for toasty finish. |
| Optional Toppings (Tomato slices, Lettuce) | As desired | Enhance or customize each slider to taste. |
Step-by-Step Guide
1. Prepare Tuna Salad (5 minutes)
- Drain Tuna: Open and drain two 5-ounce cans of tuna. Press out excess water or oil.
- Mix: In a bowl, combine tuna, about 1/3 cup mayonnaise, diced celery and onion, relish (or Dijon), plus salt and pepper.
- Taste & Adjust: If it’s too dry, add a spoonful of mayo or Greek yogurt. Want more tang? Add extra relish or a squeeze of lemon.
2. Assemble Sliders (5 minutes)
- Preheat Oven: 350°F (175°C).
- Slice Buns: Keep slider buns attached in a sheet if possible, slicing horizontally to create a top and bottom “slab.” This approach speeds assembly.
- Layer: On the bottom slab, spread the tuna salad evenly. Top with cheese slices (halved to fit or use shredded cheese). Carefully place the top slab of buns over the cheese.
- Optional Butter Drizzle: For extra richness, brush melted butter or garlic butter on the top of the buns.
3. Bake & Melt (10–15 minutes)
- Arrange: Place the assembled slider “loaf” on a baking sheet or in a baking dish.
- Tent with Foil: Loosely cover with aluminum foil to prevent over-browning.
- Bake: About 10–12 minutes, until cheese is melted and buns are lightly toasted. If you prefer a crisp top, remove foil for the last 2–3 minutes.
4. Serve Hot (Immediate)
- Slice Apart: Using a knife, separate individual sliders.
- Garnish: If adding tomato slices, tuck them in post-bake to keep them fresh. Lettuce also should go in after toasting, so it doesn’t wilt.
- Plating: Transfer to a tray or large plate. Offer pickles or chips alongside for a full snack experience.
Flavor Tweaks & Variations
- Spicy Kick: Stir minced jalapeño or hot sauce into the tuna salad. Pepper jack cheese can also dial up the heat.
- Bacon Upgrade: Layer cooked bacon strips under the cheese for a smoky dimension.
- Mediterranean Twist: Swap mayo for olive oil, add chopped olives, sundried tomatoes, and feta cheese.
- Healthier Swaps: Use whole-grain slider buns, Greek yogurt in place of mayonnaise, or low-fat cheese to reduce calories.
Serving & Presentation
- Casual Buffet: Serve sliders in the baking dish so guests can pull them apart.
- Cutting Board Display: Arrange them on a large wooden board with a small sign labeling them as tuna melt sliders.
- Garnish Bowls: Offer bowls of extra relish, pickles, sliced tomatoes, or hot sauce on the side for personalization.
Why These Sliders Work
- Moist but Not Soggy: Draining tuna thoroughly and using the right mayo ratio ensures the bread doesn’t become mushy.
- Cheesy Contrast: Melted cheese binds everything, adding a luscious, gooey element that pairs well with the flaky tuna.
- Easy Bulk Feeding: Instead of constructing multiple sandwiches individually, you tackle them as one unit. This is a lifesaver for large gatherings.
- Kid-Friendly: The mild flavors (unless you add spice) and bite-sized format often appeal to children’s tastes.
Storing & Reheating
- Refrigeration: Sliders keep up to 2 days in an airtight container. The bread may soften upon storage.
- Reheat: A quick warm-up in the oven (around 300°F / 150°C for ~10 minutes) revives the cheese. Microwave is faster but can make buns chewy.
- Freezing?: Tuna can freeze but might alter the texture. Generally not recommended for best sandwich quality.
Frequently Asked Questions
Q1: Can I use tuna in oil instead of water-packed?
Yes, just drain thoroughly. The flavor might be richer, so you may need a bit less mayo.
Q2: Is it fine to use sweet relish?
Absolutely. Dill relish adds tang, while sweet relish underscores a sweeter note. Go with your preference.
Q3: How do I keep the buns from over-browning?
Cover with foil for most of the baking. Remove it at the end if you want a crisp top.
Q4: Could I assemble them ahead of time?
You can prepare the tuna salad up to a day ahead. Assemble just before baking for maximum freshness. If pre-assembled too far in advance, buns might absorb moisture.
Q5: Any cheese suggestions besides Cheddar or Swiss?
Provolone, American, Monterey Jack, or a pepper jack for spice. Even Gruyère can add a gourmet touch.
Conclusion
Easy Tuna Melt Sliders – Cheesy & Toasty Crowd-Pleaser take a beloved lunch classic and repackage it into a tray of miniature, melty delights. The concept is brilliantly simple: load slider buns with tangy tuna salad, top with cheese, and bake until golden. Each slider emerges toasty on the outside and gooey within—perfect for sharing (or savoring in quantity).
These sliders remind us that practicality and crowd appeal can go hand in hand: the short prep time, minimal cleanup, and universal flavors mean they’ll vanish from any party spread in no time. Whether you keep the recipe basic or spice it up with peppers, bacon, or herbs, the essence remains comforting, nostalgic, and incredibly easy to serve. Once you make them, you’ll realize why tuna melt sliders deserve a permanent spot in your snack or lunch lineup—effortless, customizable, and guaranteed to please fans of all ages.