Is there any flavor that captures the spirit of the holidays quite like eggnog? I still remember the first time I tasted real homemade eggnog. It wasn’t the cloyingly sweet, oddly thick liquid from a carton; it was a revelation of velvety custard, warming spices, and pure comfort. For years, I avoided making it, assuming it required raw eggs and complicated techniques. I was wrong.
- Ingredients
- Timing
- Step-by-Step Instructions
- Step 1: Create the Egg Base
- Step 2: Infuse the Milk
- Step 3: Temper the Eggs (Crucial Step!)
- Step 4: Cook Until Thick
- Step 5: Flavor and Chill
- Nutritional Information
- Healthier Alternatives
- Serving Suggestions
- Common Mistakes to Avoid
- Storing Tips
- Conclusion
- FAQs
- Q1. Can I use raw eggs instead of cooking them?
- Q2. My eggnog is too thick after chilling. What do I do?
- Q3. Can I use nutmeg powder instead of grating it fresh?
- Homemade Eggnog: A Rich & Creamy Stovetop Recipe
This Homemade Eggnog (Stovetop Recipe) is a game-changer. It is cooked gently on the stove, creating a safe, rich base without the worry of raw ingredients. This method allows the eggs to thicken the milk naturally, resulting in a luxurious texture that store-bought versions simply cannot mimic. Whether you are hosting a festive gathering or enjoying a quiet night by the fire, this recipe delivers warmth and joy in a cup. Let’s head to the kitchen and whisk up some holiday magic.
Ingredients
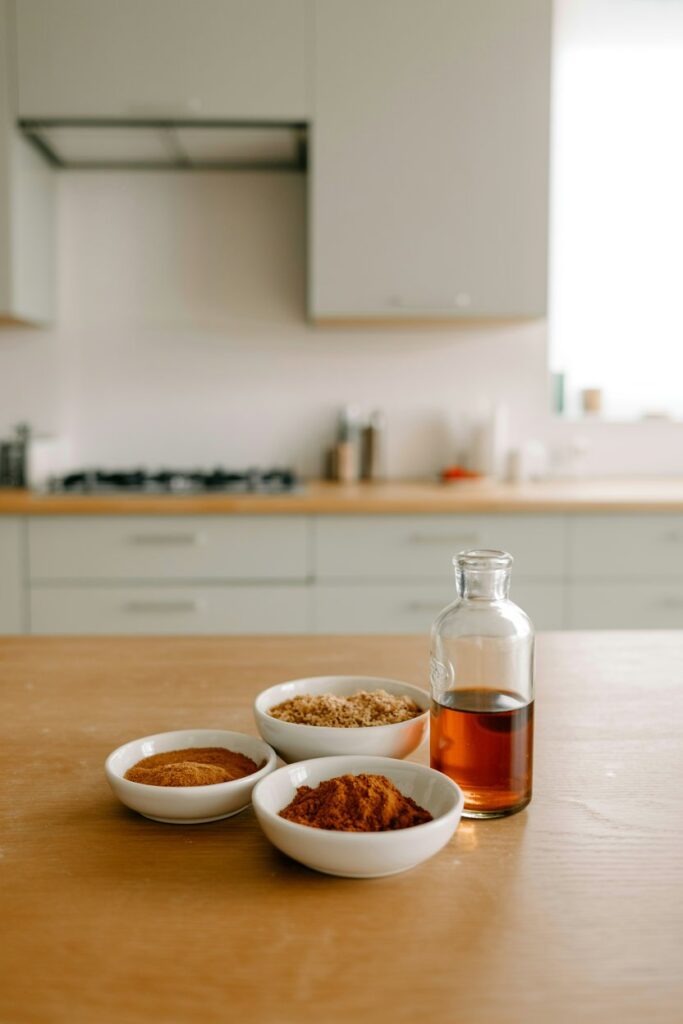
To achieve that signature creamy texture and spiced flavor, you will need the following simple ingredients.
| Ingredient | Amount/Quantity | Notes |
| Large Eggs | 6 | Yolks and whites (or just yolks for extra richness) |
| Sugar | ¾ cup | White granulated sugar works best |
| Fine Sea Salt | ¼ tsp | Balances the sweetness |
| Whole Milk | 3 cups | Provides the liquid base |
| Heavy Whipping Cream | 1 cup | Adds luxurious thickness |
| Cinnamon | 1 tsp | Ground; essential warming spice |
| Nutmeg | ½ tsp | Freshly grated is incredible if available |
| Pure Vanilla Extract | 2 tsp | Added at the end for full aroma |

Timing
This recipe is a labor of love that rewards patience. The cooking process is slow and gentle to prevent scrambling the eggs.
- Prep Time: 10 minutes
- Cook Time: 30 minutes
- Chill Time: 4 hours (minimum)
- Total Time: ~4 hours 40 minutes (Plan ahead!)
Step-by-Step Instructions
Follow these steps carefully to ensure a smooth, custard-like consistency. The key is temperature control—low and slow wins the race.
Step 1: Create the Egg Base
In a large mixing bowl, whisk together the 6 large eggs, ¾ cup sugar, and ¼ teaspoon sea salt. Beat vigorously until the mixture is fully combined and slightly pale in color. Set this bowl aside near the stove.
Step 2: Infuse the Milk
In a large saucepan, combine the 3 cups of whole milk, 1 cup of heavy whipping cream, 1 teaspoon of cinnamon, and ½ teaspoon of nutmeg. Heat the mixture over medium-low heat. Whisk often to prevent the milk from scorching on the bottom. You want to heat it until it just begins to steam, which usually takes about 10 to 15 minutes. Do not let it boil!
Step 3: Temper the Eggs (Crucial Step!)
This is the most important part. You need to slowly raise the temperature of the eggs so they don’t scramble when added to the hot pot.
Using a ladle or measuring cup, add ¼ cup of the hot milk mixture into the egg bowl while whisking the eggs constantly. Add another ¼ cup and whisk again. Repeat this process two more times until you have incorporated about 1 cup of hot liquid into the eggs. This is called “tempering.”
Step 4: Cook Until Thick
Pour the tempered egg mixture back into the large saucepan with the rest of the hot milk. Continue to heat over medium-low heat, whisking almost constantly.
- Visual Cue: Cook until the mixture thickens enough to coat the back of a spoon. If you have a digital thermometer, aim for 160°F (71°C). This usually takes about 15 minutes.
- Tip: Keep the heat low! If you see chunks forming, you are cooking it too fast.
Step 5: Flavor and Chill
Remove the saucepan from the heat immediately. Whisk in the 2 teaspoons of vanilla extract. For the smoothest texture, strain the mixture through a fine-mesh sieve into a jar or pitcher (this catches any accidental egg bits or spice clumps). Cover and place in the refrigerator to chill completely—at least 4 hours, but overnight is best for flavor development.
Nutritional Information
This is a rich, indulgent holiday treat. Here is an estimated nutritional breakdown per serving (based on 6 servings):
- Calories: ~340 kcal
- Fat: 18 g (Saturated: 10 g)
- Carbohydrates: 32 g
- Sugar: 30 g
- Protein: 9 g
- Calcium: 15% DV
- Cholesterol: 220 mg
Healthier Alternatives
If you want to enjoy the festive flavor with a lighter profile, try these swaps:
- Lower Fat: Swap the heavy cream for half-and-half or evaporated milk. You can also use 2% milk instead of whole milk, though the nog will be thinner.
- Dairy-Free: Use full-fat canned coconut milk or a creamy oat milk barista blend in place of the dairy milk and cream.
- Refined Sugar-Free: Substitute the white sugar with maple syrup or coconut sugar for a deeper, caramel-like flavor (note: this will change the color to a darker beige).
- Cholesterol Conscious: Use 3 whole eggs and 3 egg whites, or use pasteurized egg product to reduce cholesterol while maintaining some thickness.
Serving Suggestions
Presentation turns a drink into an experience. Here is how to serve your Homemade Eggnog:
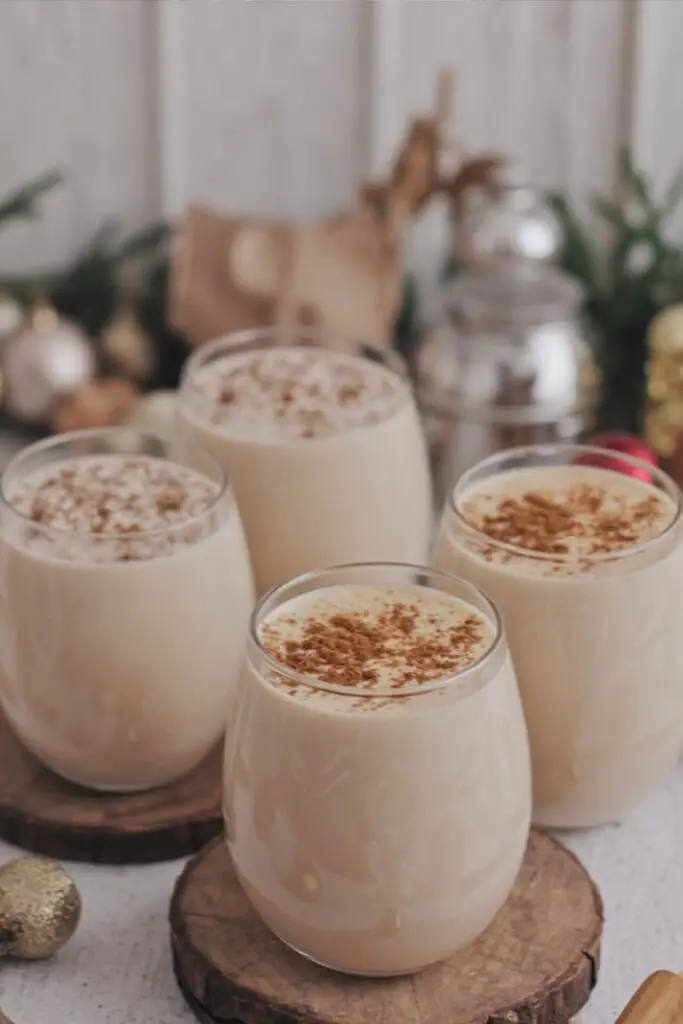
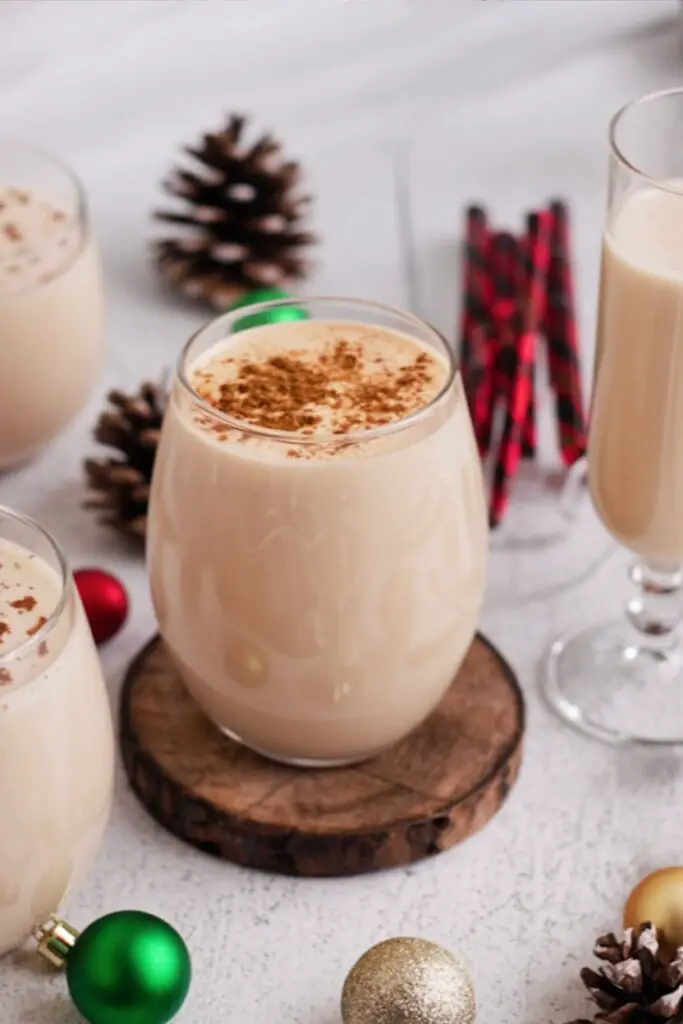
- The Classic Garnish: Pour into clear glass mugs and sprinkle generously with freshly grated nutmeg or a cinnamon stick stirrer.
- Spiked Version: For adults, add a splash of bourbon, rum, or brandy into the glass before pouring the eggnog. The alcohol cuts through the richness beautifully.
- Coffee Companion: Use this eggnog as a creamer in your morning coffee for a “Holiday Latte” hack.
- Dessert Topping: Drizzle warm eggnog over vanilla ice cream or pound cake for a decadent sauce.
Common Mistakes to Avoid
Eggnog can be finicky. Watch out for these common pitfalls:
- Scrambled Eggs: This happens if you add hot milk to eggs too quickly. Solution: Temper slowly (Step 3) and never stop whisking. If you get small curds, straining at the end will save it!
- Scalded Milk: High heat burns milk sugars, leaving a bitter taste. Solution: Patience. Keep the heat on medium-low and don’t rush the steaming process.
- Too Thin: If you don’t cook it to 160°F, it won’t thicken. Solution: Use a thermometer. Also, remember it thickens significantly as it cools in the fridge.
Storing Tips
Homemade eggnog needs proper storage due to the eggs and dairy.
- Refrigerate: Store in an airtight jar or pitcher in the coldest part of your fridge (not the door). It will keep fresh for up to 3-4 days.
- Separation: It is natural for spices or cream to settle. Shake or stir well before pouring every time.
- Freezing: You can freeze eggnog for up to 6 months, but the texture may change slightly. Leave headspace in the container for expansion. Thaw in the fridge and blend briefly to re-emulsify if needed.
Conclusion
This Homemade Eggnog (Stovetop Recipe) proves that the best holiday treats are worth the little bit of extra effort. The result is a drink that is incomparably smooth, perfectly spiced, and comforting in a way that commercial brands can only dream of. It’s a tradition in a cup.
Try it out and let us know in the comments—did you spike yours with bourbon or keep it classic? We’d love to hear your holiday traditions! Don’t forget to rate the recipe and subscribe to our blog for more festive, scratch-made recipes delivered straight to your inbox.
FAQs
Q1. Can I use raw eggs instead of cooking them?
Traditional eggnog often uses raw eggs. However, for food safety (especially for children, the elderly, or pregnant women), this stovetop “cooked” version is recommended as it pasteurizes the eggs by bringing them to 160°F.
Q2. My eggnog is too thick after chilling. What do I do?
Homemade eggnog can become quite thick (almost like pudding) after chilling. Simply stir in a splash of cold milk or cream until it reaches your desired drinking consistency.
Q3. Can I use nutmeg powder instead of grating it fresh?
Yes, absolutely. The recipe calls for ground nutmeg. However, if you can find whole nutmegs and grate them with a microplane, the flavor is significantly more aromatic and potent.
Print
Homemade Eggnog: A Rich & Creamy Stovetop Recipe
- Total Time: 4 hours 40 minutes
- Yield: 6 servings 1x
Description
This stovetop eggnog is gently cooked to a safe 160°F (71°C) for a luxuriously smooth, custard-like texture—no raw eggs. Warming spices, vanilla, and a long chill create the classic holiday sip you remember (and it’s perfect with or without spirits).
Ingredients
Eggnog Base
- 6 large eggs (use just yolks for extra richness, if desired)
- 3/4 cup granulated sugar
- 1/4 tsp fine sea salt
- 3 cups whole milk
- 1 cup heavy whipping cream
- 1 tsp ground cinnamon
- 1/2 tsp ground nutmeg (freshly grated if available)
- 2 tsp pure vanilla extract (stir in off heat)
Instructions
- Create the egg base: In a large bowl, whisk together the eggs, sugar, and salt until well combined and slightly pale. Keep near the stove.
- Infuse the milk: In a large saucepan, combine milk, cream, cinnamon, and nutmeg over medium-low heat. Warm, whisking often, until steaming (10–15 minutes); do not boil.
- Temper the eggs: While whisking the eggs constantly, slowly ladle in about 1 cup of the hot milk mixture (¼ cup at a time).
- Cook to safe temp: Pour the tempered eggs back into the saucepan. Cook over medium-low heat, whisking almost continuously, until the eggnog thickens slightly and coats the back of a spoon, 160°F (71°C), about 10–15 minutes.
- Finish & chill: Remove from heat, whisk in vanilla, then strain through a fine-mesh sieve into a pitcher. Cover and chill at least 4 hours (overnight best) before serving.
- Serve: Stir before pouring. Garnish with extra nutmeg; add a splash of bourbon, rum, or brandy for an adult version, if desired.
Notes
Make it your way: Use only egg yolks for a richer custard (6 yolks). For a lighter version, replace 1 cup of whole milk with additional milk alternative.
Texture tips: If you overheat and see small curds, quickly strain and blend for 20–30 seconds to smooth.
Safety: Cooking to 160°F (71°C) reduces the risk associated with raw eggs.
Storage: Refrigerate up to 3 days. Stir before serving.
- Prep Time: 10 minutes
- Cook Time: 30 minutes
- Category: Beverage, Drink
- Cuisine: American, Holiday
Nutrition
- Calories: 340
- Sugar: 30
- Sodium: 200
- Fat: 18
- Saturated Fat: 10
- Carbohydrates: 32
- Protein: 9
- Cholesterol: 220