Can a Dessert with No Oven Time Truly Be This Dreamy?
What if I told you that you could create a stunningly decadent, crowd-pleasing dessert without even turning on your oven? It sounds like a dream, especially on a warm day in Marrakesh, but it’s the delicious reality of these no-bake Biscoff cheesecake bars. Forget complicated baking techniques and long cooling times. We are about to unlock the secret to a velvety, creamy cheesecake infused with the irresistible spiced caramel flavor of Biscoff, all nestled on a buttery cookie crust. This isn’t just a simple dessert; it’s a testament to how effortless elegance can be. Get ready to fall in love with your new go-to recipe for any occasion.
- Can a Dessert with No Oven Time Truly Be This Dreamy?
- The Dream Team: Your Biscoff Cheesecake Ingredients
- An Effortless Timeline to Decadence
- Your Simple Path to Cheesecake Bar Bliss
- Step 1: Craft the Perfect Biscoff Crust
- Step 2: Whip Up the Creamy Cheesecake Filling
- Step 3: Combine and Create the Magic
- Step 4: The Glossy Topping and Final Flourish
- Step 5: The Essential Chill
- A Look at the Nutritional Profile
- Lighter Alternatives for a Guilt-Free Treat
- Serving Suggestions to Dazzle Your Guests
- Common Mistakes to Avoid for Flawless Bars
- Storing Your Sweet Creations
- The Effortless Path to Dessert Stardom
- Your Questions, Answered
The Dream Team: Your Biscoff Cheesecake Ingredients
The magic of these no-bake Biscoff cheesecake bars lies in the synergy of a few simple, yet incredibly luscious, ingredients. Each component is chosen to maximize that signature cookie butter flavor and create a heavenly texture.
| Component | Ingredient | Quantity & Details | Substitutions & Tips |
| Buttery Biscoff Crust | Finely Ground Biscoff Cookies | 3 cups (about 42 cookies) | You can use other speculoos cookies or even graham crackers in a pinch. |
| Butter, melted | ½ cup | For a richer flavor, you can use browned butter. A vegan butter can be used for a dairy-free crust. | |
| Velvety Cheesecake Layer | Cream Cheese | 2 packages (8 oz each), softened | Full-fat cream cheese is essential for the best texture and stability. |
| Smooth Biscoff Spread/Cookie Butter | 1 jar (14.1 oz) | Crunchy Biscoff spread can be used for extra texture in the filling. | |
| Heavy Whipping Cream | 1 cup, cold | For the best volume, ensure your cream, bowl, and beaters are very cold. | |
| Powdered Sugar | ½ cup, sifted | Sifting prevents lumps and ensures a silky-smooth filling. | |
| Vanilla Extract | 1 teaspoon | A good quality vanilla enhances all the other flavors. | |
| Glossy Biscoff Topping | Smooth Biscoff Spread | ¾ to 1 cup | See notes in the instructions for achieving the perfect pourable consistency. |
| Crushed Biscoff Cookies | A few for garnish | Adds a delightful crunch and visual appeal. |
An Effortless Timeline to Decadence
One of the most appealing aspects of these no-bake Biscoff cheesecake bars is the minimal active time required. You’ll spend about 20 minutes on preparation. The real magic happens in the refrigerator, where the bars will need to chill for at least 6 hours, or preferably overnight, to set up perfectly. This hands-off chilling time makes it an ideal make-ahead dessert, freeing you up on the day of serving.
Your Simple Path to Cheesecake Bar Bliss
Step 1: Craft the Perfect Biscoff Crust
In a medium bowl, combine the finely ground Biscoff cookie crumbs with the melted butter. Stir until the mixture resembles wet sand. Firmly press the crumb mixture into the bottom of a 9×13 inch baking pan lined with parchment paper, leaving an overhang on the sides for easy removal later. Place the crust in the freezer to set while you prepare the filling.
Step 2: Whip Up the Creamy Cheesecake Filling
In a large bowl, using a hand mixer or a stand mixer with the paddle attachment, beat the softened cream cheese until it’s completely smooth and free of lumps. Add the 14.1 oz jar of Biscoff spread and beat again until well combined. In a separate bowl, whip the cold heavy cream with the powdered sugar and vanilla extract until stiff peaks form.
Step 3: Combine and Create the Magic
Gently fold the whipped cream into the Biscoff and cream cheese mixture in two or three additions. Be careful not to overmix, as you want to maintain the light and airy texture of the whipped cream. Spread this luscious filling evenly over the chilled crust.
Step 4: The Glossy Topping and Final Flourish
In a microwave-safe bowl, gently warm the remaining ¾ to 1 cup of Biscoff spread for about 15-20 seconds, just until it’s pourable but not hot. Pour the melted spread over the cheesecake filling and gently tilt the pan to cover the entire surface. Sprinkle the top with additional crushed Biscoff cookies.
Step 5: The Essential Chill
Cover the pan with plastic wrap and refrigerate for at least 6 hours, or until the cheesecake is firm. For the cleanest cuts, it’s best to chill overnight. When ready to serve, use the parchment paper overhang to lift the bars out of the pan and slice them into squares.

A Look at the Nutritional Profile
Here is an approximate nutritional breakdown for one bar, assuming the recipe yields 24 bars. Please note that these values can vary based on the specific brands and serving size.
- Calories: Approximately 350-400 kcal
- Protein: 4g
- Carbohydrates: 35g
- Fat: 25g
- Sugar: 25g
Lighter Alternatives for a Guilt-Free Treat
While these bars are unapologetically decadent, you can make some adjustments for a lighter version:
- Reduced-Fat Option: Use Neufchâtel cheese, which has a lower fat content than regular cream cheese. The texture may be slightly less rich but still delicious.
- Lower Sugar: You can slightly reduce the powdered sugar in the filling, as the Biscoff spread and cookies already provide a significant amount of sweetness.
- Portion Control: Cut the bars into smaller, bite-sized pieces for a satisfying treat with fewer calories per serving.
Serving Suggestions to Dazzle Your Guests
These no-bake Biscoff cheesecake bars are a showstopper on their own, but here are some ways to elevate them even further:
- A Dollop of Cream: Serve each bar with a small dollop of freshly whipped cream to complement the richness.
- Fresh Fruit Contrast: A side of fresh berries, like raspberries or strawberries, provides a beautiful color contrast and a tartness that cuts through the sweetness.
- A Drizzle of Chocolate: For the ultimate indulgence, drizzle the bars with a bit of melted dark or white chocolate before chilling.
- Coffee Pairing: These bars are the perfect accompaniment to a cup of strong coffee or an espresso, making for a delightful afternoon treat.
Common Mistakes to Avoid for Flawless Bars
Achieve perfect no-bake Biscoff cheesecake bars every time by sidestepping these common pitfalls:
- Lumpy Filling: This is usually caused by not using softened cream cheese. Ensure your cream cheese is at room temperature for a smooth, lump-free filling.
- Runny Cheesecake: This can happen if you don’t whip the heavy cream to stiff peaks or if you overmix when folding it into the cream cheese mixture.
- A Crumbly Crust: If your crust is falling apart, you may not have used enough melted butter or didn’t press it firmly enough into the pan.
- Not Chilling Long Enough: Patience is key. If you rush the chilling time, the bars won’t be firm enough to slice cleanly.
Storing Your Sweet Creations
Proper storage is essential to maintain the deliciousness of your cheesecake bars:
- Refrigeration: Store the bars in an airtight container in the refrigerator for up to 5 days. Keeping them covered prevents them from drying out or absorbing other fridge odors.
- Freezing for Later: These bars freeze beautifully! You can freeze the entire uncut block or individual slices. Wrap them well in plastic wrap and then foil, and they will keep for up to 3 months.
- Thawing: To enjoy your frozen bars, simply thaw them in the refrigerator for a few hours before serving.
The Effortless Path to Dessert Stardom
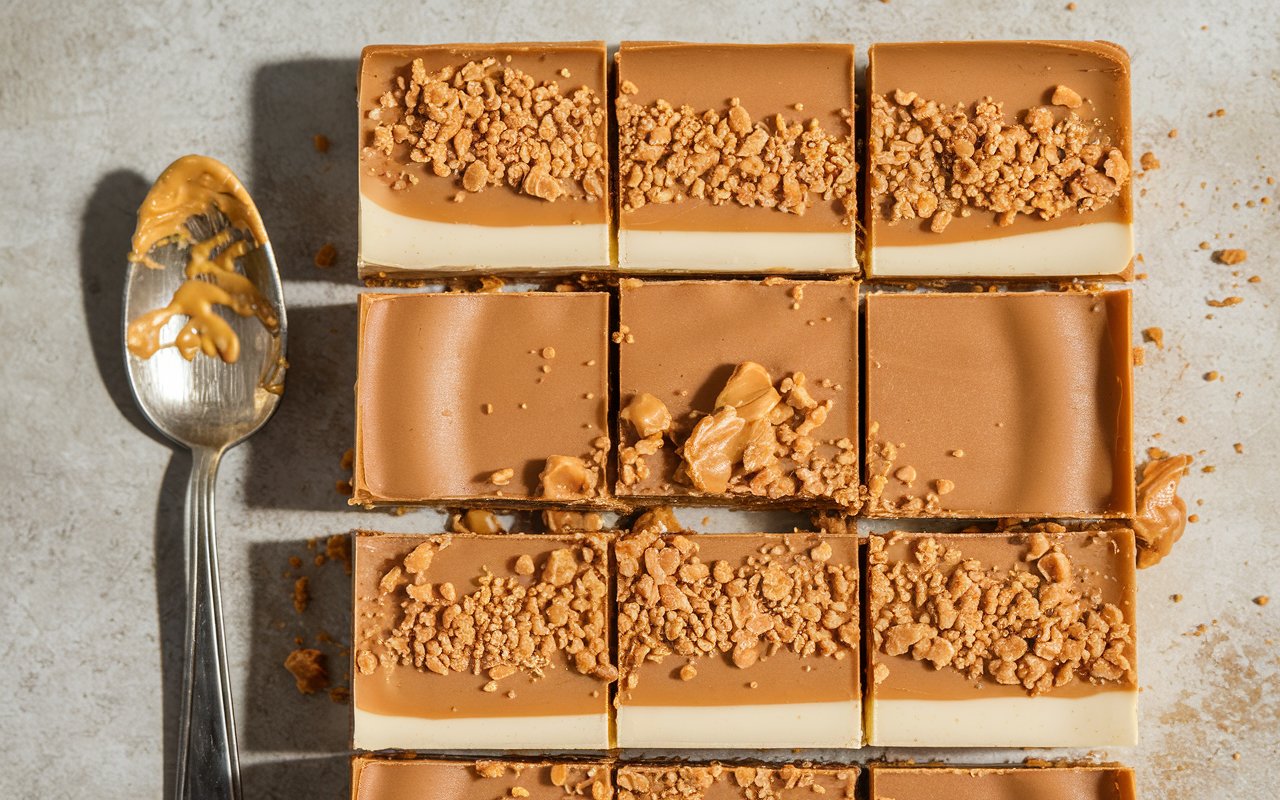
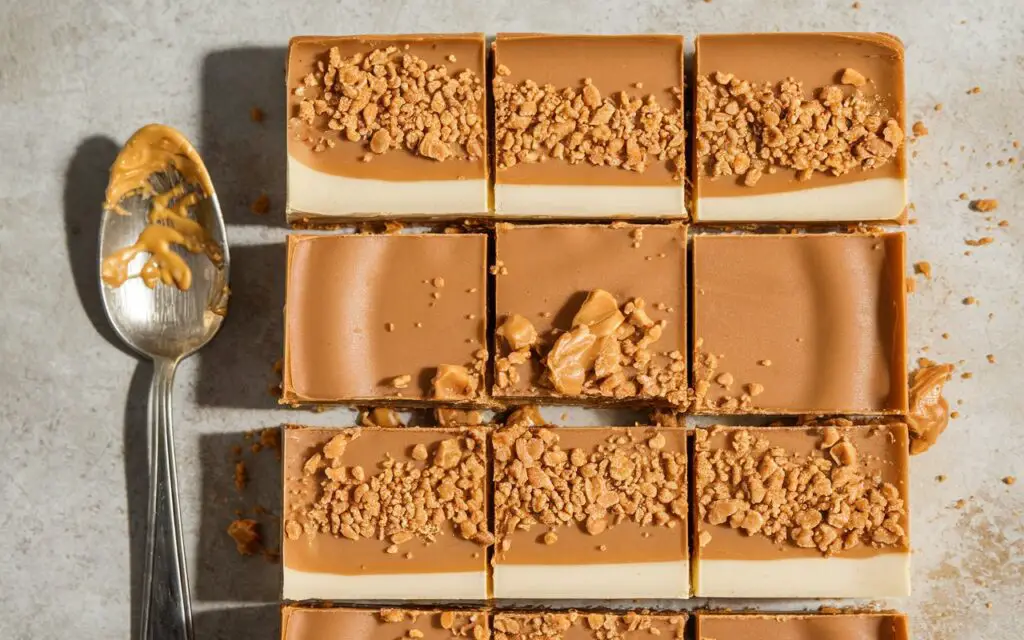
In conclusion, these no-bake Biscoff cheesecake bars are the epitome of an easy yet impressive dessert. The combination of a crunchy, spiced cookie crust, a velvety smooth cookie butter filling, and a glossy Biscoff topping creates a truly irresistible treat. This recipe is perfect for any occasion, from casual get-togethers to special celebrations, and is guaranteed to be a hit with everyone who tries it. We wholeheartedly encourage you to experience the joy of this simple and delicious recipe.
We would love to see your creations! Share your experience and any photos in the comments section below. For more easy and delectable dessert recipes, don’t forget to subscribe to our blog!
Your Questions, Answered
Can I make this recipe in a different-sized pan?
Yes, you can use an 8×8 or 9×9 inch pan for thicker bars, or a round springform pan for a classic cheesecake shape. You may need to adjust the chilling time slightly.
What if I can’t find Biscoff spread?
Biscoff spread is also known as cookie butter. You can find it in most major grocery stores, often near the peanut butter. If you can’t find the Biscoff brand, any other brand of speculoos cookie butter will work perfectly.
Can I make this recipe gluten-free?
To make this recipe gluten-free, you would need to find a gluten-free speculoos-style cookie for the crust and ensure your cookie butter is also gluten-free.
Why is my cheesecake not setting up?
The most common reasons are not whipping the cream enough or not chilling the bars for the recommended time. Ensure your heavy cream is very cold and whipped to stiff peaks for the best stability.
Can I make this recipe ahead of time?
Absolutely! This is a perfect make-ahead dessert. You can prepare it up to 2 days in advance and keep it covered in the refrigerator until you’re ready to serve.