In a world of over-the-top desserts, isn’t there something magical about a simple, classic Butter Cookie? I’m talking about those elegant, swirled cookies from the blue tin—the ones that are impossibly tender, melt in your mouth, and taste purely of rich butter and sweet vanilla. Many people think these bakery-style piped cookies are too difficult or fussy to make at home.
- Ingredients for Your Butter Cookies
- Recipe Timing
- Step-by-Step Instructions
- Step 1: Preheat Oven and Prepare Pans
- Step 2: Cream the Butter and Sugar
- Step 3: Add Egg Yolks and Vanilla
- Step 4: Combine the Dry Ingredients
- Step 5: Mix the Final Cookie Dough
- Step 6: Add Milk to Create Piping Consistency
- Step 7: Prepare Your Piping Bag
- Step 8: Pipe the Butter Cookies
- Step 9: Bake to Golden Perfection
- Step 10: Cool the Cookies
- Nutritional Information (Estimate)
- Healthier Alternatives & Variations
- Serving Suggestions
- Common Mistakes to Avoid
- Storing Your Butter Cookies
- Conclusion
- Frequently Asked Questions
- Q1. Why use only egg yolks instead of whole eggs?
- Q2. My piping bag burst! What did I do wrong?
- Q3. Can I use a cookie press (spritz cookie press)?
- Q4. Can I chill the dough to make it easier to handle?
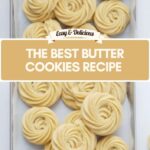
- The Best Butter Cookies Recipe (Easy & Piped!)
I’m here to tell you that this is the best butter cookies recipe you will ever try, and it’s surprisingly simple. The secret is in the technique: using room temperature ingredients and a rich, thick batter to create a sp spritz cookie style dough that’s perfect for piping. Forget dry, crumbly cookies; get ready to create the most tender, beautiful, and delicious piped butter cookies right in your own kitchen.
Ingredients for Your Butter Cookies
The beauty of this recipe is its short, simple ingredient list. The quality of your butter and vanilla will truly shine, so use the best you can! Using room temperature ingredients is essential for the perfect batter consistency.
| Ingredient | Amount/Quantity | Notes |
| Unsalted Butter | 1 cup (2 sticks / 227 g) | Softened to room temperature (slightly cool, not greasy). |
| Granulated Sugar | ⅔ cup (133 g) | |
| Large Egg Yolks | 2 | Room temperature. Yolks add richness and tenderness. |
| Pure Vanilla Extract | 1 teaspoon | |
| All-Purpose Flour | 2 cups | |
| Kosher Salt | ¼ teaspoon | Balances the sweetness and enhances the butter flavor. |
| Whole Milk | 2-3 tablespoons | Room temperature. This makes the dough pipe-able. |

Recipe Timing
These cookies come together incredibly fast, with no chilling required! This makes them perfect for a last-minute craving or holiday baking session.
- Preparation Time: 20 minutes (for mixing and piping)
- Cooking Time: 13-15 minutes
- Total Time: Approximately 35 minutes (plus cooling time)
Step-by-Step Instructions
Step 1: Preheat Oven and Prepare Pans
First, let’s get your oven ready. Preheat it to 350°F (175°C). Line one or two large baking sheets with parchment paper. This is a must-do step! Parchment paper ensures your delicate cookies won’t stick and helps the bottoms bake evenly.
Step 2: Cream the Butter and Sugar
In a large bowl, place your softened unsalted butter and granulated sugar. Using a hand mixer on medium speed (or a stand mixer), cream them together for about 2-3 minutes.
- Actionable Tip: You’re looking for the mixture to become visibly lighter in color (a pale yellow) and fluffy in texture. This step whips air into the butter, which is the secret to a light, melt-in-your-mouth cookie.
Step 3: Add Egg Yolks and Vanilla
Add the two room-temperature egg yolks and the vanilla extract to the creamed butter mixture. Mix on medium speed until they are fully combined and the batter is smooth. Scrape down the sides of the bowl with a spatula to make sure everything is incorporated.
Step 4: Combine the Dry Ingredients
In a separate medium bowl, whisk together the all-purpose flour and kosher salt. This simple step ensures the salt is evenly distributed, so every cookie is perfectly flavored.
Step 5: Mix the Final Cookie Dough
Slowly add the flour mixture to the butter mixture, mixing on low speed. Add the flour in about two or three batches. Scrape down the sides of the bowl as needed. Mix only until the flour is just combined. The dough will look very thick and a bit crumbly.
- Actionable Tip: Do not overmix! Overmixing the flour will develop gluten, making your cookies tough instead of tender. Stop as soon as you don’t see any big streaks of dry flour.
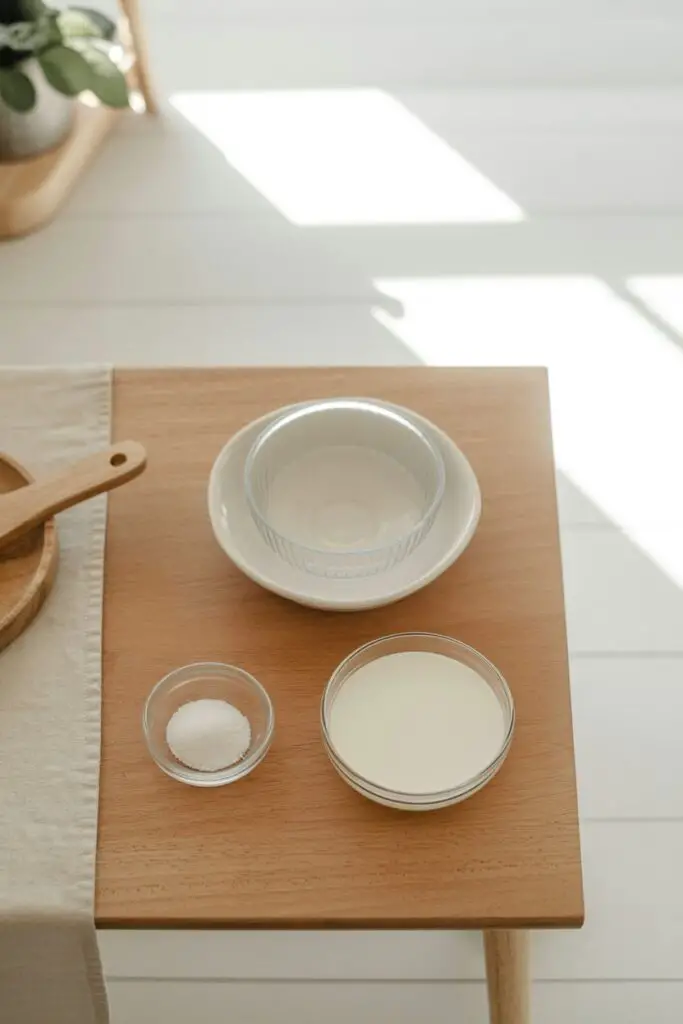
Step 6: Add Milk to Create Piping Consistency
Now, working one tablespoon at a time, add the room-temperature milk to the thick dough. Continue to mix on low speed. After 2 tablespoons, check the consistency. You want the batter to be thick, sticky, and well-combined, but soft enough to pipe. It should still hold its shape. You may need up to 3 tablespoons.
Step 7: Prepare Your Piping Bag
This is a very thick batter, so a heavy-duty piping bag is recommended. Fit your piping bag with a large star tip (like a Wilton 1M or 2D).
- Actionable Tip (Double Bag Method): If you’re worried your bag might split, use the double-bag method. Transfer the batter to a piping bag with no tip. Cut a large opening at the end of that bag. Place this bag inside your second, heavy-duty piping bag that is fitted with the star tip. This takes the pressure off the main bag.
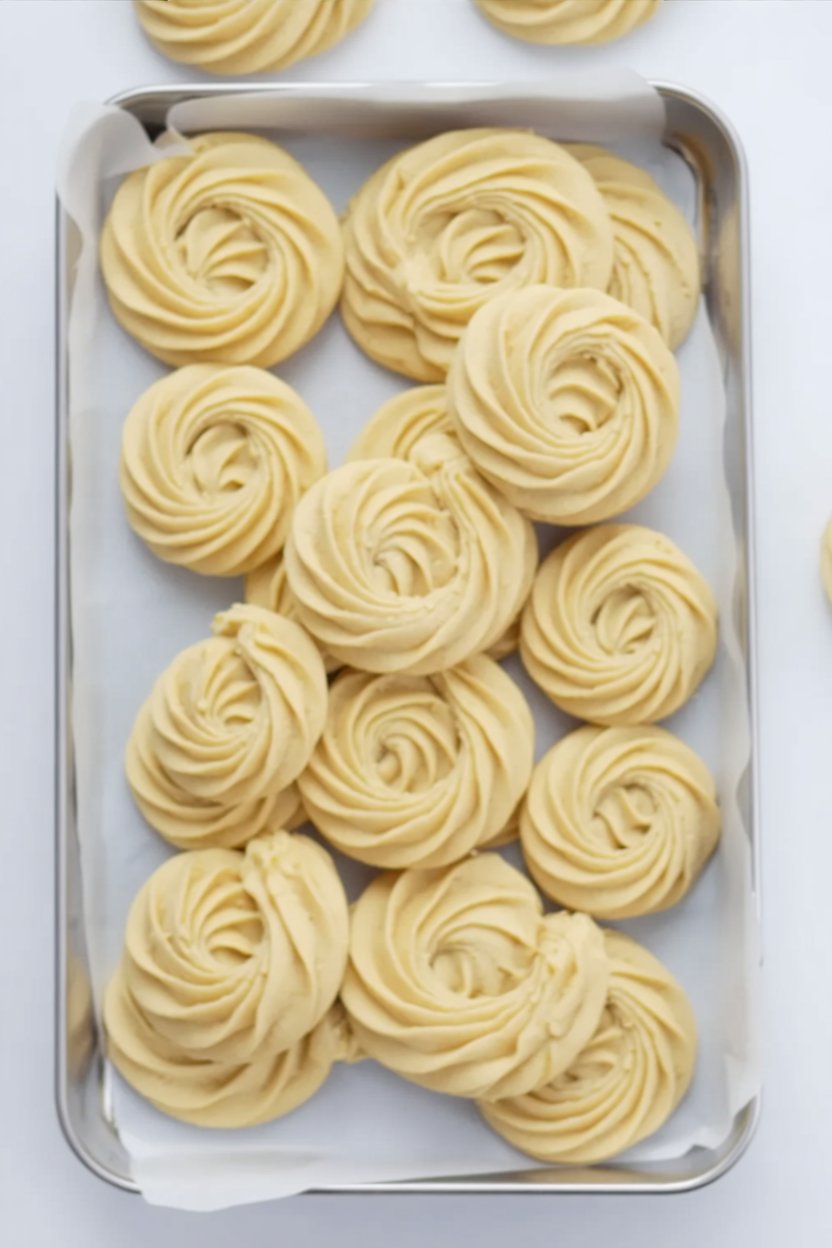
Step 8: Pipe the Butter Cookies

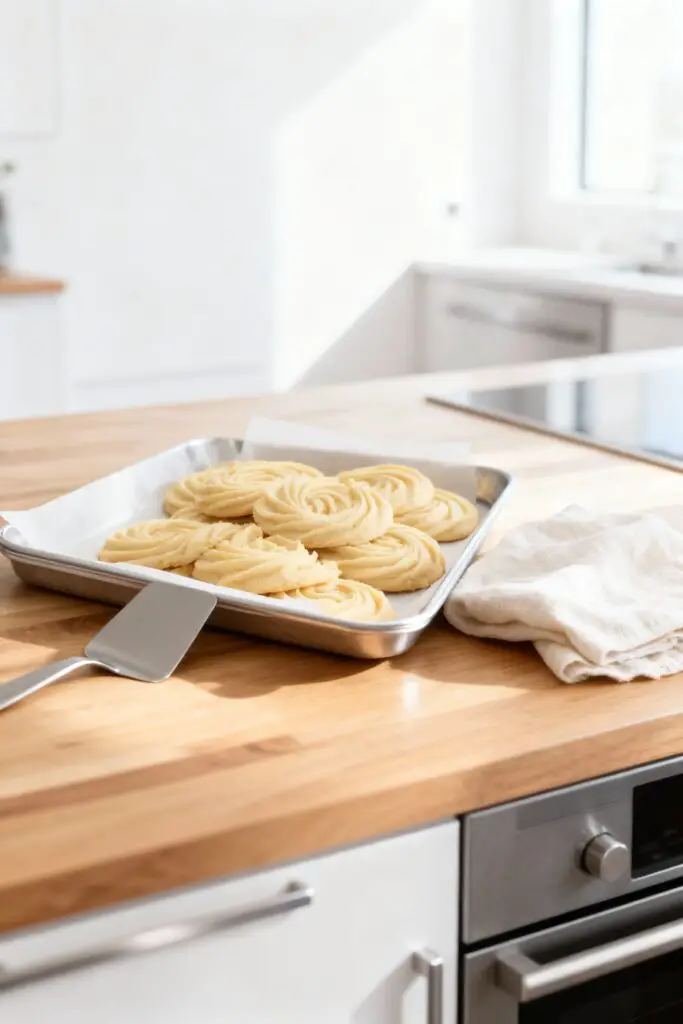
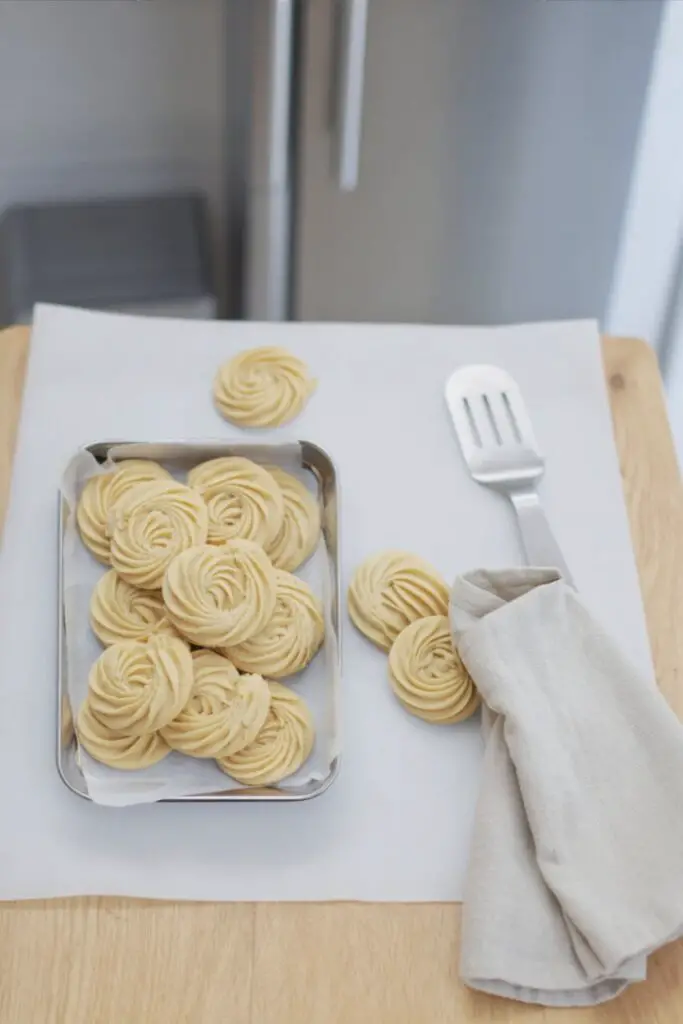
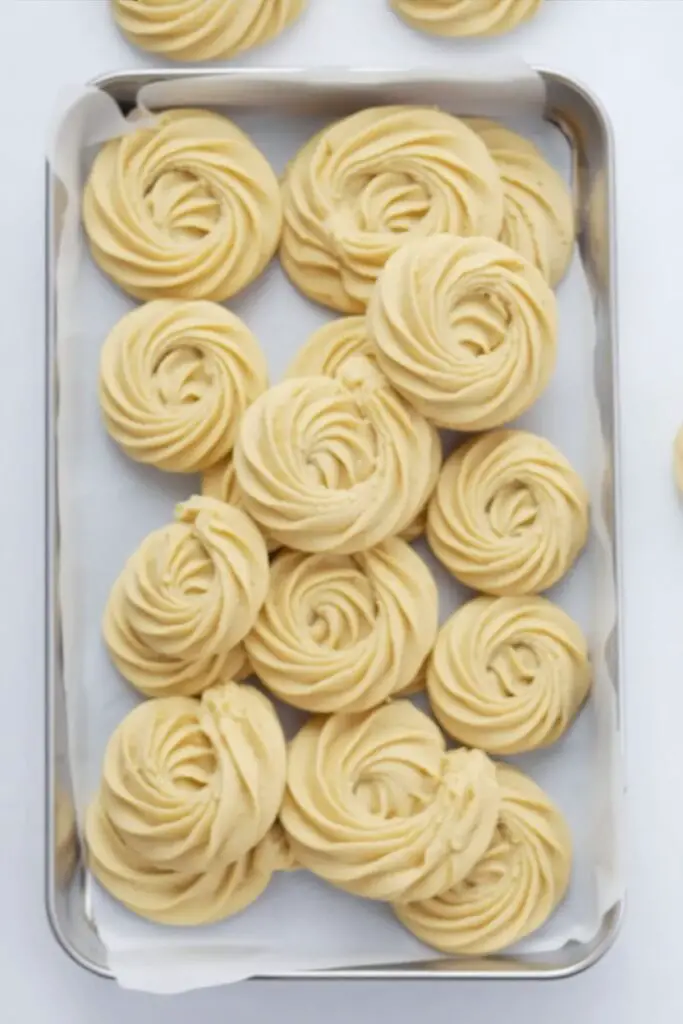
Hold your piping bag straight up (at a 90-degree angle) about half an inch above the parchment-lined baking sheet. Squeeze the bag with firm, steady pressure to pipe the batter into a circular, rosette pattern. Stop squeezing, then lift the bag straight up. Leave about 1-2 inches of space between each cookie.
- Actionable Tip: Don’t worry if the first few look a little wonky! You’ll get the hang of the pressure and motion quickly.
Step 9: Bake to Golden Perfection
Place the baking sheet on the center rack of your preheated oven. Bake for 13-15 minutes. You’ll know they’re done when the edges and the ridges of the swirls are a beautiful golden brown. The centers will still look pale.
Step 10: Cool the Cookies
Let the butter cookies cool on the baking sheet for 10 minutes. This is crucial! They are very delicate when hot, and this resting period allows them to set up. After 10 minutes, carefully transfer the cookies to a wire cooling rack to cool completely.
Nutritional Information (Estimate)
This is an estimate per cookie, but the final count will depend on the size you pipe them. This batch makes approximately 2-3 dozen cookies.
- Calories: 95 kcal
- Protein: 1 g
- Carbohydrates: 10 g
- Fat: 6 g
- Saturated Fat: 3.5 g
- Sugar: 4 g
- Sodium: 20 mg
Healthier Alternatives & Variations
While these are classic butter cookies, you can add your own twist!
- Gluten-Free: Swap the all-purpose flour for a high-quality 1-to-1 gluten-free baking blend that contains xanthan gum. The texture will be very similar and just as delicious.
- Flavor Twists: Add 1/2 teaspoon of almond extract along with the vanilla for a lovely, nutty aroma. You can also add 1 teaspoon of finely grated lemon or orange zest to the butter and sugar in Step 2 for a bright, citrusy cookie.
- Make Sandwich Cookies: Once cooled, spread a thin layer of raspberry jam, chocolate-hazelnut spread, or lemon curd between two cookies.
- Chocolate Dipped: Dip half of each cooled cookie in melted dark or white chocolate for an extra-decadent touch.
Serving Suggestions
These piped butter cookies are elegant and perfect all on their own. They are the star of any holiday cookie tin or dessert platter.
- With Coffee or Tea: These are the perfect cookie to serve with a hot cup of coffee or tea. The buttery, crumbly texture is made for it.
- Decorate Them: While they are beautiful plain, you can top the piped rosettes with a single candied cherry or a few festive sprinkles before baking for a classic look.
- Gift Giving: Stack these in a clear cellophane bag tied with a ribbon or line a beautiful tin with parchment paper. They make an impressive, homemade gift.
Common Mistakes to Avoid
This recipe is simple, but the texture depends on these key details.
- Using Cold Ingredients: If your butter, egg yolks, or milk are cold, the batter will not cream properly. It will be lumpy and will not pipe smoothly.
- Solution: Let all ingredients (butter, eggs, milk) sit on the counter for at least 30-60 minutes to come to room temperature. “Room temperature” for butter means it’s still slightly cool to the touch, not soft and greasy.
- Overmixing the Flour: As mentioned, this is the #1 way to get a tough cookie.
- Solution: Mix on the lowest possible speed and stop the second the flour is incorporated. A final fold with a spatula is a great way to ensure it’s mixed without overdoing it.
- Batter is Too Soft or Too Stiff: If the batter is too soft (too much milk or butter was too warm), your cookies will spread into flat puddles. If it’s too stiff (not enough milk), it will be impossible to pipe.
- Solution: Follow the recipe’s visual cues. The batter should be thick, sticky, and just soft enough to push through a piping bag. Add the milk 1 tablespoon at a time.
- Baking on an Ungreased Pan: These cookies will stick!
- Solution: Parchment paper is non-negotiable for this recipe. It guarantees a clean release without the bottoms over-browning.
Storing Your Butter Cookies
These cookies store wonderfully, which makes them a great make-ahead option.
- Countertop: Store the completely cooled cookies in an airtight container at room temperature for up to 1 week. They will stay tender and delicious.
- Freezer (Dough): You can pipe the cookie dough rosettes onto a parchment-lined baking sheet and “flash freeze” them until solid. Once frozen, transfer the unbaked cookies to a freezer-safe bag. They will keep for up to 3 months. You can bake them straight from frozen, just add 2-3 minutes to the baking time.
- Freezer (Baked): You can also freeze the finished, cooled cookies. Store them in an airtight container, placing parchment paper between the layers. They will keep for up to 3 months. Let them thaw on the counter.
Conclusion
This Easy Butter Cookies Recipe is a timeless classic that belongs in every baker’s collection. It proves that you don’t need a long list of ingredients to create something truly elegant and incredibly delicious. The rich, buttery flavor and tender, melt-in-your-mouth texture make these the best butter cookies for any occasion, from a holiday party to a quiet afternoon with a cup of tea.
We hope you love these beautiful piped butter cookies as much as we do! Try the recipe and let us know what you think in the comments below. We’d love to hear your feedback and see your beautiful creations! Don’t forget to rate the recipe and share it with your fellow cookie lovers.
Frequently Asked Questions
Q1. Why use only egg yolks instead of whole eggs?
Using only the egg yolks is a key trick for this recipe! The yolks are high in fat, which adds incredible richness and moisture. This creates that super tender, melt-in-your-mouth texture that is the signature of a high-quality butter cookie, rather than a chewier cookie that a whole egg (with its egg white proteins) would produce.
Q2. My piping bag burst! What did I do wrong?
This dough is very thick, so it puts a lot of pressure on the bag. This usually happens if you are using a standard, thin, disposable piping bag.
Solution: You need a heavy-duty piping bag (like a canvas, silicone, or thick plastic one). If you only have regular disposable bags, use the “double bag method” described in Step 7. It provides extra support and prevents messy blowouts.
Q3. Can I use a cookie press (spritz cookie press)?
This dough is likely too thick for most standard cookie presses. It’s specifically formulated to be a thick, pipe-able batter that holds its shape. If you want to use a cookie press, you would be better off finding a recipe specifically labeled for “spritz cookies,” as that dough is usually a bit softer.
Q4. Can I chill the dough to make it easier to handle?
No, do not chill this dough. Unlike cutout cookies, this dough is meant to be piped while it is soft and at room temperature. Chilling it will cause the butter to harden, making the dough far too stiff to pipe. You must mix it and pipe it right away.
Print
The Best Butter Cookies Recipe (Easy & Piped!)
- Total Time: 35 minutes
- Yield: 2–3 dozen cookies 1x
Description
This simple butter cookies recipe yields the most tender, melt-in-your-mouth cookies with crisp, golden edges. The rich, thick batter is perfect for piping into beautiful swirls. These are the classic, elegant butter cookies you’ve been searching for, and they come together with no chilling required!
Ingredients
- 1 cup (2 sticks / 227 g) Unsalted Butter, softened to room temperature
- 2/3 cup (133 g) Granulated Sugar
- 2 Large Egg Yolks, room temperature
- 1 teaspoon Pure Vanilla Extract
- 2 cups All-Purpose Flour
- 1/4 teaspoon Kosher Salt
- 2–3 tablespoons Whole Milk, room temperature
Instructions
- Preheat Oven and Prepare Pans: Preheat your oven to 350°F (175°C). Line one or two large baking sheets with parchment paper.
- Cream the Butter and Sugar: In a large bowl, use an electric mixer to cream the softened butter and granulated sugar on medium speed for 2-3 minutes, until light, pale, and fluffy.
- Add Egg Yolks and Vanilla: Add the room-temperature egg yolks and vanilla extract. Mix on medium speed until fully combined and the batter is smooth. Scrape down the sides of the bowl as needed.
- Combine the Dry Ingredients: In a separate medium bowl, whisk together the all-purpose flour and kosher salt to ensure they are evenly distributed.
- Mix the Final Cookie Dough: On low speed, slowly add the flour mixture to the butter mixture in 2-3 batches. Mix only until the flour is just combined. The dough will be very thick and look a bit crumbly.
- Add Milk for Piping: Working one tablespoon at a time, add the room-temperature milk (start with 2 tablespoons). Mix on low speed until the batter is thick, sticky, and soft enough to pipe, but still holds its shape. You may need up to 3 tablespoons.
- Prepare Your Piping Bag: This is a very thick batter, so a heavy-duty piping bag is recommended. Fit your bag with a large star tip (like a Wilton 1M or 2D).
- Pipe the Cookies: Hold the piping bag straight up (90-degree angle) above the parchment-lined baking sheet. Squeeze with firm, steady pressure to pipe the batter into a circular, rosette pattern. Leave about 1-2 inches of space between each cookie.
- Bake to Golden Perfection: Place the baking sheet on the center rack. Bake for 13-15 minutes, until the edges and ridges of the swirls are a beautiful golden brown. The centers will still look pale.
- Cool the Cookies: Let the cookies cool on the baking sheet for 10 minutes. This is crucial as they are very delicate. After 10 minutes, carefully transfer them to a wire cooling rack to cool completely.
Notes
- Creaming is Key: You’re looking for the butter/sugar mixture to become visibly lighter and fluffy. This whips air into the dough for a light, tender cookie.
- Do Not Overmix: When adding the flour, stop mixing as soon as the flour disappears. Overmixing will make the cookies tough instead of tender.
- Room Temp Ingredients: Using room temperature egg yolks and milk is essential for a smooth batter that doesn’t curdle or seize.
- Piping Tip: For the “Double Bag Method” if you’re worried your bag might split: Transfer the batter to an uncut piping bag, snip the end, and place this bag inside a second bag that is fitted with the star tip.
- Cooling is Crucial: The 10-minute cooling time on the pan is essential. The cookies are very delicate when hot and need this time to set up before being moved.
- Prep Time: 20 minutes
- Cook Time: 15 minutes
- Category: Dessert, Cookies, Holiday
- Method: Baking, Piping
- Cuisine: American, European
Nutrition
- Serving Size: 1 cookie
- Calories: 95 kcal
- Sugar: 4 g
- Sodium: 20 mg
- Fat: 6 g
- Saturated Fat: 3.5 g
- Unsaturated Fat: 2.5 g
- Trans Fat: 0 g
- Carbohydrates: 10 g
- Fiber: 0.2 g
- Protein: 1 g
- Cholesterol: 25 mg