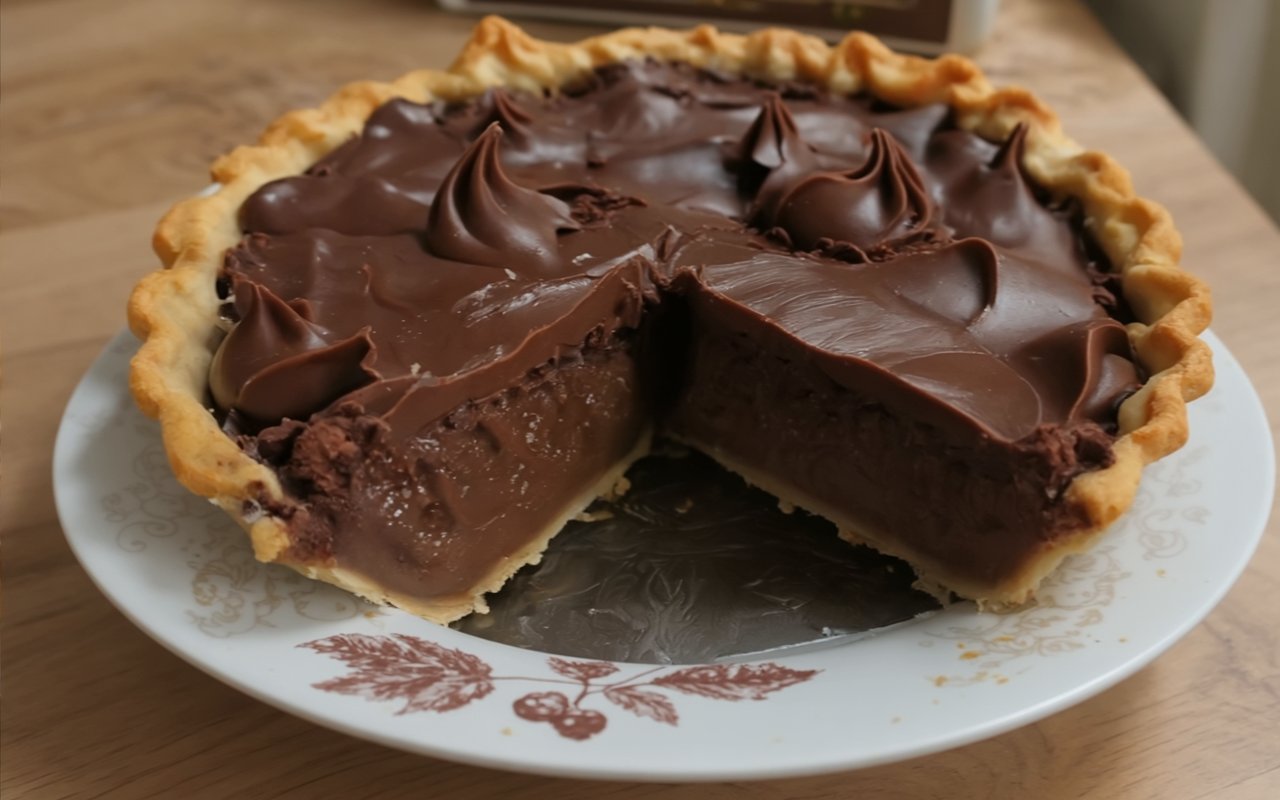
There are desserts, and then there are desserts. We’re talking about the kind of timeless, decadent treat that silences a room and makes you close your eyes with the first bite. For true chocolate lovers, nothing fits that description better than a classic, from-scratch Chocolate Cream Pie. Forget the instant pudding mixes and pre-made crusts; this is the real deal, and it’s a game-changer.
- What You’ll Need: Ingredients
- Timing
- Step-by-Step Instructions
- Step 1: Prepare the All-Butter Pastry Crust
- Step 2: Chill and Blind Bake the Pie Crust
- Step 3: Begin the Rich Chocolate Filling
- Step 4: Cook the Chocolate Custard
- Step 5: Assemble and Chill Your Chocolate Cream Pie
- Nutritional Information
- Healthier Alternatives
- Serving Suggestions
- Common Mistakes to Avoid
- Storing and Make-Ahead Tips
- Conclusion
- FAQs
- Q1. Do I have to make the pie crust from scratch?
- Q2. What is the best kind of chocolate to use?
- Q3. Why did my filling not set properly?
- The Ultimate Chocolate Cream Pie Recipe (From Scratch!)
Many people believe a bakery-quality pie with a silky custard filling and a perfectly flaky crust is too complicated to make at home. This recipe is here to prove that you can absolutely create the most luxurious, intensely chocolatey Chocolate Cream Pie in your own kitchen. With a buttery, crisp pastry and a rich, velvety chocolate custard, this is the definitive recipe that will become your go-to for every special occasion.
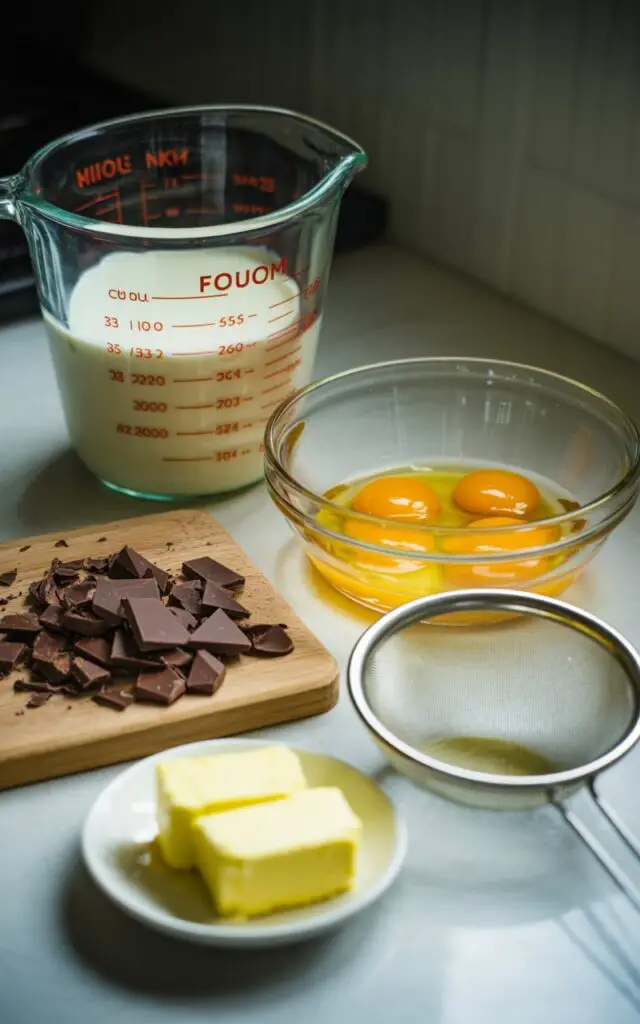
What You’ll Need: Ingredients
This recipe is divided into two key components: a classic all-butter pastry crust and a rich, cooked chocolate custard. Using high-quality chocolate will make all the difference in the final flavour.
| Component | Ingredient | Amount/Quantity |
| For the Pastry Crust (Pâte Sablée) | All-purpose flour | 1 ½ cups (190g) |
| Granulated sugar | ½ cup (100g) | |
| Fine sea salt | ¼ teaspoon | |
| Cold unsalted butter, cut into small cubes | ½ cup (113g) | |
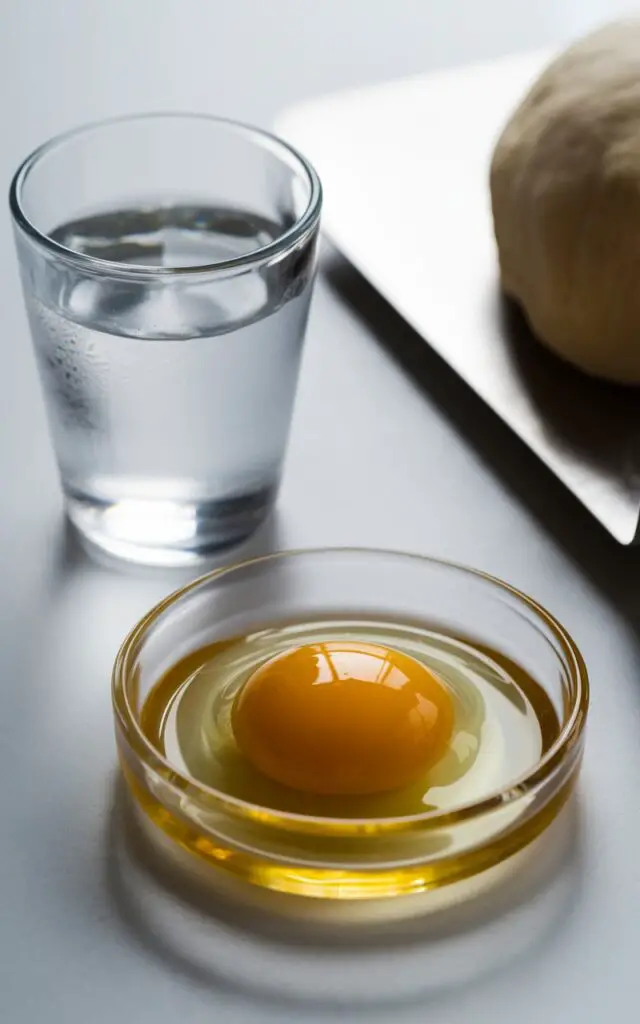
| Large egg yolk | 1 | |
| Ice-cold water | 2-3 tablespoons | |
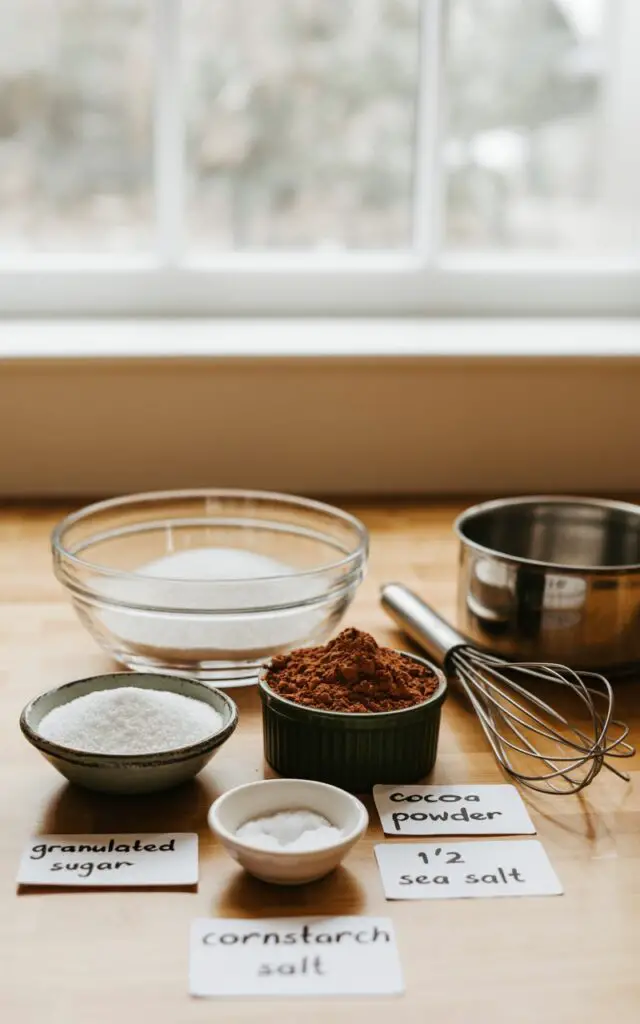
| For the Rich Chocolate Filling | Granulated sugar | 1 ¼ cups (250g) |
| Unsweetened cocoa powder | ⅓ cup (40g) | |
| Cornstarch | ¼ cup (30g) | |
| Fine sea salt | ½ teaspoon | |
| Whole milk | 3 cups (720 ml) | |
| Large egg yolks | 4 | |
| Bittersweet or semi-sweet chocolate (60-70%), finely chopped | 6 oz (170g) | |
| Unsalted butter, at room temperature | 2 tablespoons (28g) | |
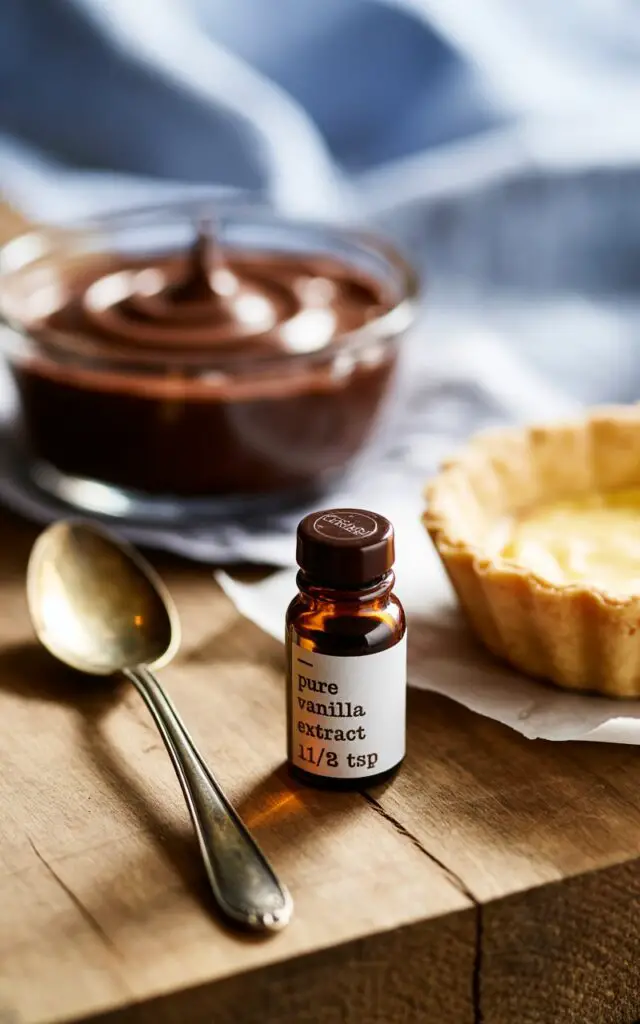
| Pure vanilla extract | 1 ½ teaspoons |

(Note: For a shortcut, you can use one 9-inch high-quality store-bought pie crust.)
Timing
This pie is a wonderful baking project that requires some patience for chilling, which is essential for a perfect result. It’s the ideal dessert to make a day ahead of your special event.
- Active Preparation Time: 45 minutes
- Chilling Time: 5.5 hours (minimum)
- Bake Time: 35 minutes
- Total Project Time: Approximately 7 hours (mostly hands-off chilling!)
Step-by-Step Instructions
Follow these detailed steps to create a flawless, decadent chocolate cream pie from scratch.
Step 1: Prepare the All-Butter Pastry Crust
In a large bowl, whisk together the flour, sugar, and salt. Add the cold, cubed butter and use a pastry blender or your fingertips to cut the butter into the flour until the mixture looks like coarse crumbs with some pea-sized pieces of butter still visible. In a small bowl, whisk the egg yolk with 2 tablespoons of ice water. Drizzle this over the flour mixture and gently toss with a fork until the dough just begins to come together. If it seems too dry, add the final tablespoon of water. Form the dough into a flat disk, wrap it tightly in plastic wrap, and refrigerate for at least 1 hour.
Step 2: Chill and Blind Bake the Pie Crust
On a lightly floured surface, roll the chilled dough into a 12-inch circle. Carefully transfer it to a 9-inch pie dish, trim the excess, and crimp the edges decoratively. Prick the bottom of the crust a few times with a fork. Freeze the pie crust for 30 minutes to help prevent it from shrinking.
While the crust freezes, preheat your oven to 375°F (190°C). Line the frozen pie shell with parchment paper and fill it with pie weights or dried beans. Bake for 15-20 minutes. Carefully remove the parchment and weights, then bake for another 10-15 minutes, until the crust is a light golden brown. Let it cool completely on a wire rack before filling.
Step 3: Begin the Rich Chocolate Filling
While the crust cools, you can start the filling. In a medium, heavy-bottomed saucepan, whisk together the sugar, cocoa powder, cornstarch, and salt. In a separate bowl, whisk the 4 large egg yolks. Gradually pour about 1 cup of the milk into the egg yolks, whisking constantly. This process, called tempering, gently warms the yolks so they don’t scramble. Slowly whisk the remaining milk into the saucepan with the dry ingredients until smooth, then whisk in the tempered egg yolk mixture.
Step 4: Cook the Chocolate Custard
Place the saucepan over medium heat. Cook the mixture, whisking constantly, making sure to scrape the bottom and corners of the pan to prevent scorching. As it heats up, the mixture will begin to thicken. Once it comes to a gentle boil (you’ll see thick bubbles), continue to cook and whisk vigorously for 1-2 more minutes. The custard should become very thick, like a pudding.
Step 5: Assemble and Chill Your Chocolate Cream Pie
Remove the saucepan from the heat. Immediately add the finely chopped chocolate, the room-temperature butter, and the vanilla extract. Stir until the chocolate and butter are fully melted and the filling is completely smooth, dark, and glossy.
Pour the hot chocolate filling into the completely cooled, pre-baked pie crust and spread it into an even layer. To prevent a “skin” from forming on the surface, press a piece of plastic wrap directly onto the top of the filling. Refrigerate the pie for at least 4-6 hours, or preferably overnight, until the filling is completely firm and set.
Nutritional Information
This is a rich and decadent dessert. Here is an estimated nutritional breakdown per slice, assuming the pie is cut into 8 slices.
- Calories: 550 kcal
- Protein: 8 g
- Carbohydrates: 65 g (Sugar: 45 g)
- Fat: 30 g (Saturated Fat: 18 g)
Healthier Alternatives
While this pie is designed for pure indulgence, you can make a few small adjustments:
- Lower-Fat Milk: You can use 2% milk instead of whole milk in the filling. Note that this will result in a custard that is slightly less rich and creamy.
- Reduce Sugar: You can slightly reduce the sugar in the filling to 1 cup if you prefer a less sweet, more intensely dark chocolate flavour.
- Gluten-Free Version: To make this pie gluten-free, simply prepare the filling as directed and pour it into your favorite pre-baked gluten-free pie crust.
Serving Suggestions
The classic way to serve a chocolate cream pie is the best way! This rich, dense pie needs a light and airy contrast.

- With Whipped Cream: A generous cloud of lightly sweetened, freshly whipped cream is the perfect topping. It balances the deep chocolate flavour and adds a beautiful visual contrast.
- Garnish: For a professional-looking finish, sprinkle some chocolate shavings or curls over the top of the whipped cream just before serving.
- Decoration: As the recipe notes, you can reserve about ½ cup of the warm filling, let it cool until it’s pipeable, and use it to pipe decorative swirls on the chilled pie for an extra-fancy look.
Common Mistakes to Avoid
Follow these tips to ensure your from-scratch pie is a stunning success.
- A Tough Pie Crust: This is usually caused by overworking the dough after adding the water, which develops the gluten.
- Solution: Mix the dough as little as possible. Stop as soon as it comes together into a shaggy mass, then use your hands to gently form it into a disk.
- A Shrunken Crust: If the pie crust slumps down the sides of the pan during baking, it likely wasn’t chilled enough.
- Solution: Do not skip the chilling and freezing steps! Resting the dough allows the gluten to relax, and freezing it solidifies the butter, which helps the crust hold its shape.
- Lumpy or Scrambled Custard: This is the most common fear when making a cooked custard.
- Solution: Don’t skip the tempering step! Slowly adding some of the warm milk to the egg yolks before combining everything is crucial. Also, be sure to whisk constantly while the custard is on the heat.
Storing and Make-Ahead Tips
This chocolate cream pie is the perfect dessert to make in advance.
- Storing: The finished pie must be stored in the refrigerator due to the egg and dairy-based filling. Cover it loosely and it will keep for up to 4 days.
- Make-Ahead: This pie needs to be made at least 4-6 hours ahead of time to allow the filling to set properly. It’s an ideal dessert to make the day before you plan to serve it.
- Freezing: Freezing the finished pie is not recommended, as the custard’s texture can become watery upon thawing.
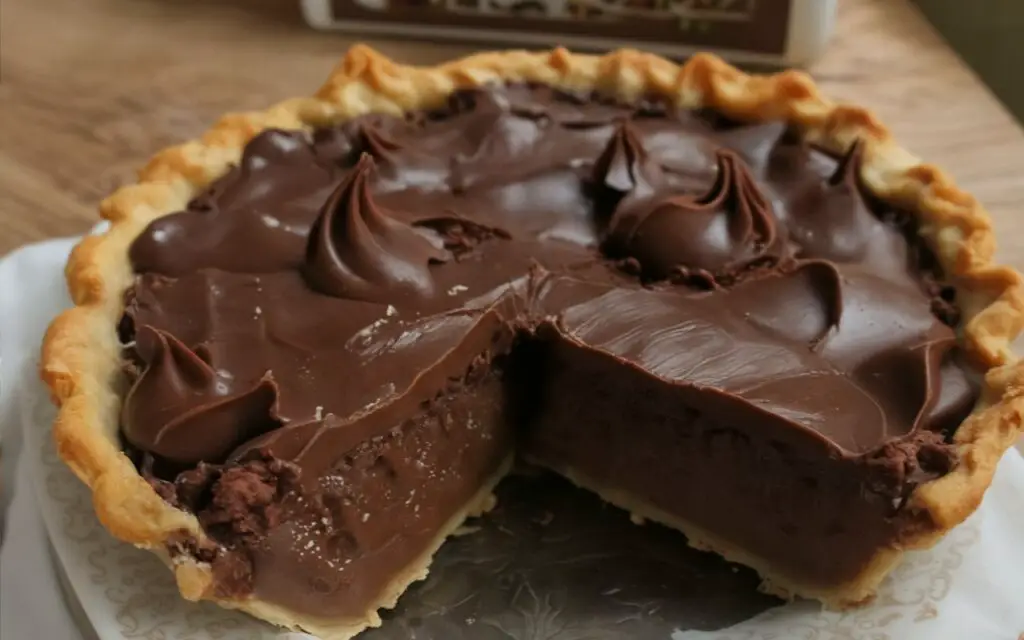
Conclusion
There is nothing quite like the rewarding experience of slicing into a perfect, homemade Chocolate Cream Pie. The combination of a crisp, buttery crust and a profoundly rich, silky-smooth chocolate custard is a timeless classic for a reason. This recipe demystifies the process, guiding you through each step to create a truly spectacular dessert that is leagues beyond any store-bought version.
We are so excited for you to experience the pure chocolate bliss of this recipe. Give it a try for your next special occasion and let us know how it turned out in the comments below! We love hearing from you. Don’t forget to rate the recipe and subscribe for more classic dessert inspiration.
FAQs
Q1. Do I have to make the pie crust from scratch?
No, you don’t! While the homemade pâte sablée is exceptionally buttery and crisp, you can absolutely save time by using a high-quality 9-inch store-bought pie crust. Just be sure to blind bake it according to the package directions before filling.
Q2. What is the best kind of chocolate to use?
For the deepest, richest flavour, it’s best to use a high-quality bittersweet or semi-sweet chocolate with a cacao percentage between 60% and 70%. Using chocolate chips is not recommended, as they often contain stabilizers that can prevent them from melting smoothly.
Q3. Why did my filling not set properly?
If your filling is runny, it most likely means the custard was not cooked long enough on the stovetop. It’s crucial to bring the mixture to a boil and let it cook and thicken for a full 1-2 minutes while whisking vigorously. This activates the cornstarch and ensures the custard will set up firmly as it chills.
Print
The Ultimate Chocolate Cream Pie Recipe (From Scratch!)
- Total Time: 7 hours
- Yield: 8 slices 1x
Description
A decadent chocolate cream pie with a crisp, all-butter pâte sablée crust and a rich, silky cooked chocolate custard. Use quality chocolate for best flavor; perfect make-ahead dessert.
Ingredients
For the Pastry Crust (Pâte Sablée)
- 1 1/2 cups all-purpose flour
- 1/2 cup granulated sugar
- 1/4 tsp fine sea salt
- 1/2 cup cold unsalted butter, cut in small cubes
- 1 large egg yolk
- 2–3 Tbsp ice-cold water
For the Rich Chocolate Filling
- 1 1/4 cups granulated sugar
- 1/3 cup unsweetened cocoa powder
- 1/4 cup cornstarch
- 1/2 tsp fine sea salt
- 3 cups whole milk
- 4 large egg yolks (for tempering)
- 6 oz bittersweet or semi-sweet chocolate (60-70%), finely chopped
- 2 Tbsp unsalted butter, room temperature
- 1 1/2 tsp pure vanilla extract
Instructions
- Make the crust: Whisk flour, sugar, and salt in a large bowl. Cut in cold butter with a pastry blender (or fingertips) until coarse crumbs form with some pea-size bits. Whisk egg yolk with 2 Tbsp ice water; drizzle over flour and toss until dough just comes together (add remaining water if needed). Form into a flat disk, wrap, and refrigerate at least 1 hour.
- Blind bake: Roll chilled dough to a 12-inch circle. Fit into a 9-inch pie dish; trim and crimp. Prick base with a fork. Freeze 30 minutes. Preheat oven to 375°F (190°C). Line with parchment and fill with pie weights; bake 15–20 minutes. Remove weights and parchment; bake 10–15 minutes more until lightly golden. Cool completely on a rack.
- Start the filling: In a heavy saucepan, whisk sugar, cocoa, cornstarch, and salt. In a separate bowl, whisk yolks. Temper with about 1 cup milk while whisking. Whisk remaining milk into saucepan until smooth, then whisk in tempered yolks.
- Cook the custard: Cook over medium heat, whisking constantly and scraping corners to prevent scorching. When thick bubbles appear, boil 1–2 minutes more, whisking vigorously, until very thick like pudding.
- Finish & assemble: Off heat, stir in chopped chocolate, butter, and vanilla until smooth and glossy. Pour hot filling into the cooled crust; smooth the top. Press plastic wrap directly on the surface and refrigerate 4–6 hours or overnight until fully set.
Notes
Shortcut: Use a high-quality 9-inch store-bought pie crust if preferred. For extra-stable slices, chill overnight. Serve plain or with lightly sweetened whipped cream and chocolate shavings.
- Prep Time: 45 minutes
- Cook Time: 35 minutes
- Category: Dessert, Pies
- Cuisine: American
Nutrition
- Calories: 550
- Sugar: 45
- Fat: 30
- Saturated Fat: 18
- Carbohydrates: 65
- Protein: 8