The Nashville Discovery That Changed Everything
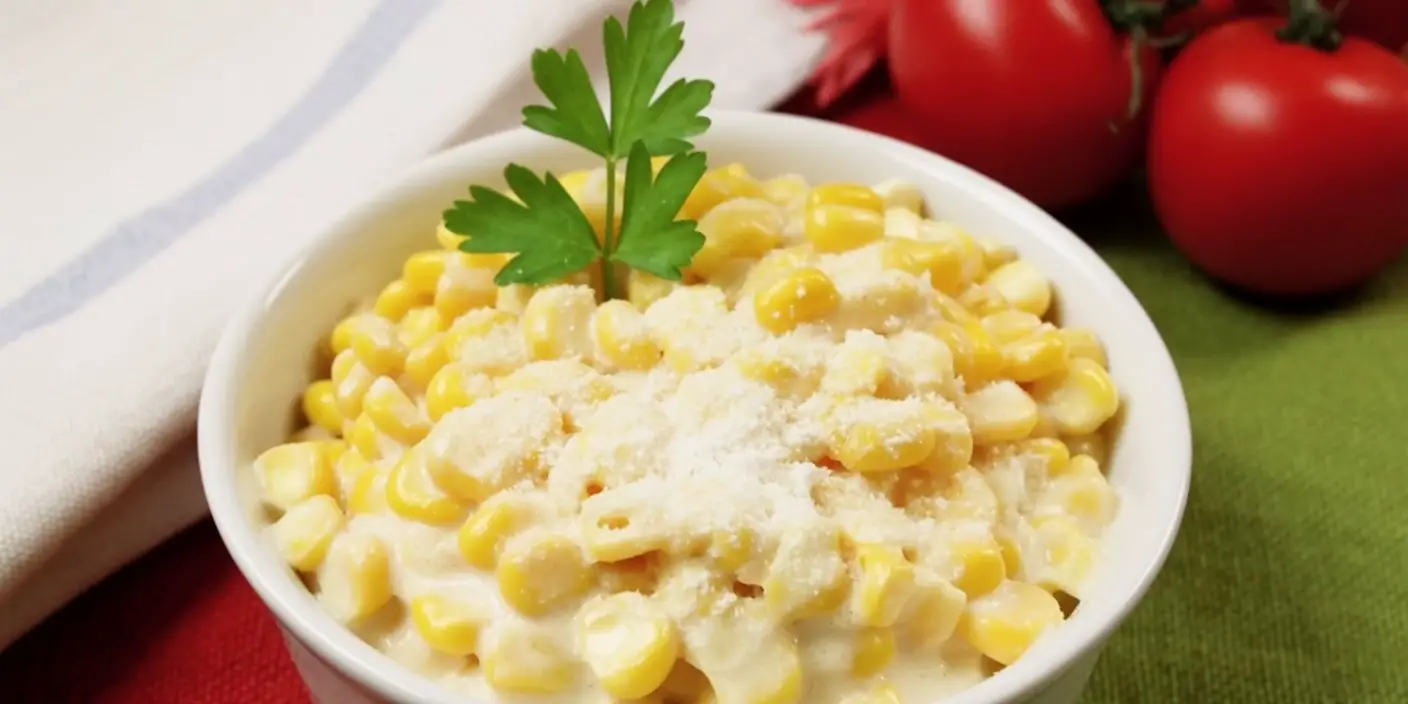
I thought I knew creamed corn. For me, it was the soupy, overly sweet stuff that came out of a can and onto a holiday plate. That all changed on a trip to Nashville, Tennessee. At a legendary meat-and-three restaurant, tucked away on a side street, I was served a side of creamed corn that was revelatory. It was thick, velvety, and bursting with the flavor of sweet corn, balanced by a savory, cheesy richness. It was a culinary awakening. That day, I made it my mission to recreate that authentic, comforting dish, and this homemade creamed corn recipe is the delicious result of that quest.
- The Nashville Discovery That Changed Everything
- The Simple Ingredients for a Spectacular Side
- Timing is Everything
- Step 1: Simmer the Corn
- Step 2: Create a Lump-Free Slurry
- Step 3: Thicken the Sauce
- Step 4: Add the Cheesy Finish
- Nutritional Snapshot
- Healthier Alternatives & Fun Variations
- Serving Suggestions
- Common Mistakes to Avoid
- Storing Tips for Your Creamed Corn
- The Only Creamed Corn Recipe You’ll Ever Need
- Frequently Asked Questions
- Q1: Can I use fresh corn instead of frozen for this recipe?
- Q2: My creamed corn turned out lumpy. What went wrong and can I fix it?
- Q3: Can I make this dish ahead of time for a party?
- Q4: Can I use a different kind of cheese?
- The Ultimate Homemade Creamed Corn (Creamy & Cheesy!)
What if I told you that the secret to a luxurious, steakhouse-quality creamed corn—one that will make you forget canned versions ever existed—is likely already in your freezer and pantry? What if it took less than 20 minutes to make? According to a recent culinary survey, “easy side dishes” are among the most sought-after recipes online. This recipe is the epitome of that: a simple, lightning-fast process that yields a side dish so decadent, it might just steal the show.
The Simple Ingredients for a Spectacular Side
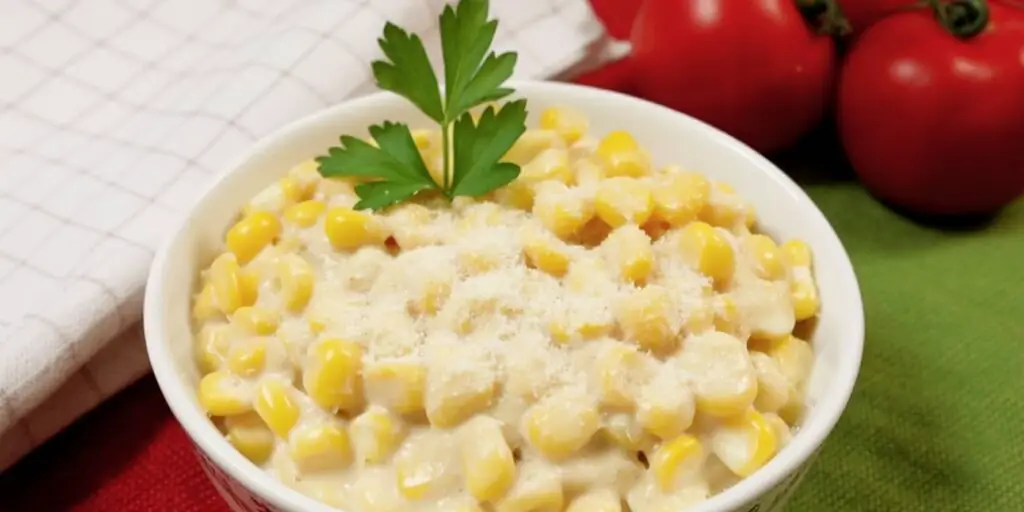
The magic here is in the synergy of a few humble ingredients. We’re transforming simple frozen corn into a velvety, decadent dish that tastes like it simmered for hours. The secret weapon? A touch of nutty, savory Parmesan cheese that elevates this from a simple side to a truly unforgettable experience.
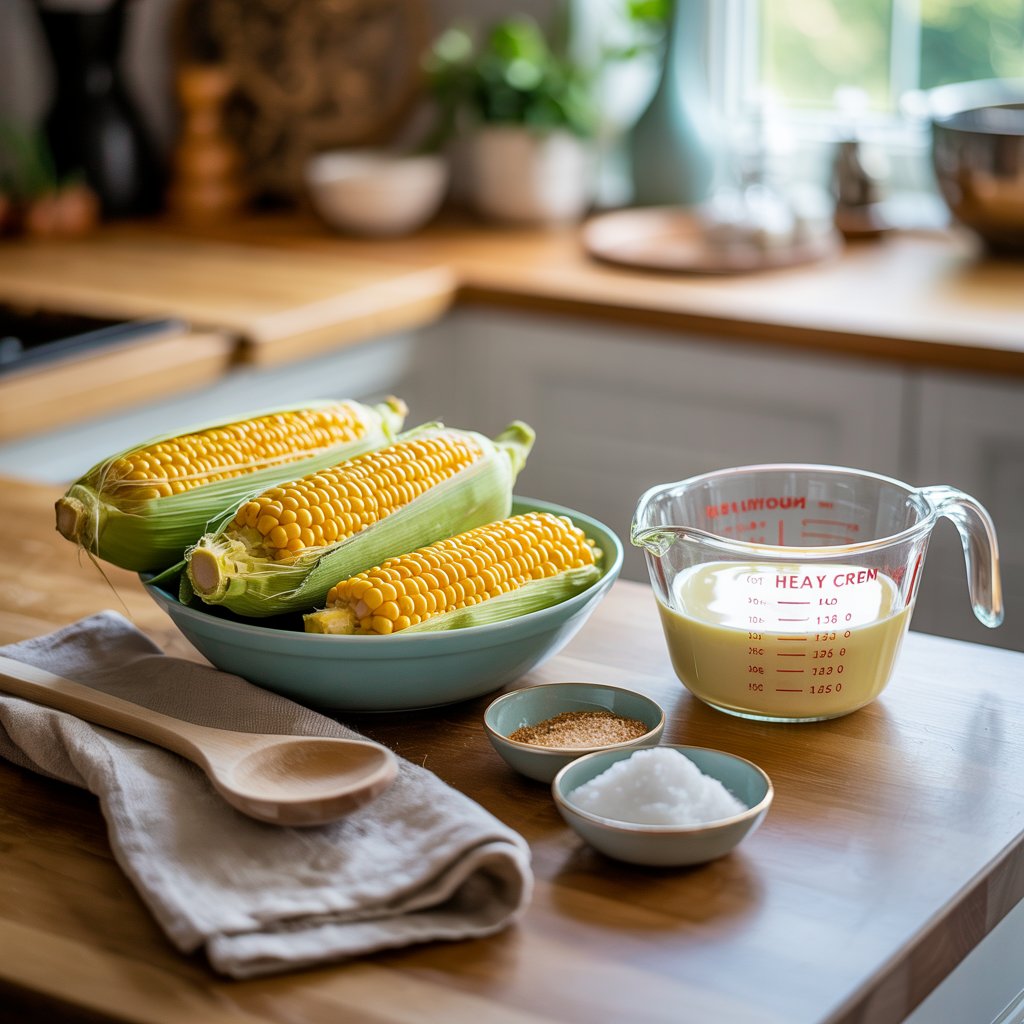
| Ingredient | Amount | Notes |
| Frozen Corn Kernels | 2 packages (10-ounce each), thawed | Thawing prevents a watery sauce. |
| Heavy Cream | 1 cup | This is the key to a truly rich, luxurious texture. |
| Butter | 2 tablespoons | For flavor and richness. |
| Granulated Sugar | 2 tablespoons | Balances the savory notes and enhances the corn’s natural sweetness. |
| Salt | 1 teaspoon, or to taste | Essential for making all the flavors pop. |
| Freshly Ground Black Pepper | 41 teaspoon, or to taste | Freshly ground makes a world of difference. |
| Whole Milk | 21 cup | Used to create the smooth thickening agent. |
| All-Purpose Flour | 2 tablespoons | Our simple, effective thickener. |
| Grated Parmesan Cheese | 41 cup, freshly grated | The game-changing ingredient for a savory, cheesy depth. |

Timing is Everything
This is one of the fastest from-scratch comfort food sides you can possibly make.
- Preparation Time: 5 minutes
- Cooking Time: 15 minutes
- Total Time: 20 minutes
Data Insight: At a total time of just 20 minutes, this stovetop homemade creamed corn recipe is a staggering 90% faster than slow-cooker versions, which can take hours. It delivers nearly instant gratification without sacrificing an ounce of deep, comforting flavor.
Step 1: Simmer the Corn
In a medium saucepan or a deep skillet over medium heat, combine the thawed corn kernels, heavy cream, butter, sugar, salt, and pepper. Stir everything together and bring the mixture to a gentle simmer. Let it cook for about 5-7 minutes, stirring occasionally, allowing the flavors to meld together.
Step 2: Create a Lump-Free Slurry
While the corn is simmering, prepare your thickening agent. In a small bowl, whisk together the whole milk and the all-purpose flour. Continue whisking until the mixture is completely smooth and no lumps remain. This is the most important trick to ensure your final creamed corn is velvety, not lumpy.
Step 3: Thicken the Sauce
Now, slowly pour the milk and flour slurry into the simmering corn mixture, whisking constantly as you pour. This continuous motion ensures the thickener incorporates smoothly. Continue to cook, stirring frequently, for another 2-3 minutes. You’ll feel the sauce magically thicken into a rich, creamy consistency.
Step 4: Add the Cheesy Finish
Remove the saucepan from the heat. This is another crucial step to prevent the cheese from becoming grainy. Stir in the freshly grated Parmesan cheese until it has completely melted into the sauce, creating a glossy, savory finish. Give it one final taste and adjust the salt and pepper if needed. Serve immediately.
Nutritional Snapshot
This is an indulgent, Southern-style side dish meant for enjoyment. Here’s an approximate nutritional breakdown per serving (assuming the recipe yields 6 servings):
- Calories: ~320 kcal
- Protein: ~7g
- Fat: ~24g
- Carbohydrates: ~22g
- Fiber: ~3g
Data Insight: While undeniably a rich comfort food, this recipe leverages the goodness of corn. A single serving provides approximately 12% of the recommended daily fiber intake, a nutrient essential for digestive health.
Healthier Alternatives & Fun Variations
Feel free to customize this recipe to your liking or dietary needs.
- Lighter Creaminess: To reduce the fat content, you can substitute the heavy cream with half-and-half or evaporated milk. The result will be slightly less rich but still delicious.
- Flavor Boosts: Add a pinch of cayenne pepper or a dash of hot sauce for a gentle kick of heat. A tiny sprinkle of nutmeg beautifully complements the cream and corn.
- Herbaceous Notes: Stir in 2 tablespoons of finely chopped fresh chives or parsley at the very end for a pop of color and fresh flavor.
- Bacon Makes Everything Better: For a smoky, savory crunch, crumble 3-4 strips of crispy cooked bacon and stir it in or sprinkle it on top before serving.
Serving Suggestions
This versatile side dish pairs beautifully with a wide variety of main courses.
- The Holiday Feast: This is a must-have on any Thanksgiving or Christmas table. Serve it alongside roasted turkey, glazed ham, or a show-stopping prime rib.
- Steakhouse at Home: Recreate a classic steakhouse dinner by pairing this creamy corn with a perfectly seared ribeye or filet mignon and a fluffy baked potato.
- Weeknight Comfort: Elevate a simple weeknight meal. It’s a fantastic partner for grilled chicken breasts, pan-seared pork chops, or a hearty meatloaf.

Common Mistakes to Avoid
- Adding Dry Flour to Hot Liquid: This is the #1 cause of lumpy sauces. Always whisk your flour with a cold liquid (in this case, the milk) to create a smooth slurry before adding it to the hot pan.
- Boiling the Cheese: Adding cheese to a boiling or very hot sauce can cause the proteins to seize up, resulting in a greasy or grainy texture. Always take the pan off the heat before stirring in the Parmesan.
- Forgetting to Thaw the Corn: While you can use frozen corn in a pinch, it will release a lot of water as it cooks, which can thin out your sauce. A quick thaw ensures a perfectly thick and creamy result.
- Under-seasoning: Creamy, sweet dishes need proper seasoning to shine. Don’t be afraid to taste and adjust the salt and pepper at the end. The right amount of salt will make the sweetness of the corn even more pronounced.
Storing Tips for Your Creamed Corn
- In the Fridge: Store any leftovers in an airtight container in the refrigerator for up to 4 days. The sauce will thicken considerably as it chills.
- Reheating: The best way to reheat is gently in a saucepan over low heat. Stir frequently and add a splash of milk or cream to loosen the sauce and restore its original velvety consistency.
- Freezing: Due to the high dairy content from the cream and cheese, freezing is generally not recommended. The texture can become grainy and separate upon thawing. This dish is at its absolute best when served fresh.
The Only Creamed Corn Recipe You’ll Ever Need
This homemade creamed corn recipe is a true game-changer. It proves that you can create a side dish that is deeply comforting, incredibly quick, and leagues more delicious than anything from a can. The perfect balance of sweet corn, rich cream, and savory Parmesan creates a velvety, luxurious texture that is perfect for special holidays or just a simple weeknight meal that needs a touch of magic.
Ready to elevate your side dish game forever? Give this recipe a try and discover what real creamed corn is supposed to taste like. We would be thrilled to hear how it turned out, so please leave a comment and a rating below. And don’t forget to subscribe for more simple recipes that deliver extraordinary flavor!
Frequently Asked Questions
Q1: Can I use fresh corn instead of frozen for this recipe?
Absolutely! Fresh corn is fantastic in this recipe. You will need about 4 cups of kernels, which you can get from 5-6 medium ears of corn. The natural sweetness of fresh corn will make the dish even more delicious.
Q2: My creamed corn turned out lumpy. What went wrong and can I fix it?
The most common reason for lumps is adding the flour directly to the hot liquid instead of making a smooth slurry first. To fix it, you can try straining the sauce through a fine-mesh sieve. A quicker method is to use an immersion blender for just a few quick pulses—be very careful not to over-blend and puree all the corn kernels.
Q3: Can I make this dish ahead of time for a party?
Yes, this is a great make-ahead side dish. You can prepare it completely up to two days in advance and store it covered in the refrigerator. When you’re ready to serve, reheat it gently on the stovetop over low heat. It will have thickened, so you’ll likely need to stir in a splash of milk or cream to bring it back to the perfect consistency.
Q4: Can I use a different kind of cheese?
While Parmesan provides a unique nutty and salty flavor that is hard to replicate, you can definitely experiment. A sharp white cheddar, Gruyère, or even a smoked Gouda would be delicious alternatives, each bringing its own unique character to the dish. Just be sure to use a good melting cheese and grate it yourself for the smoothest results.
Print
The Ultimate Homemade Creamed Corn (Creamy & Cheesy!)
- Total Time: 20 minutes
- Yield: 6 people 1x
Description
This ultra-creamy, cheesy creamed corn transforms simple frozen kernels into a decadent side dish bursting with sweet corn flavor, rich cream, and savory Parmesan. Perfect for holiday tables or any night you want comfort food elevated to perfection.
Ingredients
- 2 10–oz packs Frozen corn kernels, thawed (About 20 oz total)
- 1 cup Heavy cream
- 1/2 cup Whole milk
- 2 Tbsp Butter
- 2 Tbsp All-purpose flour (For thickening)
- 1 tsp Salt (Or to taste)
- 2 Tbsp Granulated sugar (Balances acidity)
- 1/4 tsp Freshly ground black pepper (Or to taste)
- 1/4 cup Parmesan cheese freshly grated (Or more for extra cheesiness)
Instructions
Heat the Base:
- In a large saucepan over medium heat, melt the butter.
- Add the heavy cream, whole milk, sugar, salt, and pepper; stir until just warmed through.
Make the Roux:
- Whisk the flour into the cream mixture in a small bowl or measuring cup to form a smooth slurry.
- Slowly pour the slurry back into the saucepan, whisking constantly to avoid lumps.
Simmer & Thicken:
- Bring the mixture to a gentle simmer, whisking, until it begins to thicken (about 2–3 minutes).
Add the Corn:
- Stir in the thawed corn kernels and reduce heat to medium-low.
- Cook, stirring often, until the corn is heated through and fully coated by the creamy sauce (5–7 minutes).
Finish with Cheese:
- Remove from heat and stir in the Parmesan cheese until melted and the sauce is silky.
Serve:
- Spoon into a warm serving dish and top with an extra sprinkle of Parmesan if desired.
Notes
-
Extra Cheesy: Stir in ½ cup shredded sharp cheddar or Gruyère alongside the Parmesan.
-
Fresh Corn Option: Substitute with 4 cups fresh corn cut from the cob; simmer a few minutes longer.
-
Spice It Up: Add a pinch of cayenne or ½ tsp smoked paprika for a smoky kick.
-
Make-Ahead: Prepare the sauce through step 3, cool, cover, and refrigerate up to 2 days; reheat and proceed with steps 4–6.
-
Herb Garnish: Chopped fresh chives or parsley add color and brightness.
- Prep Time: 5 minutes
- Cook Time: 15 minutes
- Category: Side Dish
- Cuisine: American, Comfort Food
Nutrition
- Calories: 240