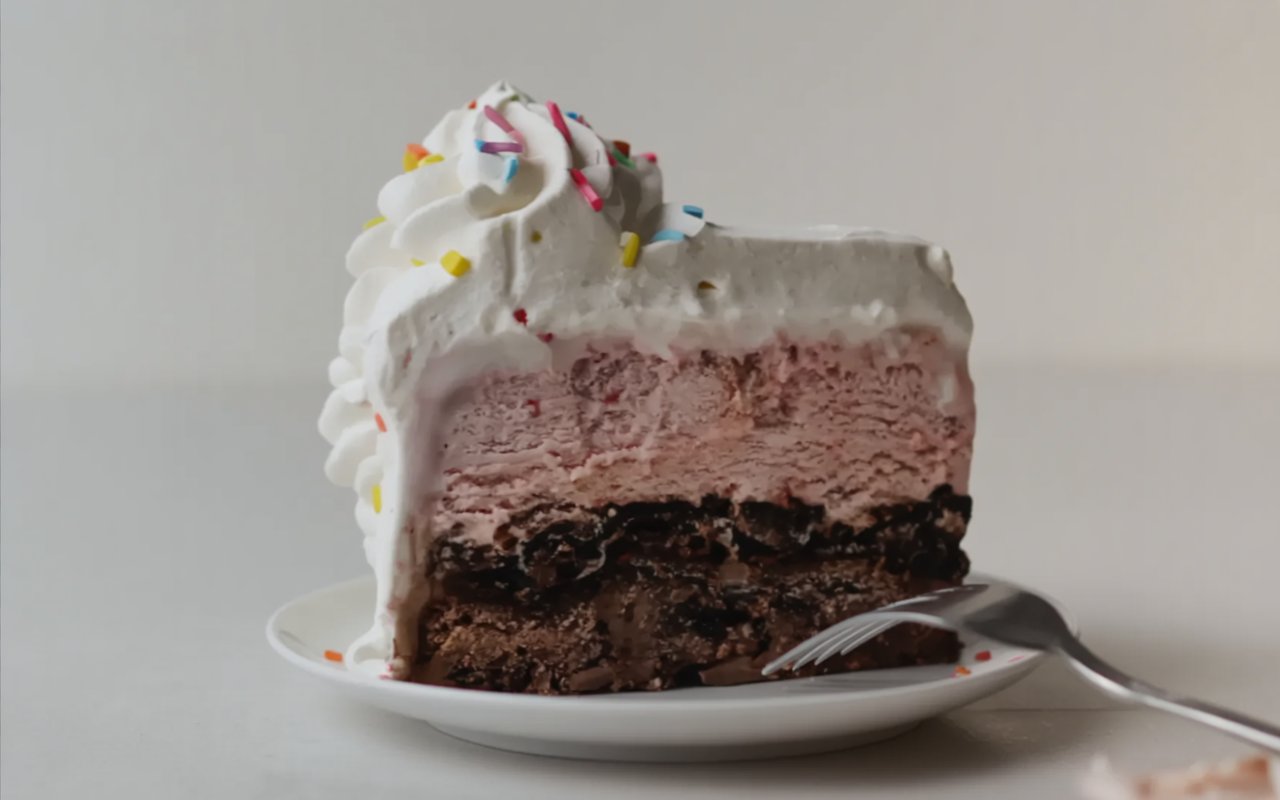
What’s the one dessert that instantly signals a celebration? For many of us, it’s the iconic ice cream cake. But have you ever considered that the best version you’ll ever taste isn’t from a store, but from your own kitchen? This recipe for a truly homemade ice cream cake is here to show you how easy it is to create a showstopping, multi-layered masterpiece. Forget those one-note, overly sweet store-bought cakes. We’re talking layers of your favorite ice cream, a rich hot fudge center, and a crunchy Oreo cookie crust, all topped with real whipped cream. It’s a dessert that’s completely customizable and infinitely more delicious.
- Ingredients
- For the Cake Layers
- For the Whipped Cream Topping
- Timing
- Step-by-Step Instructions
- Step 1: Prepare the Oreo Crust
- Step 2: Assemble the First Ice Cream Layer
- Step 3: Add the Fudge and Crunch Layer
- Step 4: Assemble the Second Ice Cream Layer
- Step 5: The Final Freeze
- Step 6: Prepare to Decorate
- Step 7: Whip the Topping and Decorate
- Step 8: Slice and Serve
- Nutritional Information
- Healthier Alternatives
- Serving Suggestions
- Common Mistakes to Avoid
- Storing Tips
- Conclusion
- FAQs
- Q1. What kind of pan is best for an ice cream cake?
- Q2. Can I use different cookies for the crust?
- Q3. How do I get clean slices?
- Q4. Can I use store-bought whipped topping instead of making my own?
- The Ultimate Homemade Ice Cream Cake Recipe
Ingredients
For the Cake Layers
| Ingredient | Amount/Quantity |
|---|---|
| Oreo Cookies | 10 cookies (110g) |
| Unsalted Butter, melted | 2 Tablespoons (28g) |
| Chocolate Ice Cream, softened | 1.5 quarts (1.42L) |
| Homemade Hot Fudge (or store-bought), divided | 1 cup (8 ounces/227g) |
| Strawberry Ice Cream, softened | 1.5 quarts (1.42L) |
For the Whipped Cream Topping
| Ingredient | Amount/Quantity |
|---|---|
| Cold Heavy Cream | 2 cups (480ml) |
| Confectioners’ Sugar | ⅓ cup (40g) |
| Pure Vanilla Extract | 1 ½ teaspoons |
| Sprinkles (optional garnish) | For decorating |
Timing
- Active Preparation Time: 25 minutes
- Freezing Time: At least 12 hours (plus 1 hour for intermediate steps)
- Total Time: Approximately 13.5 hours
This cake requires significant freezing time to set properly, making it the perfect make-ahead dessert for any party or special occasion.
Step-by-Step Instructions
Step 1: Prepare the Oreo Crust

In a food processor or blender, pulse the 10 Oreo cookies (filling and all) until they form coarse crumbs. You can leave some larger chunks for extra crunch. Pour the crumbs into a bowl and mix them with the melted butter until evenly moistened. Set this mixture aside.
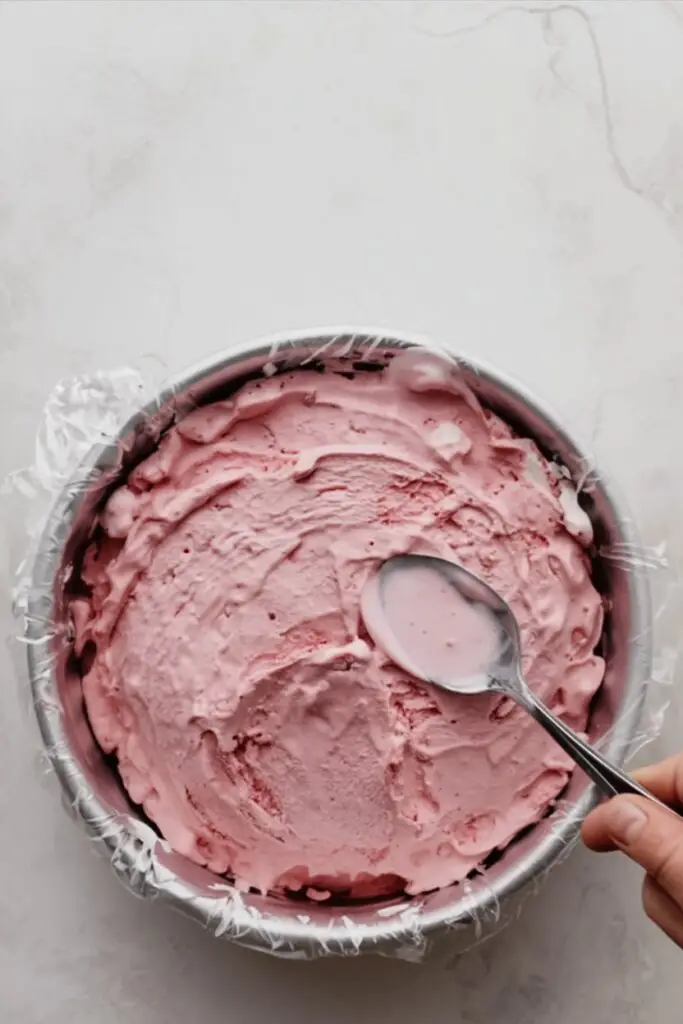
Step 2: Assemble the First Ice Cream Layer
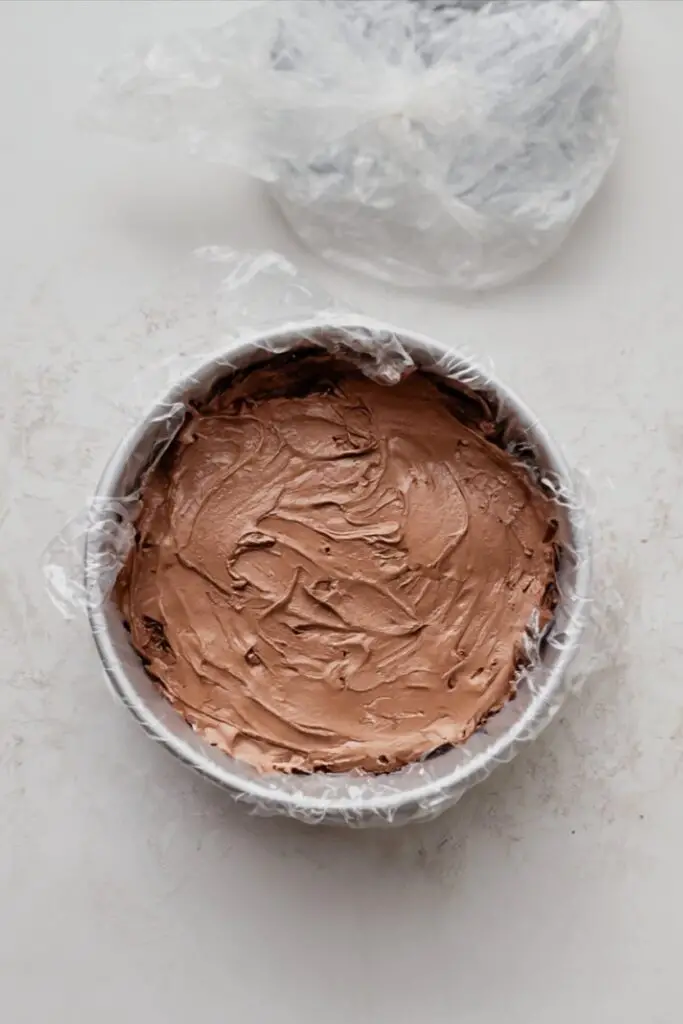
Take your chocolate ice cream out of the freezer to soften for about 10 minutes. While it softens, prepare your pan. Line a 9-inch or 10-inch springform pan with two overlapping pieces of plastic wrap, leaving some overhang on the sides. This will make it easy to remove the cake later. Working quickly, scoop the softened chocolate ice cream into the lined pan and use the back of a spoon to spread it into an even layer. Place the pan in the freezer for 30 minutes to firm up.
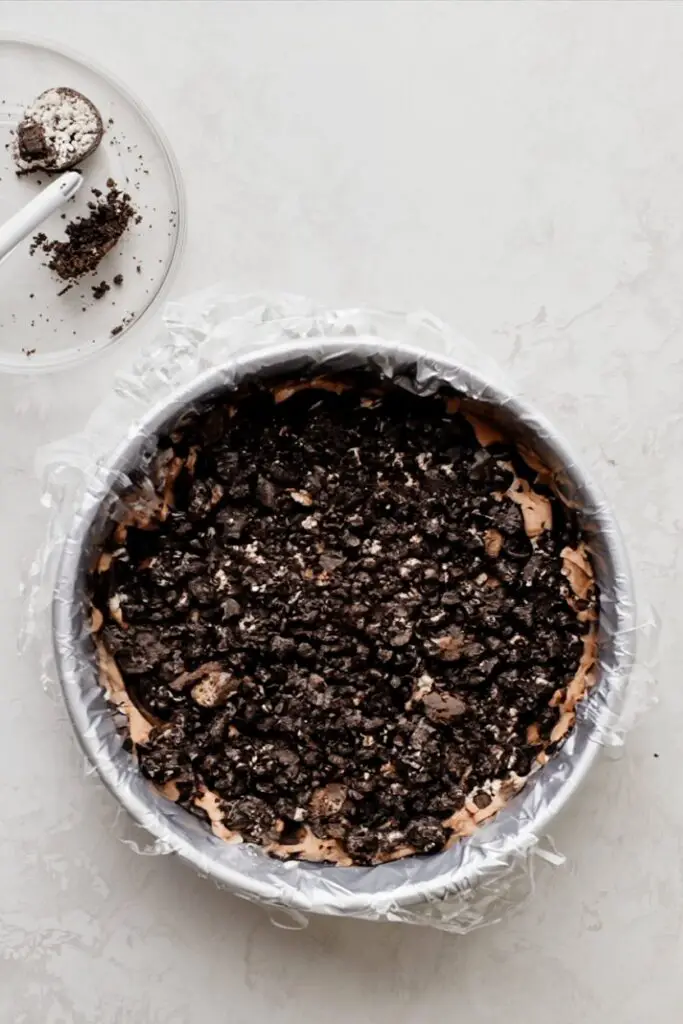
Step 3: Add the Fudge and Crunch Layer
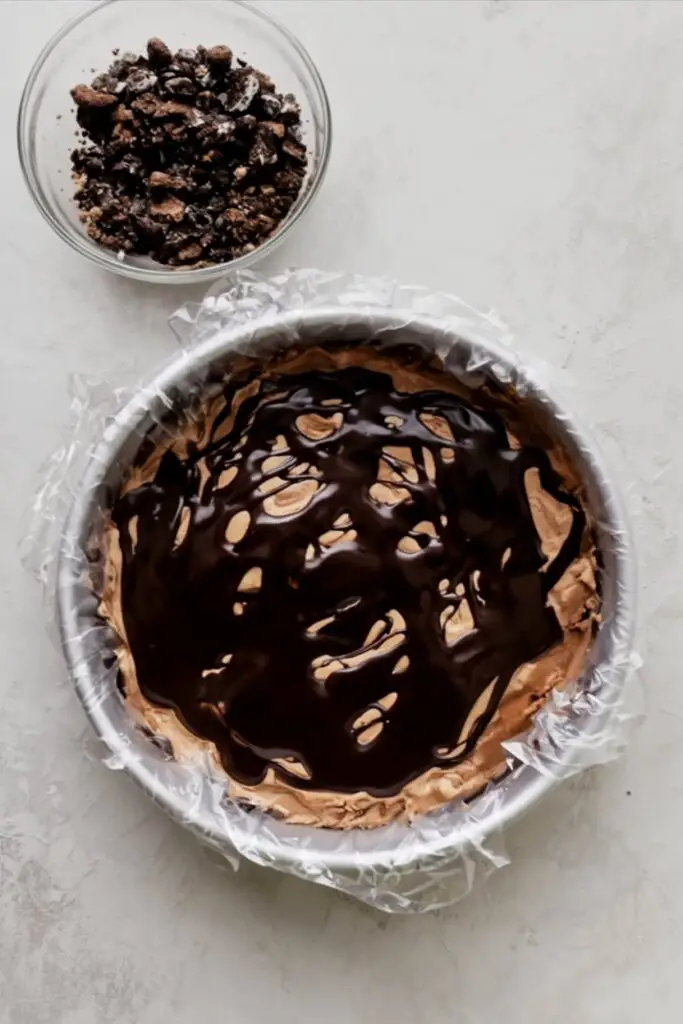
While the first layer is freezing, warm up your hot fudge sauce so it’s a spreadable consistency. After 30 minutes, remove the pan from the freezer. Pour and spread ½ cup of the hot fudge evenly over the chocolate ice cream layer. Immediately top it with your prepared Oreo crumb mixture. Place the pan back in the freezer for another 30 minutes.
Step 4: Assemble the Second Ice Cream Layer
After the fudge and Oreo layer has been in the freezer for about 20 minutes, take your strawberry ice cream out to soften for 10 minutes. Remove the pan from the freezer and drizzle the remaining ½ cup of hot fudge over the Oreo layer. Working quickly, spoon the softened strawberry ice cream on top and spread it into a final, even layer.
Step 5: The Final Freeze
Cover the entire cake with plastic wrap or aluminum foil and place it in the freezer for at least 12 hours, or up to 2 days. This long freeze is essential for the cake to become firm enough to slice cleanly.
Step 6: Prepare to Decorate
Before you decorate, place your serving plate or cake stand in the freezer for at least 30 minutes. This is a crucial tip! Placing a frozen cake on a room-temperature plate will cause the bottom to melt instantly.
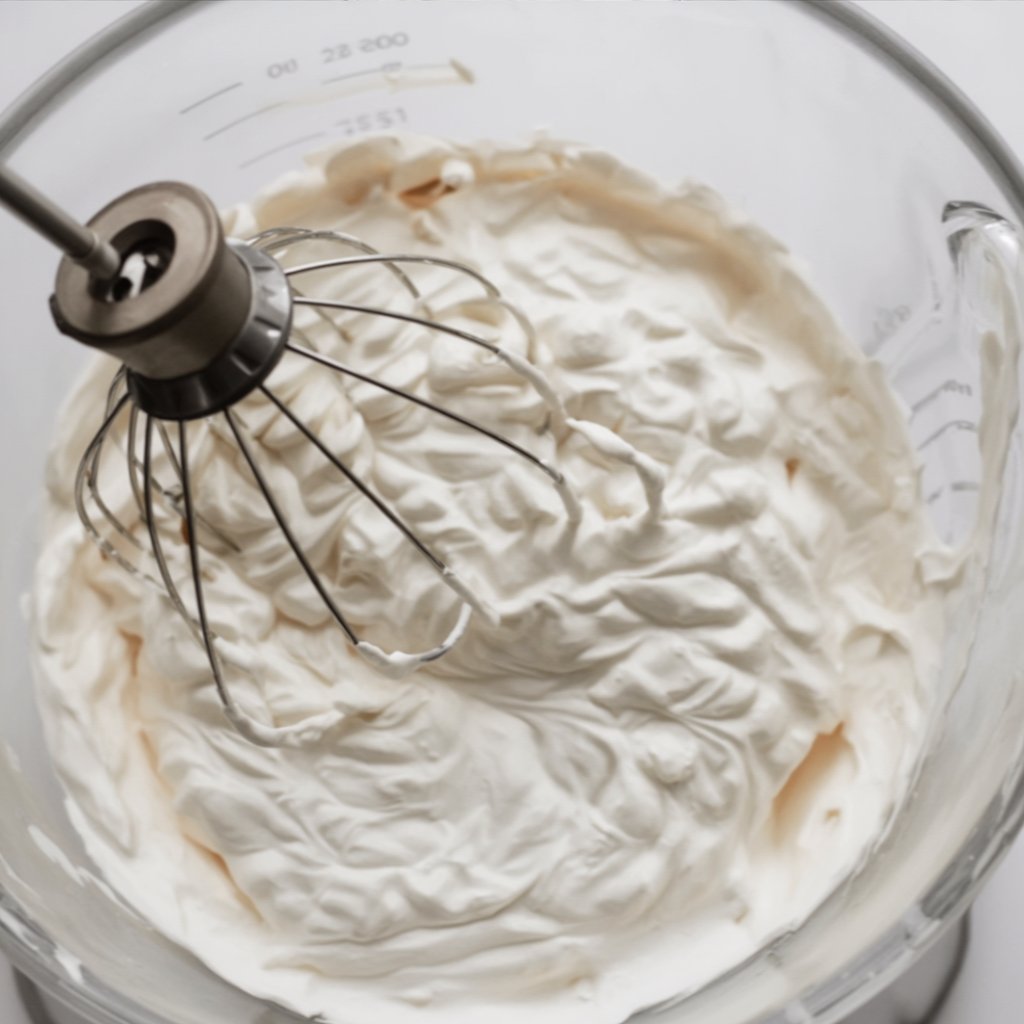
Step 7: Whip the Topping and Decorate
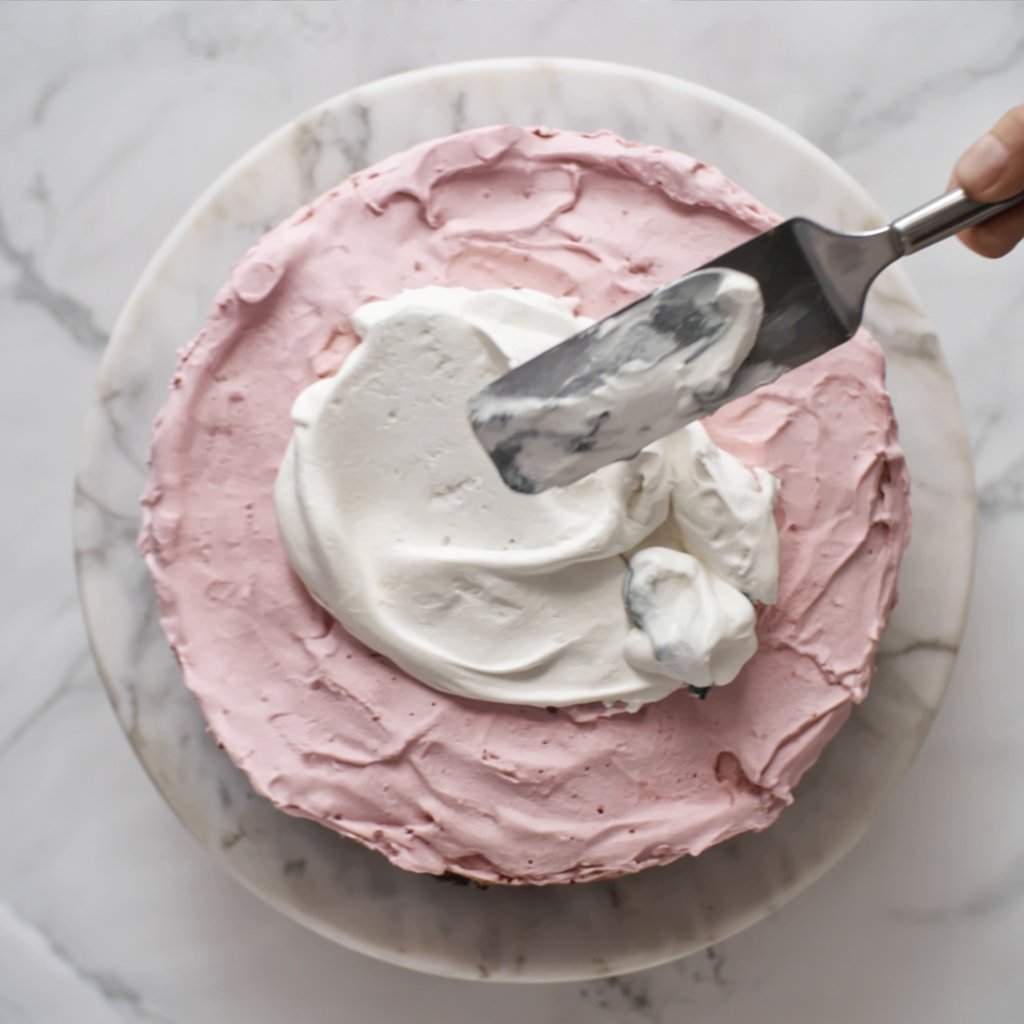
When you’re ready to serve, make the whipped cream. Using a stand mixer with a whisk attachment or a handheld mixer, beat the cold heavy cream, confectioners’ sugar, and vanilla on medium-high speed until stiff peaks form, about 4 minutes. Remove the cake from the freezer and release the springform pan’s rim. Use the plastic wrap overhang to lift the cake out of the pan, carefully peel off the plastic, and place the cake on your chilled serving plate. Working quickly, frost the top and sides of the cake with the fresh whipped cream. Garnish with sprinkles, if desired.
Step 8: Slice and Serve
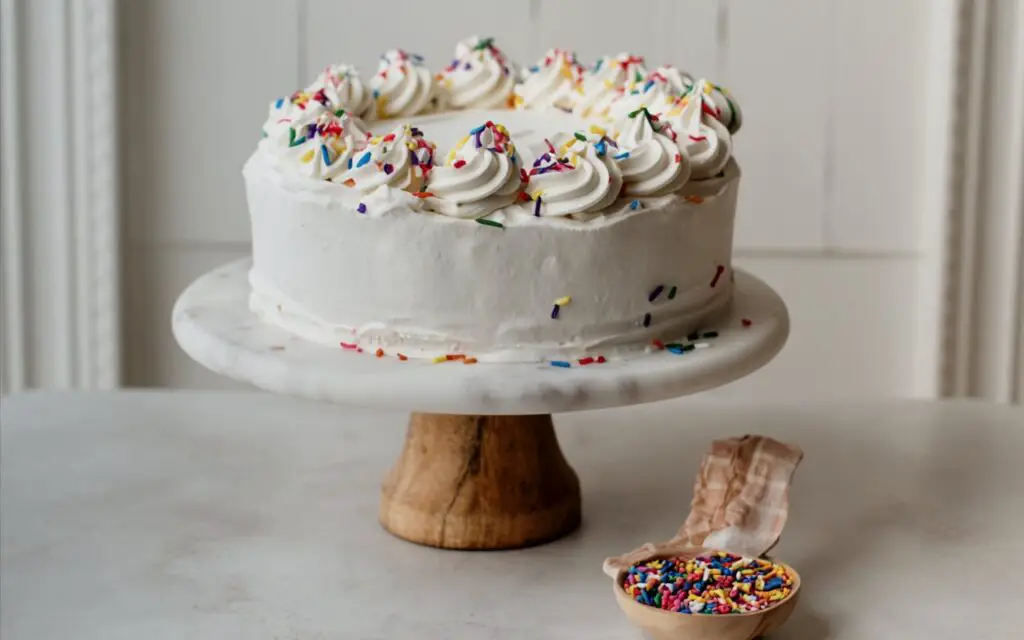
Slice the cake with a very sharp knife, dipping it into a glass of hot water and wiping it clean between each slice for the cleanest cuts. Serve immediately, or you can place the decorated cake back in the freezer for up to 1 hour before serving.
Nutritional Information
As a celebratory dessert, this homemade ice cream cake is a rich and decadent treat. The nutritional content will depend on the specific brands of ice cream, cookies, and fudge used.
Healthier Alternatives
- Lighter Ice Cream: Opt for a light or reduced-fat ice cream, frozen yogurt, or a fruit-based sorbet.
- Gluten-Free: It’s easy to make this cake gluten-free! Simply use your favorite gluten-free chocolate sandwich cookies for the crust.
- Dairy-Free/Vegan: Use dairy-free ice cream (made from coconut, almond, or soy milk), a vegan butter substitute for the crust, and a whipped coconut cream for the topping.
Serving Suggestions
This homemade ice cream cake is a party on a plate! It’s perfect for birthdays, summer barbecues, or any occasion that calls for a special dessert.
- Flavor Combinations: The beauty of this recipe is its versatility. Try mint chocolate chip and chocolate, coffee and vanilla, or birthday cake and strawberry. The possibilities are endless!
- Extra Toppings: Before the final freeze, you could add a layer of chopped peanut butter cups, mini M&M’s, or your favorite candy bar between the fudge and the second ice cream layer.
Common Mistakes to Avoid
- Not Softening the Ice Cream Enough: Trying to spread rock-hard ice cream is nearly impossible. Solution: Let each flavor soften on the counter for 10-15 minutes. It should be malleable but not melted.
- Rushing the Freezing Times: Each freezing step is critical for creating distinct, stable layers. Solution: Don’t cut the freezing times short. The final 12-hour freeze is especially important for a firm, sliceable cake.
- Forgetting to Chill the Serving Plate: Placing your frozen masterpiece on a warm plate will lead to instant melting and a messy disaster. Solution: Always pre-chill your cake stand or serving platter in the freezer.
Storing Tips
- Freezing: Store any leftover ice cream cake in an airtight container in the freezer. It will keep for up to 1 week, although the texture of the whipped cream may change slightly over time. To prevent freezer burn, you can press a piece of plastic wrap directly onto the cut surfaces before covering.
Conclusion
This homemade ice cream cake recipe is your ticket to becoming a dessert legend. The combination of creamy ice cream, rich fudge, and that signature Oreo crunch is absolutely irresistible. While it requires some patience with freezing, the active prep time is minimal, and the result is a stunning, delicious, and fully customizable cake that will be the highlight of any celebration. Give it a try, and get ready for the rave reviews. We’d love to see your creations, so be sure to tag us or leave a comment below!
FAQs
Q1. What kind of pan is best for an ice cream cake?
A springform pan is highly recommended because the removable sides make it incredibly easy to unmold the finished cake without damaging it.
Q2. Can I use different cookies for the crust?
Absolutely! While Oreos are classic, you could use Nutter Butters for a peanut butter version, chocolate chip cookies for a cookie dough theme, or Biscoff cookies for a spiced alternative.
Q3. How do I get clean slices?
The secret to clean slices is a hot, sharp knife. Fill a tall glass with hot water. Dip your knife in the water before each cut and wipe it clean with a paper towel. This will allow the knife to glide through the frozen cake with ease.
Q4. Can I use store-bought whipped topping instead of making my own?
You can, but homemade whipped cream has a far superior flavor and texture that really elevates this cake. It only takes a few minutes to whip up and is well worth the minimal effort.
Print
The Ultimate Homemade Ice Cream Cake Recipe
- Total Time: 13 hours 30 minutes
- Yield: 12 servings 1x
Description
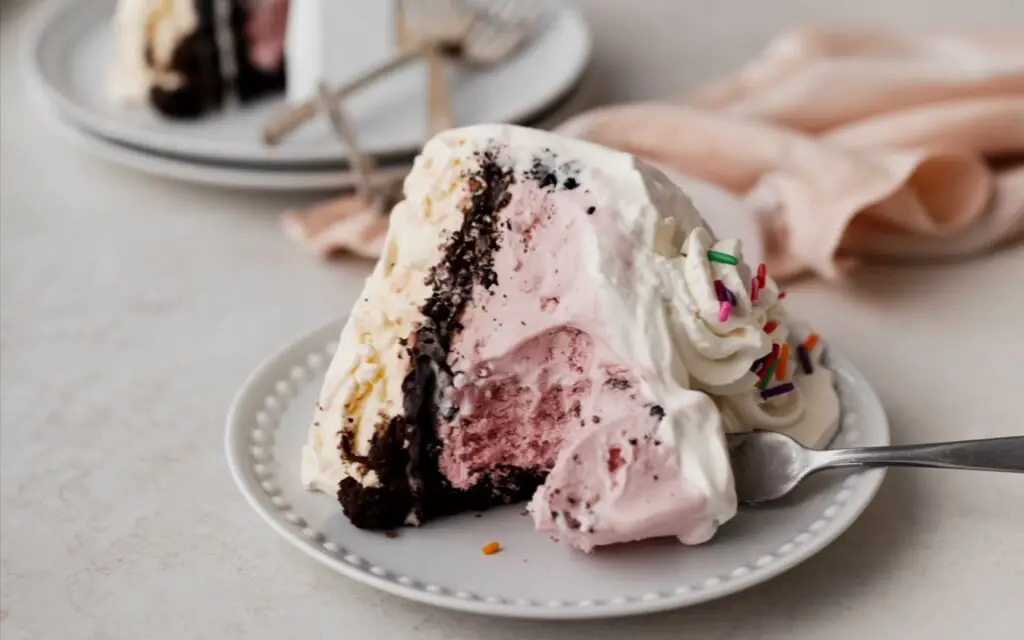
Build a show-stopping, no-bake ice cream cake with a crunchy Oreo crust, layers of chocolate and strawberry ice cream, ribbons of hot fudge, and a fluffy vanilla-whipped cream finish. It’s the ultimate make-ahead party dessert—sliceable, stunning, and irresistibly creamy.
Ingredients
For the Cake Layers
-
Oreo cookies — 10 cookies (110 g)
-
Unsalted butter, melted — 2 Tbsp (28 g)
-
Chocolate ice cream, softened — 1.5 quarts (1.42 L)
-
Homemade hot fudge (or store-bought), divided — 1 cup (8 oz / 227 g)
-
Strawberry ice cream, softened — 1.5 quarts (1.42 L)
For the Whipped Cream Topping
-
Cold heavy cream — 2 cups (480 ml)
-
Confectioners’ sugar — 1/3 cup (40 g)
-
Pure vanilla extract — 1 1/2 tsp
-
Sprinkles (optional) — for decorating
Instructions
-
Prepare the Oreo crust: Pulse 10 Oreo cookies (cream and all) into coarse crumbs. In a bowl, combine with melted butter until evenly moistened; set aside.
-
First ice cream layer: Line a 9–10 inch springform pan with overlapping plastic wrap, leaving overhang. Soften chocolate ice cream 10 minutes, then spread into an even layer in the pan. Freeze 30 minutes.
-
Fudge + crunch: Warm fudge until spreadable. Spread ½ cup over the chocolate layer. Sprinkle and lightly press the Oreo crumb mixture on top. Freeze 30 minutes.
-
Second ice cream layer: While the pan chills, soften strawberry ice cream 10 minutes. Drizzle the remaining ½ cup fudge over the Oreo layer, then spread strawberry ice cream evenly on top.
-
Final freeze: Cover tightly and freeze at least 12 hours (up to 2 days) until very firm.
-
Chill the serving plate: Freeze your cake stand/serving plate for 30 minutes before decorating.
-
Whip + decorate: Beat cold heavy cream, confectioners’ sugar, and vanilla on medium-high until stiff peaks, about 4 minutes. Release the springform rim, lift the cake out using the plastic wrap, peel it off, and set cake on the chilled plate. Quickly frost the top and sides with whipped cream; add sprinkles if desired.
Notes
- Pan size: A 9-inch springform yields a taller cake; 10-inch yields wider/thinner layers.
- Soften smart: Ice cream should be spreadable, not melted. If too soft, return to freezer briefly.
- Flavor swaps: Mix and match ice cream flavors (vanilla, cookies-and-cream, mint chip).
- Crust options: Use chocolate wafer cookies or gluten-free chocolate sandwich cookies for a GF version.
- Stabilized topping: For longer hold, beat in 1 Tbsp instant vanilla pudding mix with the cream and sugar.
- Make-ahead: Assemble up to 2 days ahead. After decorating, you can freeze uncovered 15 minutes to set, then cover lightly and freeze up to 1 hour before serving.
- Storage: Freeze leftovers well covered for up to 1 month.
- Prep Time: 25 minutes
- Category: Dessert
- Method: No-Bake, Frozen
- Cuisine: American
Nutrition
- Serving Size: 1 slice
- Calories: 540
- Sugar: 46 g
- Sodium: 220 mg
- Fat: 33 g
- Saturated Fat: 20 g
- Unsaturated Fat: 10 g
- Trans Fat: 0.5 g
- Carbohydrates: 58 g
- Fiber: 2 g
- Protein: 6 g
- Cholesterol: 95 mg