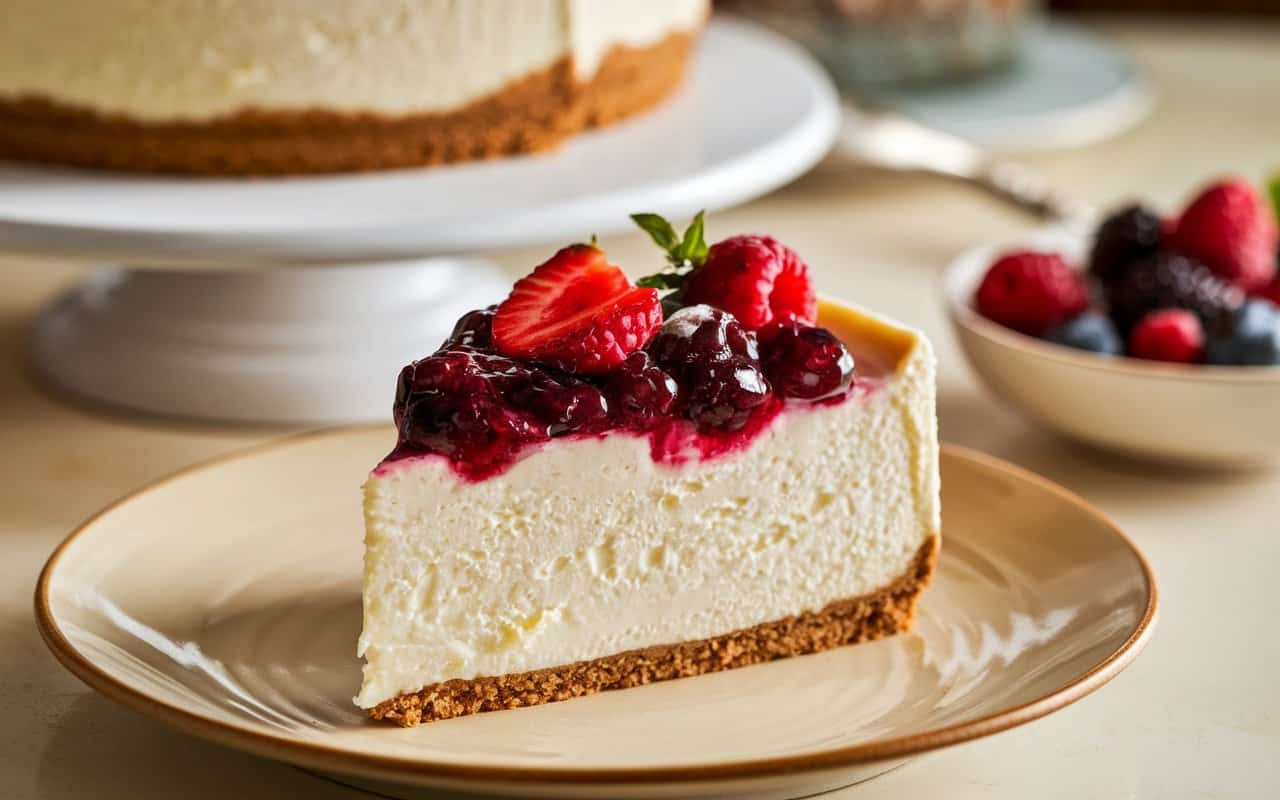
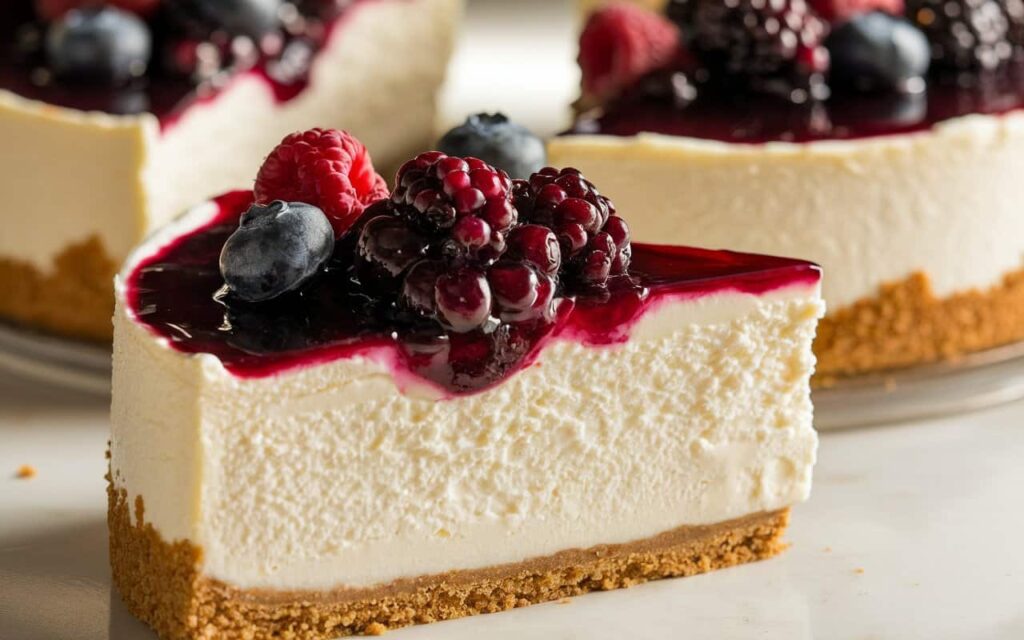
Few desserts evoke the same level of grandeur and indulgence as a classic New York cheesecake. Its towering height, dense yet creamy consistency, and subtle tang set it apart from other cheesecakes. You might think that crafting such a masterpiece is best left to professional bakers, but in truth, this dessert aligns with the spirit of easy and quick desserts—provided you understand a few basic techniques and allow the necessary time for baking and cooling. The reward is a velvety, show-stopping centerpiece worthy of any special occasion, yet simple enough to practice on a weekend whim.
A Piece of Culinary History

The origins of New York cheesecake trace back to the early 1900s when Jewish immigrants in New York adapted European cheesecakes to incorporate cream cheese, a new American invention at the time. Over the decades, diners and restaurants across the city refined their versions, leading to the hallmark of New York cheesecake we celebrate today—thick, rich, and unapologetically decadent. With every spoonful, you partake in a dessert tradition that has stood the test of time and continues to captivate palates worldwide.
Yet this cheesecake isn’t restricted to Manhattan’s famed delis and diners. You can recreate that iconic taste and texture right in your own kitchen. By employing the right ingredients and following a few precise steps, you’ll learn that the famously luscious, dense interior is quite attainable—and you can still label it among your repertoire of easy and quick desserts, especially once you get the technique down.
Getting Started with Ingredients
The foundation of an outstanding New York cheesecake begins with fresh, high-quality components. Here’s a helpful guide:
| Ingredient | Quantity | Notes |
|---|---|---|
| Graham Cracker Crumbs | ~1.5 cups | For the crust (about 10-12 full crackers crushed) |
| Unsalted Butter | 6 tablespoons (85g) | Melted for binding the crust |
| Cream Cheese | 32 oz (900g) | Full-fat, room temperature for best results |
| Granulated Sugar | 1 1/4 cups (250g) | Adjust slightly to taste |
| Sour Cream | 1 cup (240g) | Adds tang and creaminess |
| Eggs | 4 large | Room temperature; helps blend smoothly |
| Vanilla Extract | 1 tablespoon | Enhances overall flavor |
| Lemon Zest or Juice | 1 teaspoon (optional) | Slight tang to brighten flavor (often used in NY cheesecakes) |
| Pinch of Salt | ~1/4 teaspoon | Balances sweetness |
Equipment:
- A 9-inch springform pan.
- Mixing bowl(s).
- Hand mixer or stand mixer (paddle attachment preferred).
- Large roasting pan (if using a water bath).
- Aluminum foil to wrap the springform pan.
Step 1: Preparing the Crust
- Crush the Crackers
Start by grinding the graham crackers into fine crumbs using a food processor or by placing them in a zip-top bag and rolling them with a rolling pin. - Combine with Butter
Stir in melted butter until the mixture has the texture of wet sand. Some recipes call for a tablespoon of sugar mixed in. Whether you add sugar or not depends on how sweet you prefer your crust. - Press into the Pan
Spray the springform pan lightly with cooking spray. Press the crumb mixture firmly into the bottom of the pan, and if you like, slightly up the sides. A flat-bottomed cup can help achieve a neat, compact layer. Refrigerate or freeze the crust for at least 10 minutes to help it set.
Step 2: Mixing the Cheesecake Batter
- Soften the Cream Cheese
Ensure your cream cheese is at room temperature. Cold cream cheese can lead to lumps, which are the bane of a smooth cheesecake. - Blend Cream Cheese and Sugar
In a large bowl or stand mixer, beat cream cheese on low to medium speed until it’s smooth. Gradually add the sugar and continue blending, scraping down the sides as necessary. Maintaining a moderate speed prevents incorporating too much air, which can cause cracks later. - Incorporate Eggs and Sour Cream
Add the eggs one at a time, mixing just until each egg is combined. Overbeating eggs can yield a dense or cracked cheesecake. Next, gently beat in the sour cream, vanilla extract, and pinch of salt. If you’re using lemon zest or juice for a slightly brighter flavor, add it now. The goal is a velvety, homogenous batter without lumps.
Step 3: Assembling
- Pour Batter into the Crust
Remove the springform pan with the crust from the refrigerator. Carefully pour the cheesecake batter over the crust, smoothing the top with a spatula. - Wrap the Pan
If you plan on using a water bath (bain-marie), wrap the outside of the springform pan with a double layer of aluminum foil to prevent water from seeping into the cheesecake.
Step 4: The Water Bath Baking Method
A water bath helps moderate the baking temperature and minimize the risk of cracks. Although some might consider it fussy, this method is key to achieving that beautifully smooth top.
- Set Up the Roasting Pan
Place the foil-wrapped springform pan inside a large roasting pan. - Add Hot Water
Bring a kettle or pot of water to a boil. Carefully pour hot water into the roasting pan, surrounding the springform pan until the water level is about halfway up the sides of the cheesecake pan. - Bake
Transfer the roasting pan to a preheated oven at 325°F (160°C). Bake for about 1 hour 15 minutes to 1 hour 30 minutes, or until the edges are set while the center still has a slight wobble. Overbaking can lead to a dry, crumbly texture.
Step 5: Cooling and Chilling
- Slowly Cool in Oven
Once the baking time is up, turn off the oven and crack the door open slightly. Allow the cheesecake to cool in the oven for about an hour. This gradual decrease in temperature helps prevent cracks on the surface. - Room Temperature Cooling
After an hour, remove the cheesecake from the oven and let it cool fully at room temperature. Run a thin knife around the edge to loosen it from the pan sides. This can also help prevent cracks as it continues to cool and slightly contract. - Refrigerate
Cover the cooled cheesecake (still in its springform pan) and refrigerate for at least four hours, though overnight chilling is strongly recommended. The resting time allows flavors to develop and the texture to firm up to that iconic dense creaminess.
Step 6: Serving Suggestions and Toppings
When you’re ready to serve, release the springform latch and gently lift off the ring. Slice the cheesecake with a sharp knife dipped in hot water, wiping the blade between cuts.
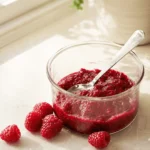
- Berry Compote: A warm or chilled mix of fresh berries, sugar, and a dash of lemon juice offers sweet contrast.
- Chocolate or Caramel Sauce: Drizzle on top for a decadent flourish.
- Fresh Fruit: Simple and refreshing, slices of strawberries, peaches, or mixed berries complement the cheesecake’s richness.
- Whipped Cream: Pipe rosettes around the perimeter or place a dollop on each slice.
Why This Cheesecake Fits “Easy and Quick Desserts” (With a Twist)
While some might argue that a water bath and extended chill time disqualify this from being truly “quick,” the active prep time is surprisingly short—much like other easy and quick desserts. Most of the process involves mixing a handful of ingredients, and the rest is waiting patiently while the cheesecake bakes and cools. Thus, the steps are straightforward, even if the overall time from start to finish spans several hours. Once you’ve done it once or twice, you’ll see that it’s not as daunting as it first appears.
Potential Variations to Explore
- Marble Cheesecake: Swirl melted chocolate into part of the batter for a marbled effect.
- Brownie Bottom: Bake a thin brownie layer in the springform pan first, cool it, then top with cheesecake batter.
- Fruit Swirls: Ripple fruit puree or jam into the batter for pockets of fruity brightness.
- Crust Variations: Use chocolate wafer cookies, shortbread, or even crisp ginger cookies to add depth to the flavor.
Common Pitfalls (And How to Avoid Them)
- Cracks on Top
- Usually caused by rapid temperature changes or overbaking.
- Water baths and slow cooling help mitigate this risk.
- Lumpy Batter
- Let your cream cheese and eggs come fully to room temperature.
- Beat on low to medium speed, scraping the bowl often.
- Soggy Crust
- Use heavy-duty foil to wrap the pan securely, especially if using a water bath.
- Alternatively, place the roasting pan on a lower rack with water, and the cheesecake on an upper rack.
- Overly Brown Top
- The top of a New York cheesecake is typically a pale golden hue. If it’s browning too quickly, check that your oven rack isn’t too high or your oven temperature is accurate.
Frequently Asked Questions
- Do I really need to use a water bath?
- While not mandatory, it greatly reduces the chance of cracks and helps ensure an evenly cooked, moist cheesecake.
- Can I freeze New York cheesecake?
- Yes. After it’s fully cooled and chilled, wrap slices or the whole cake in plastic wrap, then foil, and freeze for up to three months. Thaw in the fridge overnight.
- What if I don’t have a springform pan?
- A deep cake pan may work, but removal can be tricky. You could line it with parchment paper for lifting out the cheesecake. However, a springform pan is recommended for best results.
- Is sour cream essential?
- Sour cream (or sometimes heavy cream) contributes to that classic creamy texture. Omitting or swapping it changes the flavor and mouthfeel slightly, but you’ll still end up with a tasty cheesecake.
- How do I know it’s done if there’s a wobble in the center?
- A slight jiggle in the center is ideal. The edges should be fairly set, and if you gently tap the pan, the middle should move like Jell-O, not liquid. It firms up more as it cools.
Storing and Sharing
A well-wrapped cheesecake stays fresh in the refrigerator for about five days. If you anticipate needing it for a later date, freezing is an excellent option. After you slice and thaw, the texture remains wonderfully creamy, making it an easy do-ahead dessert for holidays or gatherings.
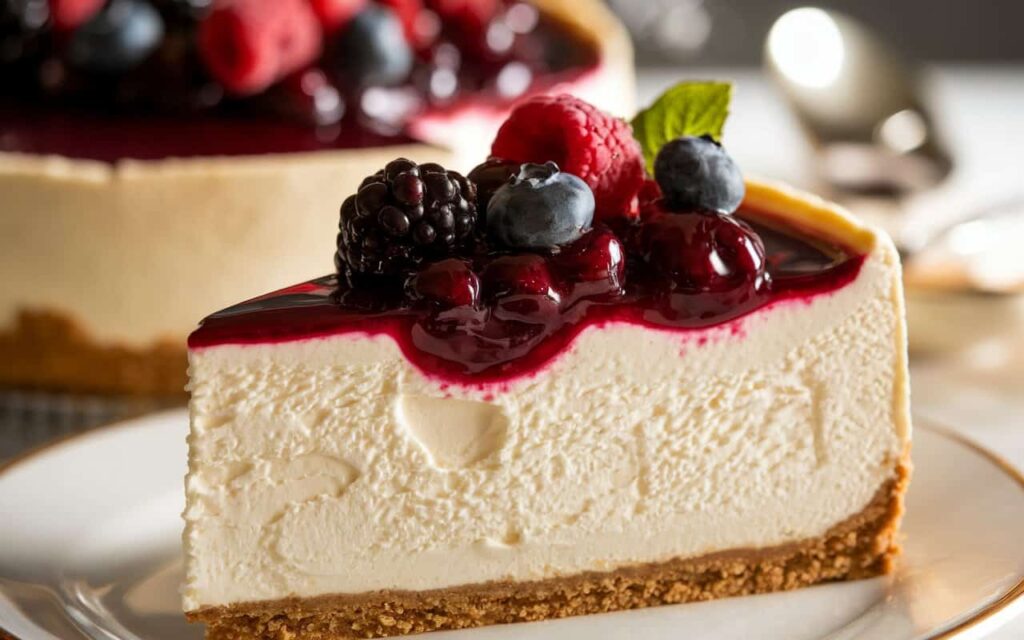
When you slice into a perfectly chilled New York cheesecake, the knife glides through a thick, velvety interior. Present it on a cake stand or a large platter, and watch your guests’ eyes light up. The charm of homemade cheesecake lies in both taste and presentation—you get to show off those clean-cut wedges and let everyone savor an iconic sweet treat that might otherwise only be found in professional bakeries.
Conclusion: Elevate Your Dessert Game
Creating a classic New York cheesecake at home offers the thrill of producing something that looks (and tastes) straight out of a top-tier bakery. Yes, it requires a bit of patience, but the actual hands-on steps align with the principle of easy and quick desserts—mix a few ingredients, be mindful of temperature, and let the oven and fridge handle the rest. The payoff comes in that first silky bite, revealing a dessert that’s as indulgent as it is timeless.
So, whether you’re celebrating a milestone or simply treating yourself to a slice of decadence, this recipe grants you the power to serve something truly special. Gather your ingredients, set aside time for a relaxed baking session, and enjoy the artistry of creating an authentic New York cheesecake. Once you’ve tasted the homemade version, you might never feel the need to order a slice from a diner again—because you’ll have a foolproof method for turning out your own show-stopping cheesecake, no matter the occasion.
Print
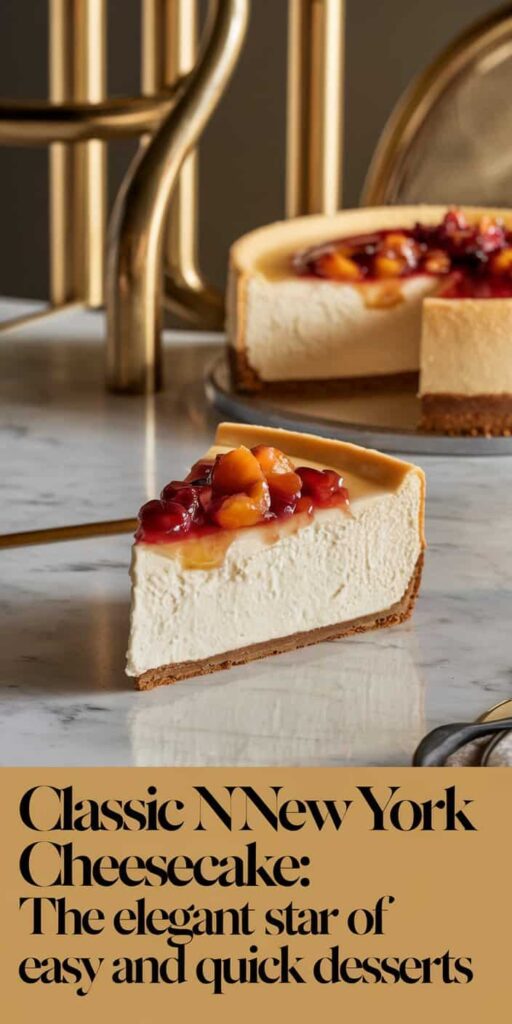
Classic New York Cheesecake: The Elegant Star of Easy and Quick Desserts
A timeless dessert boasting a luxuriously rich, creamy filling with a tangy hint of lemon, all resting on a crisp graham cracker crust. This Classic New York Cheesecake is elegantly simple yet impressively decadent—a perfect showstopper for any celebration or a refined treat to savor any time.
- Total Time5 hours 30 minutes
- Yield12 Slices 1x
Ingredients
For the Crust:
- 1 1/2 cups Graham cracker crumbs (About 10-12 crackers finely crushed)
- 1/4 cup Granulated sugar
- 1/2 cup Unsalted butter (Melted)
For the Filling:
- 32 oz Cream cheese (4 packages, softened to room temperature)
- 1 1/4 cups Granulated sugar
- 1/2 cup Sour cream
- 2 tsp Vanilla extract
- 4 large Eggs (At room temperature; add one at a time)
- 2 tbsp All-purpose flour (Optional to help stabilize the filling)
- 2 tsp Lemon juice (Freshly squeezed for a subtle tang)
- Pinch Salt (Enhances flavor)
Instructions
Prepare the Crust:
- Preheat your oven to 325°F (163°C).
- In a medium bowl, mix the graham cracker crumbs, granulated sugar, and melted butter until well combined.
- Press the mixture evenly into the bottom (and slightly up the sides) of a 9-inch springform pan.
- Place the crust in the refrigerator to chill while you prepare the filling.
Make the Filling:
- In a large mixing bowl, beat the softened cream cheese with an electric mixer until smooth and free of lumps.
- Gradually add the granulated sugar and continue beating until creamy.
- Mix in the sour cream, vanilla extract, lemon juice, and a pinch of salt.
- Add the eggs one at a time, beating on low speed after each addition until just incorporated.
- If using, gently fold in the all-purpose flour to help stabilize the custard.
Bake in a Water Bath:
- Pour the filling over the chilled crust, smoothing the top with a spatula.
- Wrap the outside of the springform pan with a strip of aluminum foil to prevent water from seeping in.
- Place the springform pan in a large roasting pan and fill the roasting pan with boiling water until it reaches about halfway up the sides of the springform pan.
- Bake in the preheated oven for approximately 1 hour, or until the edges are set and the center has a slight wobble.
- Turn off the oven, slightly crack the door, and let the cheesecake cool in the water bath for 1 hour.
Chill and Serve:
- Remove the cheesecake from the water bath and transfer it to the refrigerator.
- Chill for at least 4 hours (or overnight) to allow the custard to set completely.
- Before serving, run a knife around the edges for a clean release, then remove the springform ring.
- Garnish with fresh berries, a dusting of powdered sugar, or a drizzle of fruit compote if desired.
Notes
- For best results, allow the cheesecake to cool gradually and chill thoroughly to achieve the perfect dense, creamy texture.
- Avoid overmixing the filling once the eggs are added to minimize air incorporation, which can cause cracks.
- This classic dessert is ideal served chilled and pairs beautifully with a light fruit topping or a simple dusting of powdered sugar.
Enjoy your Classic New York Cheesecake—an elegant, luxurious dessert that truly stands as the star of quick and easy desserts!
- Prep Time: 30 minutes
- Cook Time: 1 hour
- Category: Dessert
- Cuisine: American
Nutrition
- Calories: 450