Every spring, I make exactly one dessert that stops the whole table mid-conversation. This Easter bunny poke cake is that dessert. Pastel pink and blue gelatin soaking into soft white cake, topped with a cloud of vanilla pudding whipped topping and a shower of sprinkles — it’s the kind of thing that makes kids gasp and adults reach for their phones before they even pick up a fork.
And the best part? It’s embarrassingly easy.
The first time I made a poke cake, I was convinced I’d ruined it. Pouring liquid into a perfectly good cake felt wrong. Then I sliced it and saw those gorgeous streaks of color running through every piece, and I never looked back.
The Stuff That Makes the Magic — Your Full Shopping List
| Ingredient | Amount | What to Know |
|---|---|---|
| White cake mix | 1 box | The blank canvas — any brand works beautifully |
| Instant vanilla pudding mix | 3 oz package | This turns your topping into silk |
| Milk | 1¼ cups | Cold, for the pudding layer |
| Boiling water | 1 cup | Split between two gelatins — ½ cup each |
| Pink gelatin (strawberry or raspberry) | 3 oz package | Vibrant, sweet, fruity |
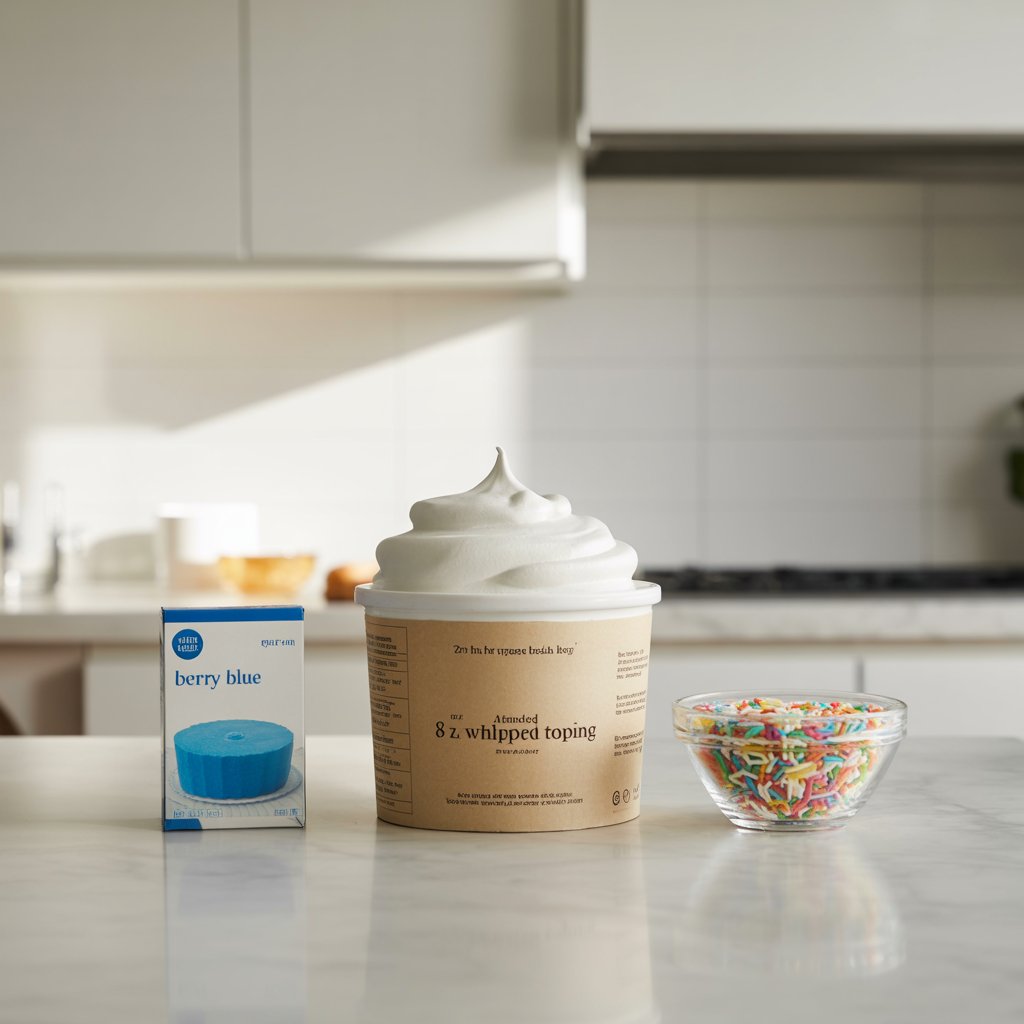
| Blue gelatin (berry blue) | 3 oz package | The Easter color that makes everyone smile |
| Whipped topping | 8 oz container | Thawed — fluffy and ready to fold |
| Sprinkles | For decoration | Pastels, jimmies, nonpareils — go wild |

Prep Time: 20 minutes | Cook Time: 30 minutes | Chill Time: 2 hours | Total: About 2 hours 50 minutes | Servings: 12
Where Most People Go Wrong (Read This First)
I’m giving you the pitfalls before the steps because this cake is so simple that the mistakes are the only thing standing between you and perfection.
- Not letting the cake cool completely. Pour gelatin into a warm cake and it won’t soak into the holes — it’ll just pool on top and slide off. Patience here is everything. Let that cake cool all the way down to room temperature.
- Making the holes too small or too far apart. You want the gelatin to really penetrate deep. Use the thick end of a wooden spoon handle and poke generously — every inch or so across the entire surface.
- Mixing the two gelatin colors together. Pour each color over its own half of the cake. If you overlap, you’ll get a muddy purple center instead of those gorgeous distinct pastel stripes. Work from the edges toward the middle.
- Skipping the full chill time. Two hours minimum. The gelatin needs to set completely inside the cake before you add the topping, or you’ll end up with a soupy, sliding mess.
- Spreading the topping on a warm cake. Related to above — if the cake and gelatin aren’t fully chilled and set, the pudding topping will melt and weep. Cold cake, cold topping, beautiful results.
Nine Steps to the Prettiest Cake on the Table
Step 1: Heat Things Up
Preheat your oven to 350°F (175°C) and grease a 9×13 inch baking pan. Nothing fancy — just butter or cooking spray so the cake releases cleanly later.
Step 2: Bake Your Blank Canvas
Prepare the white cake mix according to the package instructions and pour it into your greased pan. Bake as directed — usually 25 to 30 minutes until a toothpick comes out clean. Then here’s the hard part: let it cool completely. Set it on a wire rack and walk away for at least an hour.
Step 3: Poke, Poke, Poke
Grab a wooden spoon and flip it around. Use the handle end to poke holes evenly across the entire surface of the cooled cake. Don’t be shy — you want deep, generous holes about an inch apart. This is where all that colorful gelatin magic is going to live.
Step 4: Mix Your Gelatin Colors
In two separate bowls, dissolve the pink gelatin in ½ cup of boiling water. Stir until every granule disappears — about 2 minutes. Do the same with the blue gelatin in the remaining ½ cup of boiling water. You’ll have two bright, jewel-toned liquids ready to go.
Step 5: Paint the Cake in Pastels
Here’s the fun part. Slowly spoon the pink gelatin over one half of the cake, letting it drip down into all those little holes. Then spoon the blue gelatin over the other half. Watch it seep in — so satisfying. Don’t rush this. Let the gelatin find its way down naturally.
Pro tip: Use the back of the spoon to gently guide any pooling gelatin toward dry spots.
Step 6: Let the Fridge Do Its Thing
Cover the cake loosely and slide it into the refrigerator for at least 2 full hours. The gelatin needs to set firm inside the cake. This is what gives you those stunning colorful streaks when you finally slice it.
Step 7: Whip Up the Dreamiest Topping
In a medium bowl, whisk together the instant vanilla pudding mix and cold milk until it thickens — about 2 minutes of steady whisking. Then gently fold in the whipped topping until the mixture is smooth, creamy, and impossibly fluffy. This isn’t just frosting. It’s a pudding cloud.
Step 8: Spread That Cloud On
Pull the cake from the fridge and spread the pudding topping evenly over the entire surface. Use an offset spatula or the back of a spoon to get it smooth and pillowy. Don’t press too hard — let it sit on top like a soft blanket.
Step 9: Sprinkle Like You Mean It
Scatter your prettiest pastel sprinkles across the top. This is the moment it transforms from “cake” to showstopper. Go heavy, go light, make patterns — it’s your masterpiece.


What Each Slice Brings to the Party
| Nutrient | Per Serving |
|---|---|
| Calories | 260 |
| Protein | 4g |
| Fat | 8g |
| Saturated Fat | 5g |
| Carbohydrates | 44g |
| Sugar | 32g |
| Sodium | 330mg |
At 260 calories a slice, this is surprisingly reasonable for a dessert this pretty. The whipped topping keeps it lighter than buttercream-frosted cakes, so you can absolutely justify a second piece.
Ways to Make the Table Swoon
- On a pastel tablecloth with fresh flowers nearby — this cake is the centerpiece.
- With a scoop of vanilla bean ice cream slowly melting against a warm-from-the-fridge slice.
- Cut into individual squares on a tiered dessert stand for a spring brunch spread.
- Alongside fresh strawberries and blueberries to echo those pink and blue colors right on the plate.
This Cake Wants to Be at Your Easter Table
Here’s what I love about this Easter bunny poke cake — it doesn’t ask much of you. A box mix, two packets of gelatin, a little pudding, some sprinkles, and suddenly you’ve got a dessert that looks like you spent hours on it. Kids adore the colors. Adults adore the taste — that creamy, fruity, melt-on-your-tongue combination that only a poke cake delivers. Make it the night before and let it chill overnight for even deeper flavor. Then just pull it out, slice, and soak up the compliments. Drop a comment when you make it, rate the recipe, and tell me — pink side or blue side? I need to know.
Print
Easter Bunny Poke Cake
A stunning pastel poke cake with pink and blue gelatin streaks soaked into white cake, topped with a fluffy vanilla pudding whipped topping and festive sprinkles. The perfect easy Easter dessert.
- Total Time2 hours 50 minutes
- Yield12 servings 1x
Ingredients
- 1 box white cake mix
- 3 oz instant vanilla pudding mix (1 package)
- 1 1/4 cups milk (cold)
- 1 cup boiling water (divided, 1/2 cup per gelatin)
- 3 oz pink gelatin (strawberry or raspberry) (1 package)
- 3 oz blue gelatin (berry blue) (1 package)
- 8 oz whipped topping, thawed (1 container)
- sprinkles (for decoration)
Instructions
- Heat Things Up: Preheat oven to 350°F (175°C). Grease a 9×13 inch baking pan.
- Bake Your Blank Canvas: Prepare the white cake mix according to package instructions. Bake as directed. Let cool completely.
- Poke the Cake: Use the handle of a wooden spoon to poke holes evenly over the entire cooled cake, about an inch apart.
- Mix Your Gelatin Colors: In separate bowls, dissolve the pink gelatin in 1/2 cup boiling water. Stir until fully dissolved. Repeat with blue gelatin using the remaining 1/2 cup boiling water.
- Paint the Cake in Pastels: Spoon pink gelatin over one half of the cake, allowing it to soak into the holes. Spoon blue gelatin over the other half.
- Chill: Refrigerate for at least 2 hours until the gelatin is fully set.
- Make the Topping: Whisk together instant vanilla pudding mix and cold milk until thickened. Fold in whipped topping until smooth.
- Spread the Topping: Spread the pudding mixture evenly over the chilled cake.
- Sprinkle and Serve: Top with pastel sprinkles before serving.
Notes
Let the cake cool completely before poking holes. Pour each gelatin color over its own half to keep colors distinct. Chill for a minimum of 2 hours. Can be made the night before for deeper flavor.
- Prep Time: 20 minutes
- Cook Time: 30 minutes
- Category: Dessert
- Cuisine: American
Nutrition
- Calories: 260
- Sugar: 32
- Sodium: 330
- Fat: 8
- Saturated Fat: 5
- Carbohydrates: 44
- Protein: 4