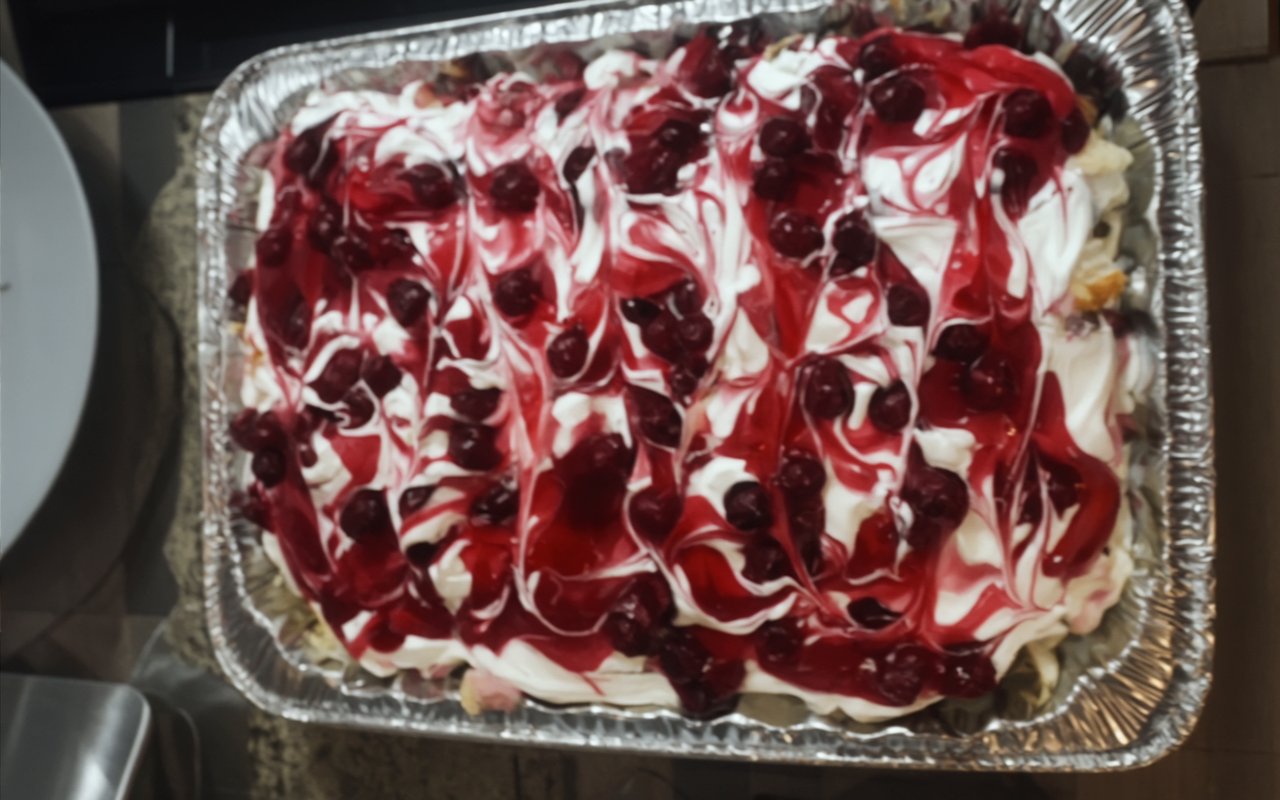
Have you ever found yourself craving a truly decadent, layered cake but dreaded the thought of preheating the oven and spending hours baking? What if you could create a stunning dessert that tastes like it came from a gourmet bakery, all without a single minute of baking time? This easy no-bake cherry vanilla cake is the answer to your dessert dreams. It’s a luscious, crowd-pleasing treat that layers soft cake, sweet cherry filling, creamy vanilla pudding, and a cloud of whipped topping into one unforgettable experience.
This recipe is the definition of comfort food made simple. It’s the perfect dessert for potlucks, summer barbecues, or any occasion when you need an impressive dish without the fuss. We’re going to walk you through creating this delightful layered dessert, proving that you don’t need to be a professional pastry chef to assemble a masterpiece. Prepare to fall in love with the simple magic of a no-bake cake.
Ingredients
Here is everything you will need to assemble this beautiful layered dessert. Using a prepared cake and instant pudding makes the process incredibly fast and straightforward.
| Ingredient | Amount/Quantity |
|---|---|
| For the Base | |
| Prepared White Cake, cooled | 1 cake |
| Sweet Cherry Pie Filling | 1 can (21 oz / ~540g) |
| For the Cream Layer | |
| Instant Vanilla Pudding Mix | 1 package (3.4 oz / 90g) |
| Cold Milk | 2 cups (500ml) |
| Whipped Topping (e.g., Cool Whip), thawed | 1 tub (8 oz / ~225g) |
| Sliced Almonds (for garnish) | 1/4 cup (optional) |

Timing
This recipe is designed for convenience, with the majority of the time spent hands-off while the cake chills and the flavors meld together perfectly.
- Preparation Time: 20 minutes
- Cooking Time: 0 minutes
- Chilling Time: 4 hours (minimum)
- Total Time: 4 hours 20 minutes (about 75% faster to assemble than a from-scratch baked and frosted cake)
Step 1: Prepare the Cake Base
Begin by preparing your foundation. Using a serrated knife, carefully cut your cooled, prepared white cake into uniform, bite-sized cubes, about 1-inch in size. A serrated knife helps prevent the soft cake from tearing or crumbling too much.
Step 2: Assemble the First Layers
Take a 9×9 inch glass baking dish, or a similar-sized trifle bowl. Arrange half of the cake cubes in a single, even layer across the bottom of the dish. Next, spoon half of the cherry pie filling over the cake cubes. Try to distribute it evenly to ensure every bite gets that sweet cherry flavor. Repeat the process by adding the remaining cake cubes on top, followed by the rest of the cherry pie filling.
Step 3: Create the Creamy Pudding Layer
In a large mixing bowl, combine the instant vanilla pudding mix and the cold milk. It is crucial that the milk is very cold, as this helps the pudding set properly. Whisk the mixture vigorously for about two minutes. You will feel it start to thicken into a smooth, creamy consistency.
Step 4: Add the Final Layers
Gently pour the prepared vanilla pudding over the top layer of cherries, spreading it carefully with a spatula to cover the entire surface from edge to edge. An offset spatula works wonderfully for creating a smooth, even surface. Once the pudding is set, spoon the thawed whipped topping over the pudding layer and spread it just as carefully. For a beautiful finishing touch and a delightful crunch, sprinkle the sliced almonds evenly over the top.
Step 5: Chill to Perfection
Cover the dish securely with plastic wrap. Place the cake in the refrigerator to chill for at least four hours. For the absolute best results, let it chill overnight. This extended chilling time allows the layers to set completely and gives the flavors a chance to meld together, turning a simple dessert into a truly spectacular no-bake cherry vanilla cake.
Nutritional Information
The following is an estimated nutritional breakdown per serving, based on the recipe yielding 9 servings. Actual values may vary depending on the specific ingredients used.
- Calories: 380 kcal
- Protein: 4 g
- Carbohydrates: 55 g
- Sugar: 38 g
- Fat: 16 g
- Saturated Fat: 9 g
Healthier Alternatives
This recipe is wonderfully adaptable. Here are a few simple swaps to make it a bit lighter or to suit different dietary needs without sacrificing flavor:
- Lower Sugar: Opt for sugar-free instant pudding mix, a light or sugar-free cherry pie filling, and a lite or sugar-free whipped topping. These swaps can significantly reduce the overall sugar content.
- Lighter Cake Base: Instead of a dense white cake, use angel food cake, which is naturally lower in fat and calories.
- Protein Boost: Replace half of the whipped topping with plain or vanilla-flavored Greek yogurt. This adds a pleasant tang and a boost of protein while cutting down on fat.
- Gluten-Free Option: Simply substitute the white cake with your favorite gluten-free prepared cake or a homemade gluten-free sponge cake. Ensure your other ingredients are certified gluten-free as well.
- Vegan Version: Use a vegan-friendly white cake, make pudding with plant-based milk (like almond or oat milk), and use a vegan whipped topping made from coconut or soy.
Serving Suggestions
This cake is a showstopper all on its own, but a few simple touches can elevate the presentation.
- Serve each slice with a dollop of extra whipped topping and a few fresh cherries on top for a pop of color and freshness.
- A light dusting of cocoa powder or finely shaved white chocolate over the whipped topping adds a touch of elegance.
- This dessert pairs beautifully with a hot cup of coffee or a cold glass of milk.
- It is the ultimate make-ahead dessert for family gatherings, holiday parties, or summer cookouts because it’s served cold and requires no oven space.
Common Mistakes to Avoid
This recipe is nearly foolproof, but here are a few things to watch out for to ensure perfect results every time.
- Not Chilling Long Enough: This is the most common pitfall. An under-chilled cake will be soupy and the layers will not hold their shape. Solution: Be patient and chill the cake for at least the minimum of four hours. Overnight is always best for texture and flavor.
- Using Warm Milk: If your pudding layer is runny, the milk was likely not cold enough. Instant pudding relies on cold liquid to thicken properly. Solution: Use milk straight from the coldest part of your refrigerator.
- Spreading Layers Too Aggressively: Spreading the pudding or whipped topping too forcefully can mix the layers and create a messy appearance. Solution: Pour the layers on gently and use a light touch with your spatula to guide them to the edges.
Storing Tips
Proper storage will keep your cake delicious for days.
- Refrigerating: Store any leftovers in an airtight container or keep the baking dish tightly covered with plastic wrap in the refrigerator. The cake will stay fresh and delicious for up to 4 days.
- Freezing: While this cake can be frozen, the texture of the pudding and whipped topping may change slightly upon thawing. If you choose to freeze it, wrap it tightly and store it for up to one month. Thaw it in the refrigerator before serving.
- Make-Ahead: This is the perfect make-ahead dessert. You can assemble the entire cake up to 24 hours before you plan to serve it. This not only saves you time but also improves the flavor.
Conclusion
This no-bake cherry vanilla cake proves that you don’t need to be an expert baker to create a truly impressive and delicious dessert. With its simple assembly and delightful combination of soft cake, sweet cherries, and creamy vanilla, it’s a recipe you’ll return to again and again. It’s the perfect, stress-free solution for any occasion that calls for something sweet, satisfying, and special. We are confident this will become a new family favorite.
We hope you enjoy making and savoring this dish as much as we do. Try it out and let us know in the comments how it turned out for you! We’d love to hear your feedback. Don’t forget to rate the recipe and subscribe to our blog for more delicious, easy recipes delivered straight to your inbox.
FAQs
Q1. Can I use a different flavor of pie filling?
Absolutely! This recipe is incredibly versatile. Blueberry, strawberry, or even peach pie filling would be delicious substitutes for the cherry. Feel free to experiment with your favorite fruit fillings.
Q2. Do I have to use a store-bought cake?
Not at all. If you have a favorite homemade white or yellow cake recipe, feel free to use that instead. Just make sure the cake is completely cooled before you begin cutting it into cubes. A day-old cake often works best as it’s a bit sturdier.
Q3. Can this recipe be made in a trifle bowl?
Yes, a trifle bowl is a fantastic option and makes for a beautiful presentation. The clear sides will showcase the distinct, colorful layers. Simply follow the same layering instructions, creating a visually stunning dessert centerpiece.
Q4. My pudding layer seems a little runny. What went wrong?
The most common reason for a runny pudding layer is that the milk wasn’t cold enough, or the pudding wasn’t whisked for the full two minutes. Instant pudding mix contains thickeners that are activated by cold liquid and agitation. Always use milk straight from the fridge and whisk until you can feel the mixture thicken.
Print
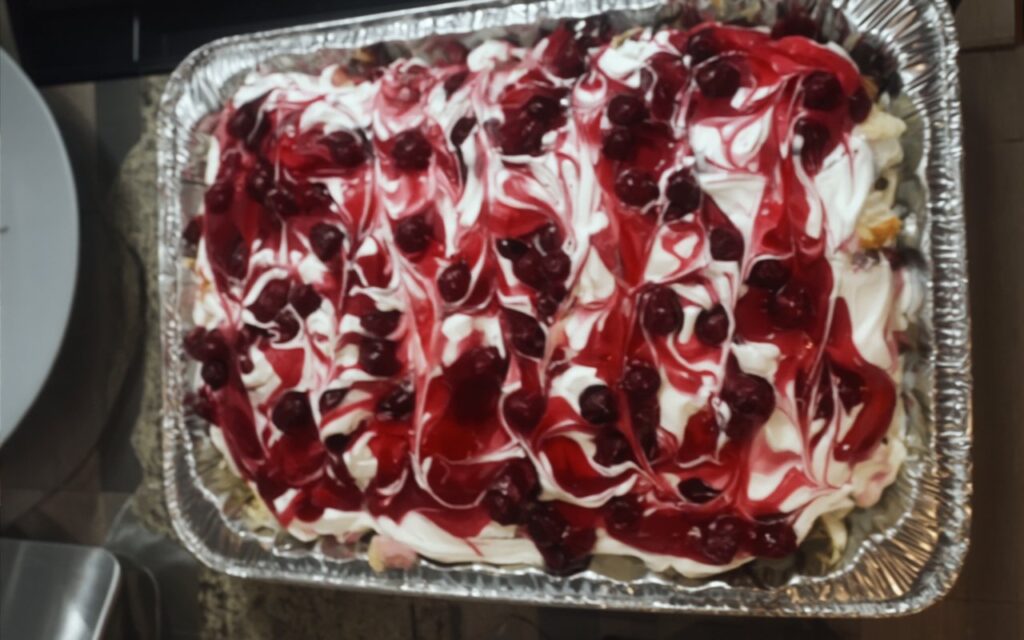
Easy No-Bake Cherry Vanilla Cake: A Delicious Dream
This Easy No-Bake Cherry Vanilla Cake layers fluffy white cake cubes, sweet cherry pie filling, silky instant vanilla pudding, and cloud-light whipped topping. You’ll love how quickly it comes together—no oven required—then chills into a sliceable, crowd-pleasing dessert with a touch of almond crunch. Perfect for summer parties, potlucks, or make-ahead holidays.
- Total Time4 hours 20 minutes
- Yield9 servings 1x
Ingredients
-
For the Base
-
Prepared white cake, cooled — 1 cake
-
Sweet cherry pie filling — 1 can (21 oz / ~540 g)
-
-
For the Cream Layer
-
Instant vanilla pudding mix — 1 package (3.4 oz / 90 g)
-
Cold milk — 2 cups (500 ml)
-
Whipped topping (e.g., Cool Whip), thawed — 1 tub (8 oz / ~225 g)
-
Sliced almonds, for garnish (optional) — 1/4 cup
-
Instructions
-
Prep the cake base
Using a serrated knife, cut the cooled white cake into 1-inch cubes. A serrated blade helps reduce crumbling. -
Layer cake & cherries
In a 9×9-inch glass dish (or trifle bowl), spread half the cake cubes in an even layer. Spoon half the cherry pie filling over the top. Repeat with the remaining cake cubes and remaining cherry filling. -
Make the pudding
In a large bowl, whisk the instant vanilla pudding mix with very cold milk for about 2 minutes until thick and smooth. -
Finish the layers
Spread the pudding evenly over the cherry layer, edge to edge. Top with the thawed whipped topping, smoothing the surface. Sprinkle sliced almonds over the top, if using. -
Chill to set
Cover tightly with plastic wrap and refrigerate for at least 4 hours (overnight is best) until fully set and sliceable. Serve chilled.
Notes
- Make-ahead: Assemble up to 24 hours in advance for the cleanest slices and best flavor meld.
- Pan swap: A 9×13-inch pan works; the layers will be thinner.
- Variations: Try strawberry or blueberry pie filling; swap French vanilla or white chocolate pudding; garnish with toasted coconut or chopped pistachios.
- From scratch option: Use your favorite homemade white cake instead of store-bought.
- Storage: Cover and refrigerate for 3–4 days. Not ideal for freezing (the whipped topping can weep).
- Prep Time: 20 minutes
- Category: Dessert
- Method: No-Bake
- Cuisine: American
Nutrition
- Serving Size: 1 square (about 1/9 of pan)
- Calories: 380
- Sugar: 38 g
- Fat: 16 g
- Carbohydrates: 55 g
- Protein: 4 g