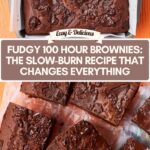
The Brownie That Asks You to Wait — And Rewards You Like Crazy
I need you to hear me out. These fudgy 100 hour brownies take four days from start to finish. I know. I KNOW. But the first time I pulled these out of the fridge and cut into that dense, impossibly glossy center, I actually gasped. Out loud. In my kitchen. Alone.
This isn’t your “melt, mix, bake in 30 minutes” situation. This is a slow-burn love story between chocolate and patience, and the payoff is the most obscenely fudgy brownie you will ever put in your mouth.
Here’s the quick breakdown on time:
| ⏱️ | Time |
|---|---|
| Prep | 20 minutes |
| Cook | 40 minutes |
| Resting & Chilling | ~96 hours |
| Total | ~100 hours |
Yeah, most of that is hands-off waiting. You can handle that.
What’s Going Into This Batter (And Why Every Bit Matters)
Every single ingredient here is pulling weight. No fillers, no fluff — just rich, deep, chocolate-forward goodness.
| Ingredient | Amount | Notes |
|---|---|---|
| Bittersweet chocolate, chopped | 2 ⅓ cups (14 oz / 400 g) + ½ cup (3 oz / 86 g) | The star. Go for 60–70% cacao for that bittersweet punch. |
| Butter | 14 tablespoons (7 oz / 200 g) | Unsalted. This is where the richness lives. |
| Large eggs, room temp | 6 | Room temp matters — they emulsify smoother and give you that crackly top. |
| Dark brown sugar | 2 cups (12 oz / 340 g) | Molasses-y depth that white sugar could never. |
| Vanilla extract | 1 teaspoon | Rodelle Pure Madagascar Bourbon — warm, floral, perfect. |
| Salt | ½ teaspoon | The secret amplifier. Don’t skip it. |
| All-purpose flour | 1 cup (5 oz / 142 g) | Just enough structure. These brownies are barely held together and that’s the point. |

Quick note: That extra ½ cup of chopped chocolate? It goes on top. Melty pockets of chocolate throughout? Yes please.
The Pitfalls I Walked Right Into (So You Can Sidestep Them)
Before we get into the steps, let me save you from the mistakes I made the hard way.
- Using chocolate chips instead of chopped chocolate. Chips have stabilizers that prevent that silky melt. Chop a bar instead — the texture difference is wild.
- Skipping the 72-hour fridge rest. I once got impatient and baked after just one night. Cakey. Disappointing. The long rest lets the flour fully hydrate and the sugar dissolve, creating that fudgy density.
- Overbaking by even five minutes. These should jiggle in the center when they come out. Trust the jiggle. Set a timer and watch it like a hawk.
- Forgetting the freezer step after baking. That 30 minutes in the freezer while still hot traps steam inside. It’s the secret weapon for that gooey center.
- Cutting them too soon. After the freezer, they need another 24 hours in the fridge. I know it’s brutal. But you’ve already waited 3 days — what’s one more?
Now Let’s Make These, Step By Beautiful Step
Step 1: Prep Your Pan Like a Pro
Butter an 8-inch square baking pan generously, then line it with parchment paper — leave some overhang on the sides so you can lift the whole slab out later. Set it aside and give yourself a little nod. You’re doing this.
Step 2: Melt That Chocolate Into Something Beautiful
Combine 2 ⅓ cups of chopped bittersweet chocolate with all the butter in a large bowl. Melt gently — microwave in 30-second bursts, stirring between each, or use a double boiler if you’re feeling fancy. Once it’s glossy, smooth, and pooling like dark silk, set it aside to cool for about 10 minutes. You want it warm, not hot.
Step 3: Whisk In the Good Stuff
Into that cooled chocolate, whisk the eggs one at a time, then pour in the dark brown sugar, vanilla, and salt. Stir until everything is thick, shiny, and deeply fragrant. Your kitchen is about to smell unreal.
Step 4: Fold In the Flour — Gently
Sift the flour over the batter and fold — fold, don’t beat — until just combined. No streaks, but no overworking either. This is how you keep things fudgy, not tough.
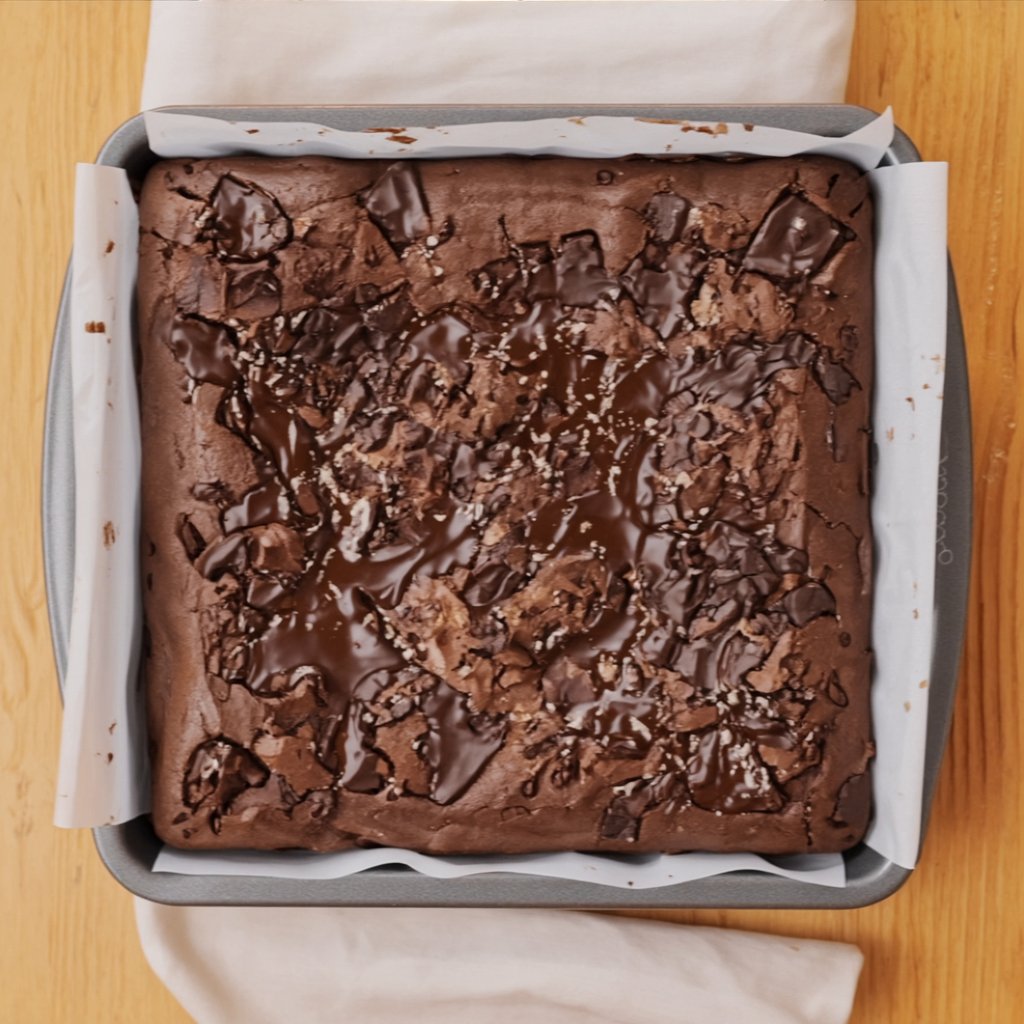
Step 5: Into the Pan and Top It Off
Pour that gorgeous batter into your prepped pan. Now take the remaining ½ cup of chopped chocolate and scatter it over the top, pressing the pieces in just slightly. These will become little molten chocolate pockets and honestly, it’s the best part.
Step 6: The 72-Hour Wait (Yes, Really)
Cover the pan tightly with foil and slide it into the fridge. For 3 full days. 72 hours. Mark it on your calendar. Text yourself a reminder. This long cold rest is what transforms a regular brownie into this brownie.
Step 7: Bake Straight From the Fridge
Don’t let it come to room temp — put that cold pan directly into a preheated 350°F (180°C) oven. Bake for about 40 minutes. You’re looking for set edges and a slight jiggle in the center. That jiggle is everything.
Step 8: The Freezer Trick
While still hot, cover tightly with foil and pop the pan into the freezer for exactly 30 minutes. This traps the moisture inside and creates that impossibly fudgy, almost truffle-like center.
Step 9: One Last Rest — You’re Almost There
Move the pan from the freezer to the fridge and let it sit for 24 hours. I know. I know. But you’ve come this far.
Step 10: Cut, Serve, and Try Not to Eat the Whole Pan
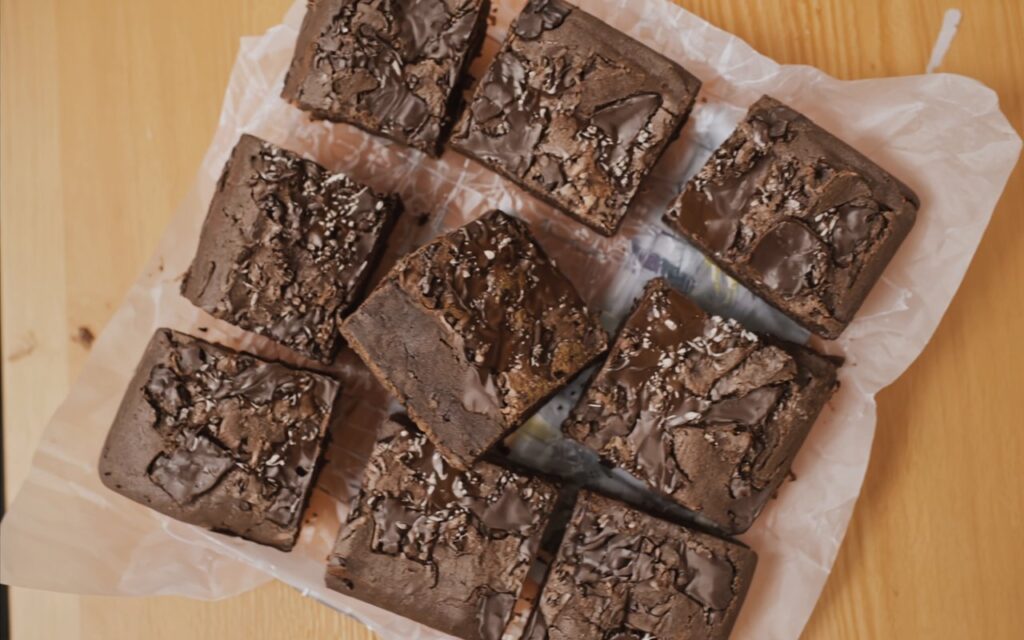
Lift the brownies out using the parchment overhang, slice into squares, and just look at that interior. Dense, dark, fudgy beyond belief.
How I Love to Serve These
- Warmed for 15 seconds in the microwave with a scoop of vanilla bean ice cream slowly melting on top.
- Dusted with flaky sea salt and served alongside espresso — afternoon perfection.
- Crumbled over a bowl of whipped cream and fresh raspberries for an effortless dessert.
- Stacked on a plate at a party and watched disappear in minutes.
What’s Actually in Each Square (Nutrition Per Serving)
Based on 16 servings:
| Nutrient | Amount |
|---|---|
| Calories | ~340 |
| Total Fat | 20 g |
| Saturated Fat | 12 g |
| Carbohydrates | 38 g |
| Sugar | 28 g |
| Protein | 4 g |
| Sodium | 135 mg |
These are indulgent. That’s the point. The high fat content comes from real butter and quality chocolate — no mystery ingredients here.
Go Ahead — Make Them and Tell Me Everything
Listen, I get it. A hundred hours is a commitment. But this recipe asks so little of your actual hands-on time and gives back so much. Every bite is dense, dark, intensely chocolatey, and unlike any brownie you’ve baked before.
Make them for a birthday. Make them for a Tuesday. Make them because you deserve something extraordinary from your own kitchen.
And when you do? Come back here and tell me about it. Drop a comment, rate the recipe, share a photo of that fudgy cross-section — I live for that stuff. Tag me so I can cheer you on. You’ve totally got this.
Print
Fudgy 100 Hour Brownies
The most intensely fudgy, dense, and chocolatey brownies you’ll ever make. A 100-hour slow process of resting, baking, and chilling transforms simple ingredients into truffle-like brownie perfection.
- Total Time100 hours
- Yield16 servings 1x
Ingredients
- 2 1/3 cups Bittersweet chocolate, chopped (for batter) (14 oz / 400 g, 60-70% cacao recommended)
- 1/2 cup Bittersweet chocolate, chopped (for topping) (3 oz / 86 g)
- 14 tablespoons Butter (7 oz / 200 g, unsalted)
- 6 Large eggs, at room temperature
- 2 cups Dark brown sugar (12 oz / 340 g)
- 1 teaspoon Rodelle Pure Madagascar Bourbon Vanilla Extract
- 1/2 teaspoon Salt
- 1 cup All-purpose flour (5 oz / 142 g)
Instructions
- Prep Your Pan: Butter and line an 8-inch square (20 cm) baking pan with parchment paper, leaving overhang on the sides. Set aside.
- Melt the Chocolate and Butter: In a large bowl, melt 2 ⅓ cups (14 oz/400 g) chopped bittersweet chocolate and butter gently in the microwave (30-second bursts, stirring between) or using a double boiler. Set aside to cool for 10 minutes.
- Mix the Batter: Whisk the eggs, dark brown sugar, vanilla extract, and salt into the cooled chocolate mixture until thick and glossy.
- Fold in the Flour: Gently fold in the all-purpose flour until just combined with no streaks remaining. Do not overmix.
- Fill the Pan and Top: Transfer the batter into the prepared baking pan. Sprinkle the remaining ½ cup (3 oz/85 g) chopped chocolate over the top, pressing in slightly.
- Refrigerate for 72 Hours: Cover tightly with foil and refrigerate for 3 full days (72 hours).
- Bake From Cold: Place the pan straight from the fridge into a preheated 350°F (180°C) oven. Bake for about 40 minutes until just set with a slight jiggle in the center.
- Freezer Trick: While still hot, cover the brownies tightly with foil and place in the freezer for 30 minutes to trap moisture and create a fudgy center.
- Final Chill: Remove from the freezer and place in the fridge for 24 hours.
- Cut and Enjoy: Slice into squares and serve. Best served slightly warmed with ice cream on top. Store leftovers in an airtight container at room temperature for up to 3 days, or freeze for up to 4 weeks.
Notes
Do not use chocolate chips — chopped bar chocolate melts more smoothly and creates better texture. The 72-hour refrigerator rest is essential for developing the fudgy texture; do not skip it. The brownies should jiggle slightly in the center when removed from the oven. The freezer step after baking traps steam for a gooey center.
- Prep Time: 20 minutes
- Cook Time: 40 minutes
- Category: Dessert, Snack
- Cuisine: American
Nutrition
- Calories: 340
- Sodium: 135
- Saturated Fat: 12
- Protein: 4
- Cholesterol: 95