Strawberry cheesecake has a special place in the hearts of dessert lovers everywhere. There’s something about the bright pop of red fruit against a creamy white backdrop that’s instantly appealing—even before you take your first bite. The taste itself is a symphony of tangy cream cheese, sweet strawberry notes, and a deliciously crunchy crust. But don’t be fooled into thinking it’s too fancy to tackle at home. With just four straightforward steps, you can create this show-stopping treat—one that perfectly aligns with the world of easy and quick desserts.
In this guide, you’ll discover how to incorporate strawberries into your cheesecake in a way that preserves their fresh flavor, achieve the perfect creamy texture in the filling, and craft a crust that complements everything else. Whether you’re a complete novice in the kitchen or a seasoned dessert aficionado, you’ll find that these instructions are friendly, approachable, and practically failproof. Let’s dive into this luscious adventure, one step at a time.
Why Strawberry Cheesecake Steals the Show

When you think of cheesecake, you might imagine a classic, dense, cream cheese-based dessert. But add strawberries to the mix, and it becomes something extra special. Strawberries lend not only a vibrant color but also a natural sweetness and slight tang—perfectly balancing the richness of the cheesecake. Even the simplest version can feel fresh and light, which is perhaps why many people consider strawberry cheesecake the ideal blend of indulgence and refreshment.
What’s more, a recipe that allows you to make it in four steps means you’re less likely to feel overwhelmed or bogged down by complicated processes. This quick method, combined with a dessert that’s proven to delight a crowd, makes strawberry cheesecake the ultimate option for busy families, last-minute gatherings, or simply satisfying your sweet tooth without spending too long in the kitchen.
Step 1: Preparing the Crust
Every great cheesecake starts with a good crust, and this strawberry version is no exception. You’ll need:
- 1 1/2 cups of graham cracker crumbs (or digestive biscuit crumbs)
- 6 tablespoons of melted unsalted butter
- 2 tablespoons of granulated sugar (optional, depending on how sweet you like your crust)
- Crush Your Crackers
If you have whole crackers, you can crush them in a food processor or place them in a sealable plastic bag and use a rolling pin. Aim for a texture akin to coarse sand. - Combine with Butter
In a mixing bowl, stir in the melted butter and sugar (if you’re using it). The crumbs should start clumping slightly, indicating that they’re ready to be pressed. - Press into the Pan
Grab a 9-inch springform pan (or a pie dish if you’re going for a more rustic approach). Press the crumb mixture firmly into the bottom. You can use a flat-bottomed glass to ensure the crumbs are packed tightly. This stability is crucial for holding up the creamy filling. - Chill or Pre-Bake
Depending on whether you’re creating a baked or no-bake cheesecake, either place the pan in the refrigerator or bake it for about 10 minutes at 350°F (175°C) until it’s lightly golden. Baking the crust tends to give it a toastier flavor and extra crispness, which can be nice even in a primarily no-bake scenario. Let the crust cool before adding your filling.
Step 2: Whipping the Cheesecake Filling
The filling is your cheesecake’s heart and soul. For a standard 9-inch cheesecake, gather:
- 24 ounces (about 680g) of cream cheese, softened
- 1 cup (200g) granulated sugar (adjust to taste)
- 3 large eggs (for baked version)
- 1 teaspoon vanilla extract
- 1/2 cup sour cream (optional but adds creaminess and tang)
- Pinch of salt
- Soften the Cream Cheese
This is crucial. If your cream cheese is too cold, you’ll end up with lumps that are near-impossible to beat out. Ideally, leave the blocks out for at least 30 minutes before mixing. - Blend Sugar and Cream Cheese
Using a hand mixer or a stand mixer on medium speed, cream the sugar and the softened cream cheese together. Scrape down the sides of the bowl occasionally to ensure a smooth result. - Incorporate Eggs (Baked Version)
If you’re going for a baked cheesecake, crack in the eggs one at a time, mixing thoroughly yet gently after each addition. Overbeating can introduce too much air, leading to potential cracks in your cake later.- No-Bake Option: Instead of eggs, you’ll fold in whipped cream or whipped topping plus a stabilizer like gelatin (dissolved in warm water). This ensures a set filling without the need for baking.
- Add Flavor Elements
Stir in the vanilla extract, sour cream if you’re using it, and a pinch of salt. The salt might seem odd, but it helps accentuate the sweet and tangy flavors. Taste test the batter—this is your chance to adjust sweetness.
Step 3: Incorporating Strawberries
Strawberries are the star of the show, so let’s highlight them properly. You have two main options: swirl them into the batter or create a luscious strawberry topping.
- Strawberry Puree
- Fresh Strawberries: Rinse and hull about 8 ounces of strawberries. Blend until smooth, then strain if you prefer a seedless texture.
- Frozen Strawberries: Thaw completely, drain excess liquid, and blend. You might need slightly less sugar if the berries were sweetened.
- Swirl Method
- Reserve about 1 cup of your cheesecake filling in a separate bowl. Mix in half of the strawberry puree. Gently layer spoonfuls of plain cheesecake filling and strawberry-flecked filling into your crust. Using a butter knife, swirl them together for a marbled effect.
- Full Strawberry Integration
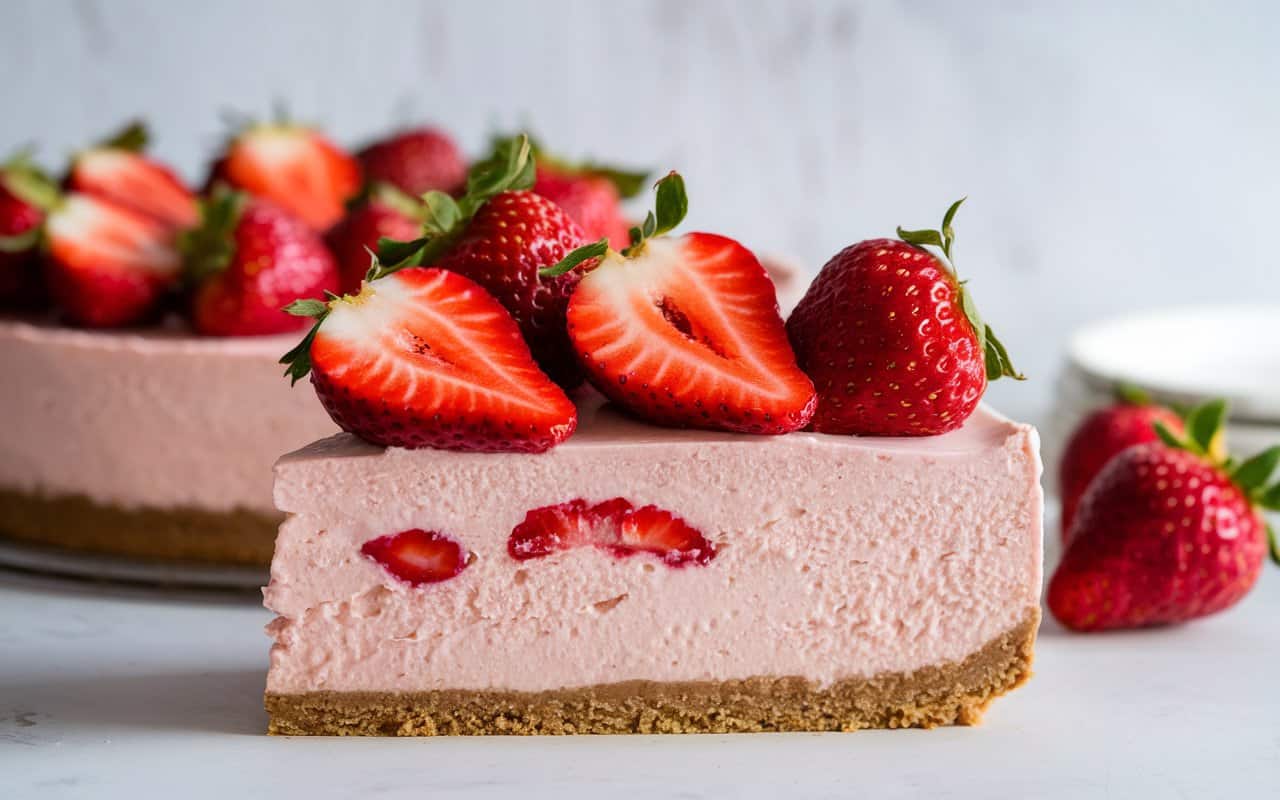
- If you want the entire cheesecake to be strawberry-flavored, fold the strawberry puree into the full batch of cream cheese filling. This gives a lovely pink hue and uniform berry taste.
- Topping
- Another approach is to keep your cheesecake plain and top it with a glossy strawberry sauce after it sets. For that sauce, simmer strawberry puree with a little sugar and cornstarch until it thickens.
No matter which path you choose, you’ll end up with a cheesecake that’s packed with strawberry flavor—and it will look gorgeous too.
Step 4: Baking or Chilling
Depending on your preference for a baked or no-bake dessert, here’s your final step.
- Baked Cheesecake
- Bake: Preheat your oven to 325°F (160°C). If you’re worried about cracks, place the springform pan in a water bath or at least put a tray of water on the rack below to add moisture to the oven air.
- Timing: Bake for 45–55 minutes, or until the edges are set but the center still has a slight jiggle. Remember to avoid opening the oven door too often.
- Cooling: Turn off the oven and let the cheesecake sit inside for another hour with the door slightly ajar. Then, bring it to room temperature before refrigerating. This slow transition helps prevent cracks.
- No-Bake Cheesecake
- Chilling: Place your pan in the refrigerator for at least 4 hours or overnight. This allows the filling to firm up thoroughly.
- Additional Stabilizing: If using gelatin, ensure it’s fully incorporated and your whipped cream is stiff enough to support the structure.
Once your cheesecake is baked (or chilled and set), remove it from the pan. If you used a springform, run a thin knife around the edges before releasing the sides. For a standard pie dish, you might simply cut slices directly from the dish.
Tips, Variations, and Flavor Twists
- Fresh vs. Frozen Strawberries
- Fresh: Ideal for presentation, adding slices on top or swirling in fresh puree.
- Frozen: Fantastic for purees or sauces, especially if fresh berries aren’t in season.
- Additional Toppings
- Whipped Cream: Pipe rosettes around the edges or add a dollop to each slice.
- Strawberry Glaze: Drizzle a syrup made from simmered strawberries, sugar, and a bit of cornstarch.
- Chocolate Drizzle: Dark chocolate sauce pairs unexpectedly well with sweet strawberries.
- Biscuit Alternatives
- If you’re a fan of variety, use chocolate wafer cookies or shortbread biscuits to create different flavor profiles.
- For extra crunch, chop some toasted nuts (like almonds or pecans) into the crust.
- Healthier Swaps
- Use reduced-fat cream cheese and Greek yogurt in place of sour cream.
- Replace some sugar with a low-calorie sweetener, keeping in mind texture and sweetness might change.
Serving Suggestions and Pairings
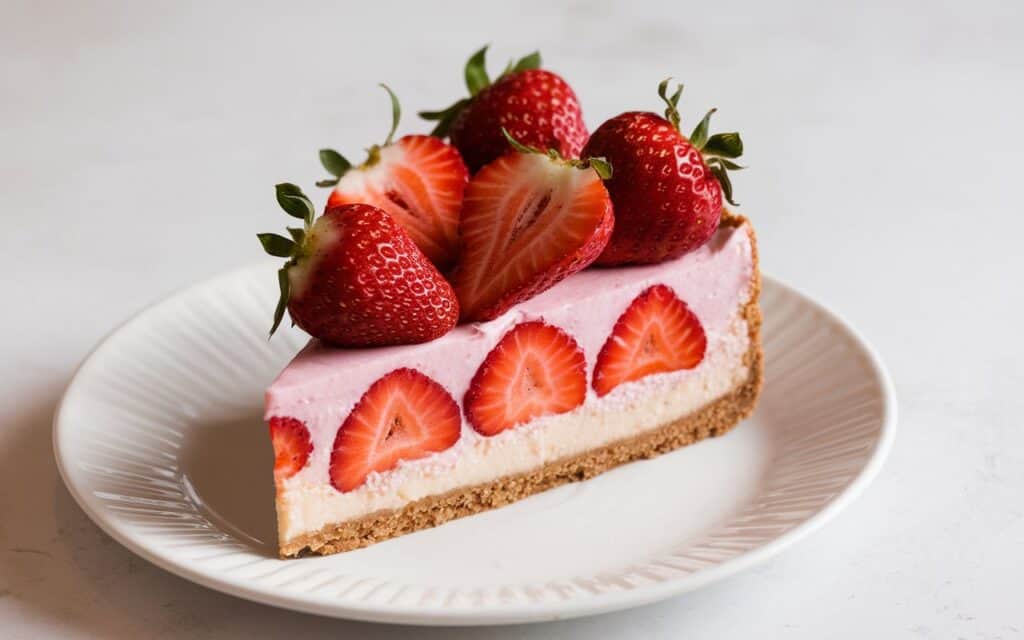
Strawberry cheesecake slices beautifully, especially if you use a clean, hot knife each time you cut. Arrange slices on dessert plates and garnish with fresh strawberry halves or a drizzle of strawberry coulis. This dessert pairs nicely with a strong cup of coffee or espresso, as the bitterness helps cut through the creaminess. If you prefer tea, opt for a subtle black tea or a fruity blend that complements the strawberry essence. For those who enjoy wine pairings, a lightly sweet sparkling rosé can accentuate the fruity notes in every bite.
FAQ: Troubleshooting and Storage
- Why is My Cheesecake Runny?
- Either it hasn’t chilled long enough or the recipe needs more thickening if you went no-bake. Using gelatin or whipped cream at proper stiffness is key.
- Can I Store Leftovers?
- Absolutely. Wrap your cheesecake securely or place it in an airtight container. It’ll keep well in the fridge for up to five days.
- How Do I Prevent Lumps?
- Always soften your cream cheese before mixing. Blend thoroughly but avoid overmixing, which can aerate the batter too much.
- Adjusting Sweetness
- Taste-test your filling before committing. Add more sugar or a dash of lemon juice to tweak the balance.
- Freezing Slices
- You can freeze individual slices for up to two months. Thaw in the refrigerator before serving.
The Joy of Simplicity
Creating a strawberry cheesecake in four easy steps might sound too good to be true, but the results speak for themselves. By focusing on a dependable crust, a well-crafted filling, the best strawberries you can find, and the right baking (or chilling) technique, you yield a dessert that looks and tastes spectacular. The minimal fuss doesn’t mean minimal flavor; in fact, these simple steps help keep the process straightforward and the focus on quality ingredients.
Even better, once you master this method, you can adapt it for other berries like raspberries or blueberries, or even add a swirl of chocolate for extra indulgence. And if you prefer the classic route, just skip the strawberry portion—then top your finished cheesecake with a layer of fruit sauce. The possibilities are endless, and they’re all in line with the idea that dessert should be a pleasure, not a chore.
Conclusion and Next Steps
Strawberry cheesecake belongs in the realm of easy and quick desserts because the essential elements—crust, filling, fruit, and setting—can be achieved without advanced skills or equipment. In four simple steps, you’ve created a masterpiece that merges fresh strawberry essence with creamy decadence, all on a crisp foundation of graham crackers. Whether baked or no-bake, your cheesecake will be a hit at potlucks, family dinners, or whenever you crave a taste of sweetness.
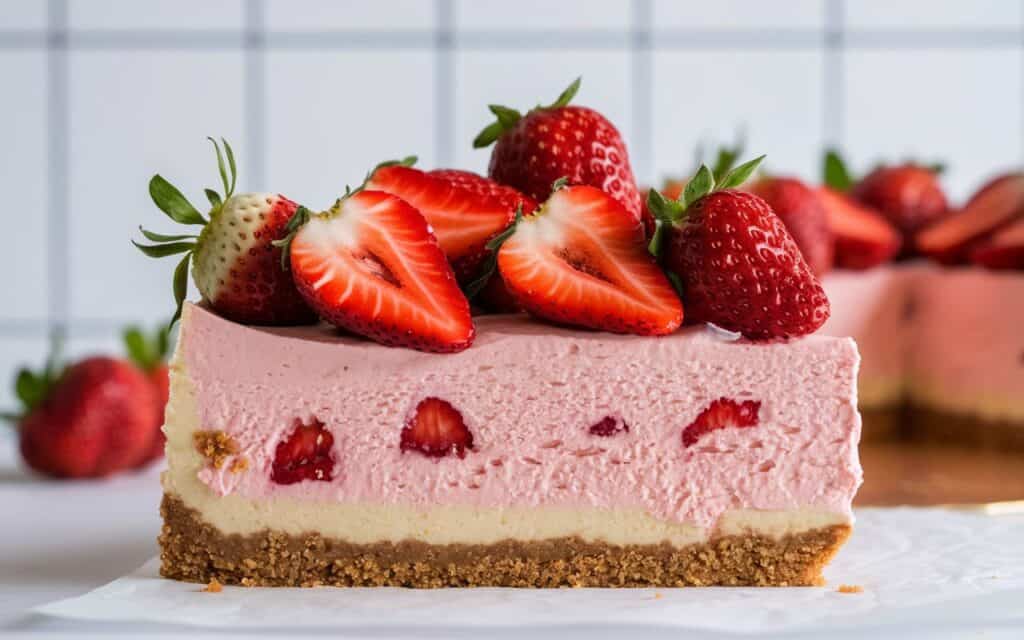
So gather your ingredients, follow each step, and enjoy the fruit of your labor—literally. Slice into that beautiful pink-tinged interior and savor the moment. Feel free to get creative with decorations, swapping in seasonal fruit or experimenting with garnishes. Share your success on social media or invite friends over for a sweet taste test. The only thing left to do is relish the moment when the forks start clinking on dessert plates, accompanied by the satisfied hum of everyone enjoying their strawberry cheesecake creation.
Print
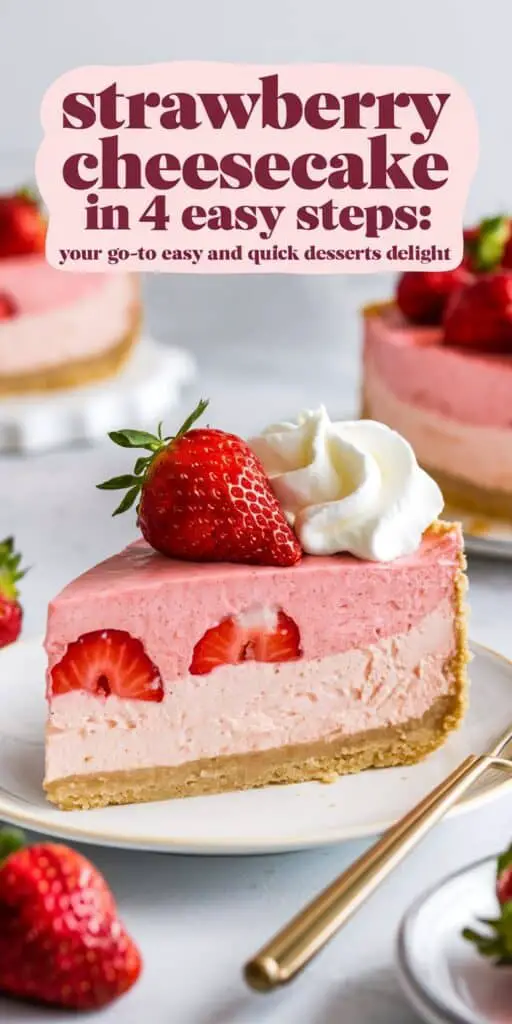
Strawberry Cheesecake in 4 Easy Steps: Your Go-To Easy and Quick Desserts Delight
- Total Time: 4 hours 20 minutes
- Yield: 8 slices 1x
Description
A delightful no-bake strawberry cheesecake that requires just 4 simple steps! Enjoy a creamy, luscious cheesecake layered on a crunchy graham cracker crust and crowned with a vibrant strawberry topping. Perfect for impressing guests or indulging on your own.
Ingredients
- For the Crust:
- 1 1/2 cups Graham cracker crumbs (About 10-12 crackers, finely crushed)
- 1/4 cup Granulated sugar
- 1/2 cup Unsalted butter (Melted)
For the Filling:
- 16 oz Cream cheese (Softened to room temperature)
- 1 cup Sour cream
- 3/4 cup Granulated sugar
- 1 tsp Vanilla extract
- 1 tbsp Lemon juice (Optional for a bright note)
For the Strawberry Topping:
- 2 cups Fresh strawberries (Hulled and sliced)
- 1/4 cup Granulated sugar
- 1 tbsp Cornstarch dissolved in 2 tbsp water (Optional, to thicken the sauce if desired)
- 1/2 tsp Lemon zest (Optional for extra brightness)
Instructions
Step 1 – Prepare the Crust:
- In a bowl, combine the graham cracker crumbs, granulated sugar, and melted butter.
- Press the mixture firmly into the bottom of an 8-inch springform pan.
- Chill in the refrigerator while you prepare the filling.
Step 2 – Make the Filling:
- In a large mixing bowl, beat the softened cream cheese until smooth.
- Add the sour cream, granulated sugar, vanilla extract, and lemon juice (if using), beating until the mixture is creamy and well combined.
Step 3 – Assemble and Chill:
- Pour the cheesecake filling over the chilled crust and smooth the top with a spatula.
- Refrigerate for at least 4 hours (or overnight) until the filling is set.
Step 4 – Prepare the Strawberry Topping:
- In a small saucepan, combine the sliced strawberries and granulated sugar.
- Cook over medium heat for about 5 minutes, stirring occasionally until the strawberries soften and release their juices.
- (Optional: Stir in the dissolved cornstarch to thicken the sauce slightly.) Allow the topping to cool, then spread or drizzle it evenly over the chilled cheesecake before serving.
Notes
- For best results, let the cheesecake chill overnight to develop a firmer texture.
- Fresh, ripe strawberries enhance the topping’s flavor and color.
- Garnish with a sprig of mint or extra lemon zest for a decorative touch.
- Bring the cheesecake to room temperature for about 10 minutes before serving for optimal creaminess.
Enjoy your Strawberry Cheesecake in 4 Easy Steps—a go-to quick and easy dessert delight that’s sure to impress!
- Prep Time: 20 minutes
- Category: Dessert
- Cuisine: American
Nutrition
- Calories: 320