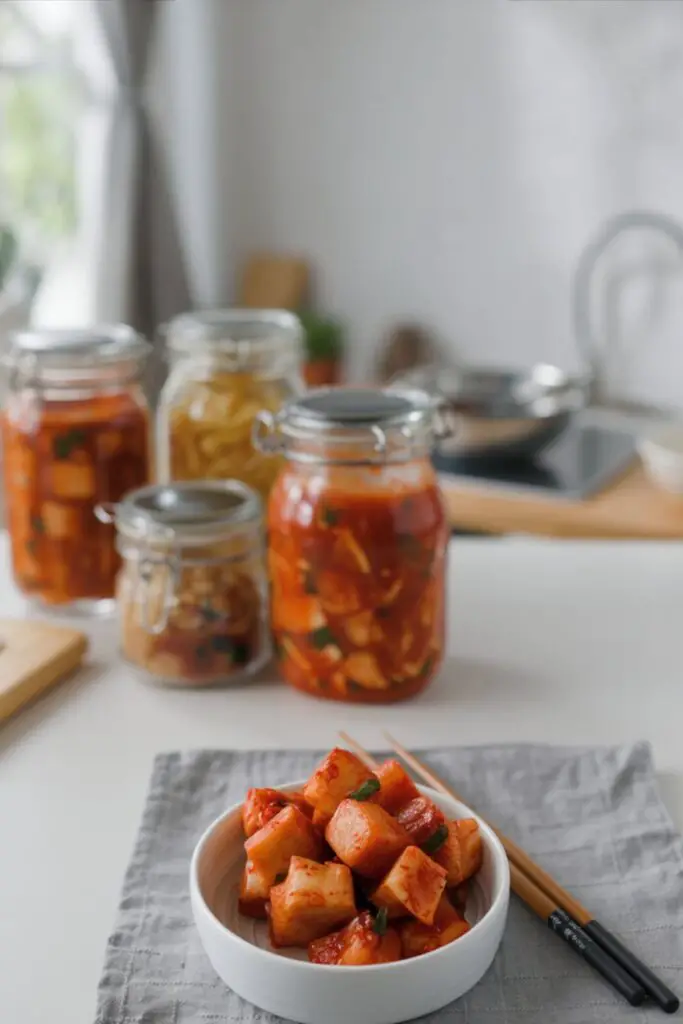
Have you ever experienced the satisfying crunch of a perfectly fermented radish cube, bursting with spicy, sweet, and savory juices? If you’re a fan of Korean cuisine, you likely know and love Kkakdugi, or cubed radish kimchi. It’s the essential partner to rich soups like Seolleongtang (ox bone soup) and a staple on any Korean table.
This recipe for authentic Korean Radish Kimchi brings that beloved side dish straight to your kitchen. Unlike cabbage kimchi, which can be a labor-intensive process, Kkakdugi is surprisingly straightforward and beginner-friendly. Using Korean radish (mu), a simple salted brine, and a vibrant chili paste, you can create a jar of this addictive, probiotic-rich kimchi in under 90 minutes. Get ready to elevate your meals with the perfect balance of crunch and spice!
Ingredients
This recipe uses traditional ingredients to achieve an authentic taste. Korean radish is key for the right texture!
| Ingredient | Amount/Quantity | Notes |
| The Radish Base: | ||
| Korean Radish (Mu) | 1.1 kg (2.5 lbs) | Rinsed, peeled, & cubed; Daikon is a good substitute |
| Raw Sugar | 2 Tbsp | Helps draw out moisture & aids fermentation |
| Rock Salt (Korean Coarse Salt) | 2 Tbsp | Essential for proper brining |
| The Kimchi Paste: | ||
| Brown Onion | ½ small (70g) | Peeled & chopped |
| Red Apple | ½ small (50g) | Cored & chopped; adds natural sweetness |
| Korean Fish Sauce | 3 Tbsp | Anchovy sauce is recommended |
| Garlic | 1 Tbsp | Minced |
| Ginger | ½ Tbsp | Minced |
| Korean Chili Flakes (Gochugaru) | 4 Tbsp | Divided use; adjusts spice level & color |
| Water | ¼ cup | For the rice porridge |
| Rice Flour | 1 Tbsp | Thinks the paste and helps it adhere |
| Fresh Add-ins: | ||
| Green Onion | 3 stalks (50g) | Rinsed & chopped |

Timing
While fermentation takes time, the active preparation is quick and manageable.
- Preparation Time: 30 minutes
- Salting Time: 1 hour
- Total Time: Approximately 1 hour 30 minutes (plus fermentation)
Step-by-Step Instructions
Follow these steps to create crisp, flavorful radish kimchi at home.
Step 1: Salt the Radish
Peel the radish and cut it into medium-sized cubes (about 1 inch). Place the cubes in a large mixing bowl. Add the raw sugar and coarse salt. Toss well to coat every cube. Let this sit at room temperature for 1 hour.
- Actionable Tip: The sugar and salt draw out excess water, keeping the radish crunchy. Don’t skip this!
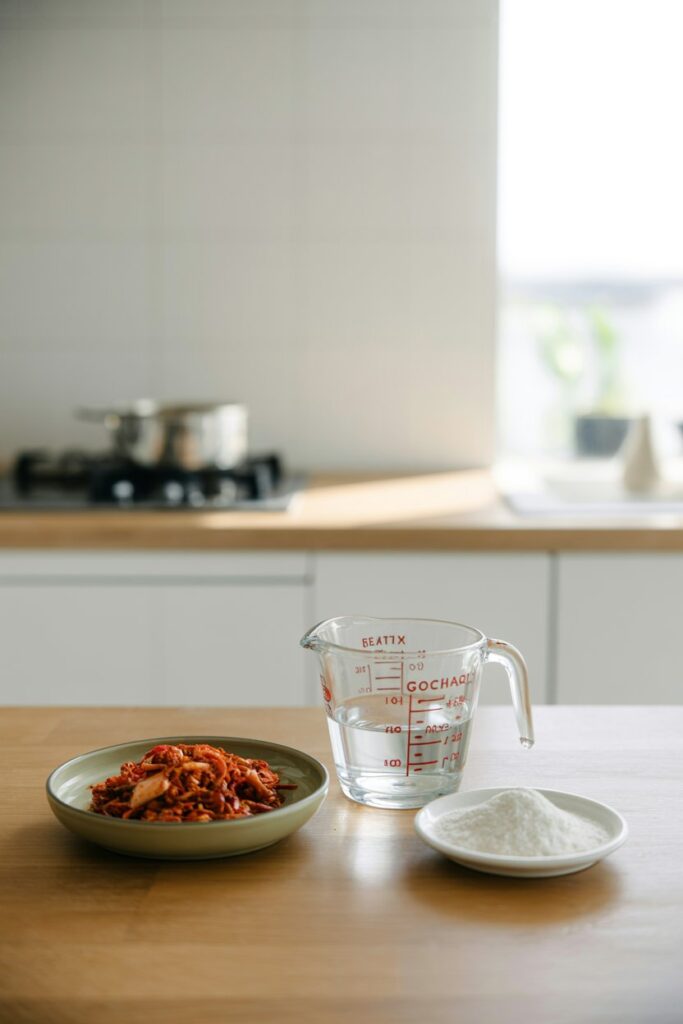
Step 2: Make the Porridge and Base
While the radish salts, make the rice porridge. In a small microwave-safe bowl, whisk the water and rice flour. Microwave for 1 minute (checking halfway) until it bubbles and thickens into a translucent paste. Let it cool.
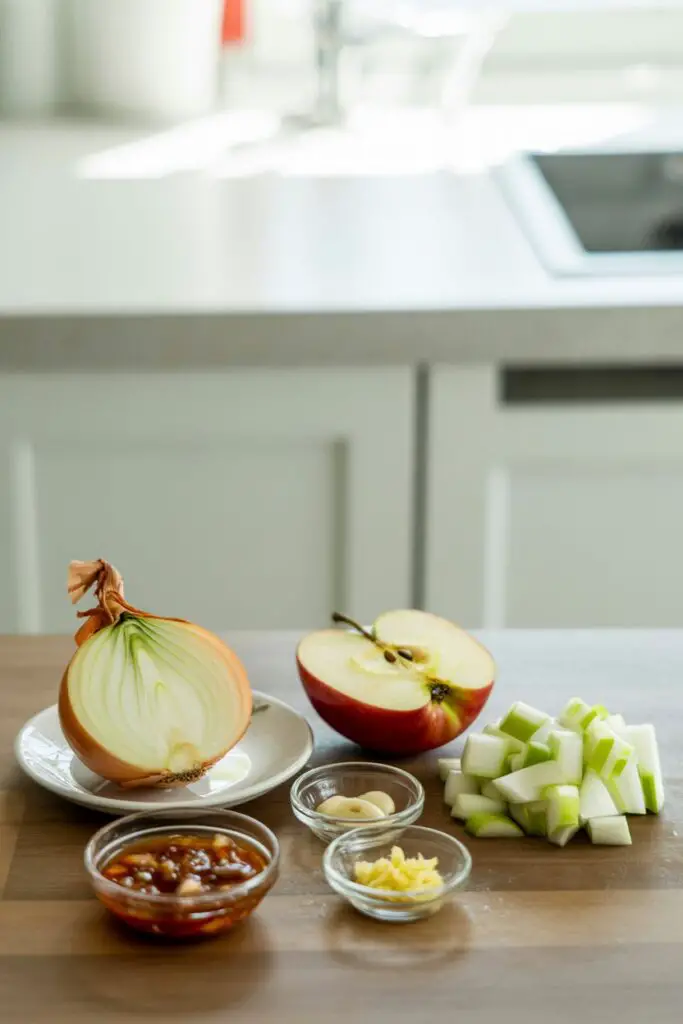
In a blender, combine the onion, apple, and fish sauce. Blend until smooth.
In a medium bowl, mix the cooled rice porridge, the blended onion mixture, minced garlic, minced ginger, and 2 tablespoons of the chili flakes (Gochugaru). Set aside.
- Actionable Tip: The rice porridge acts as “glue” for the spices and provides food for the healthy bacteria during fermentation.
Step 3: Rinse and Drain
After 1 hour, rinse the salted radish cubes in cold water a couple of times to remove excess salt. Drain them well in a colander for at least 5 minutes to ensure they aren’t too watery.
Step 4: Color the Radish
Place the drained radish back into a clean, dry mixing bowl. Add the remaining 2 tablespoons of Korean chili flakes. Wearing a food prep glove, mix the flakes into the radish thoroughly.
- Actionable Tip: Adding dry chili flakes first gives the radish a vibrant red color and prevents the paste from sliding off. It stains hands, so gloves are a must!
Step 5: Mix Everything Together
Add the prepared kimchi paste and the chopped green onions to the bowl. Mix everything vigorously with your gloved hand until every radish cube is thickly coated in the red paste.
Step 6: Ferment
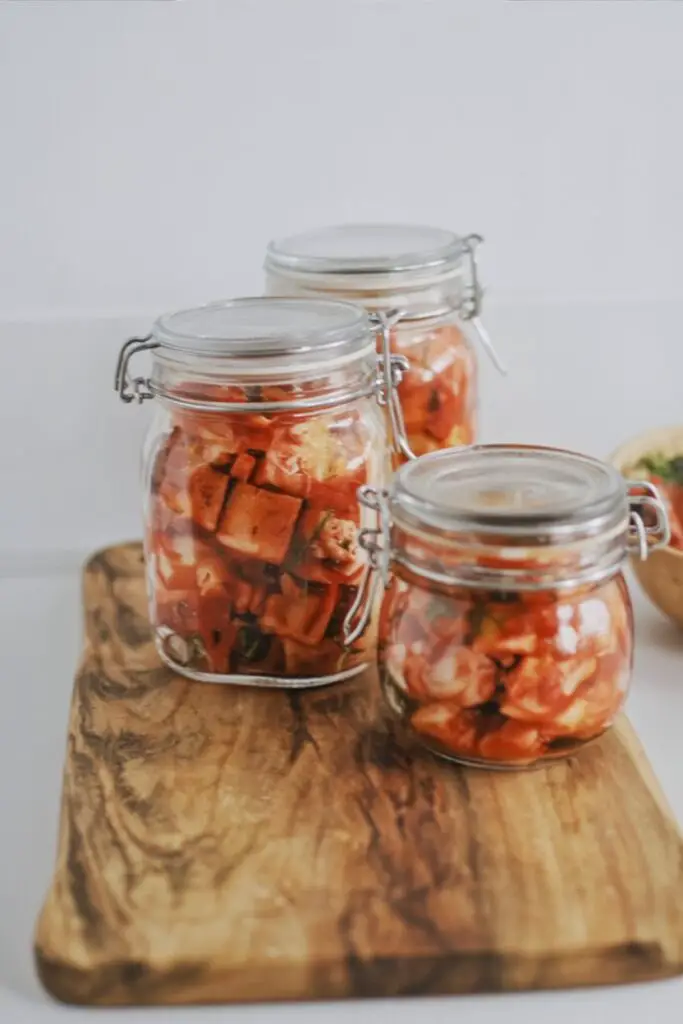
Transfer the kimchi into an airtight glass container or jar (a 1.5L jar fits this amount well). Press the radish down firmly to remove air pockets. Close the lid.
Leave the jar at room temperature for 6 to 24 hours.
- Actionable Tip: Fermentation speed depends on temperature. In warmer weather, 6 hours might be enough; in cooler weather, up to 24 hours. You’ll know it’s starting when you see small bubbles rising or smell a slight sourness. Once fermented to your liking, move it to the fridge.
Nutritional Information
Nutritional information is an estimate per serving.
- Calories: 52 kcal
- Carbohydrates: 11 g
- Sugar: 6 g
- Fiber: 3 g
- Protein: 1 g
- Sodium: 1896 mg
- Vitamin C: 26 mg
Notable Benefit: Kimchi is a probiotic powerhouse, excellent for gut health!
Healthier Alternatives
This traditional recipe is naturally healthy, but here are some tweaks:
- Vegan/Vegetarian: Substitute the fish sauce with a vegan fish sauce alternative, soy sauce, or a broth made from dried kelp and mushrooms for umami.
- Low Sodium: Rinse the radish very thoroughly after salting. You can also reduce the amount of fish sauce slightly, though this may affect the fermentation process.
- Sugar-Free: Substitute the raw sugar with a little extra apple or pear, or use a sugar-free sweetener suitable for fermentation, though natural sugar is best for feeding the bacteria.
Serving Suggestions
Kkakdugi is incredibly versatile!
- Traditional Side: Serve a small dish alongside any Korean meal, especially rice dishes and grilled meats.
- Soup Companion: It is the classic pairing for Seolleongtang (ox bone soup) and Galbitang (short rib soup). The crunch cuts through the rich broth perfectly.
- Fried Rice: Chop up fermented (sour) kkakdugi and add it to fried rice for an explosion of flavor and texture.
Common Mistakes to Avoid
- Wrong Radish: Using a western red radish won’t work. Solution: Stick to Korean radish (Mu) or Japanese Daikon for the correct density and crunch.
- Skipping the Porridge: The paste might slide off the radish. Solution: Take the extra minute to microwave the flour and water; it makes a huge difference in texture.
- Over-Fermenting: Leaving it out too long makes it mushy and overly sour. Solution: Move it to the fridge as soon as it starts to smell fermenty and tastes slightly tangy. It will continue to ferment slowly in the fridge.
Storing Tips
Kimchi is a living food that changes over time.
- Refrigerate: Store in the fridge at all times after the initial fermentation.
- Best Flavor: It usually tastes best after about 1-2 weeks in the fridge when the flavors have matured.
- Shelf Life: It can last for months! As it gets older and more sour, it becomes perfect for cooking into stews (jjigae).
Conclusion
This Korean Radish Kimchi (Kkakdugi) is a simple yet rewarding project that brings the authentic taste of Korea into your home. With its satisfying crunch, bold spice, and deep umami flavor, it’s a side dish that you’ll find yourself craving constantly. Plus, it’s packed with probiotics! Grab a radish and get fermenting—your tastebuds (and your gut) will thank you.
Ready to make your own kimchi? Give this recipe a try and let us know how it turned out in the comments below! Did you like it fresh or fermented? We love hearing from you. Don’t forget to rate the recipe and subscribe for more authentic and delicious recipes!
FAQs
Q1: Can I use regular flour instead of rice flour?
Yes, you can use sweet rice flour (glutinous rice flour) or even all-purpose flour if you’re in a pinch. The texture of the paste might be slightly different, but it will still work as a thickener.
Q2: Is it spicy?
Gochugaru has a moderate heat level, but it can vary. If you are sensitive to spice, start with 2-3 tablespoons of flakes instead of 4. The fermentation process also mellows the heat over time.
Q3: Why did my kimchi become watery?
Radishes release a lot of water. If you didn’t salt them long enough or drain them well, this water will dilute your sauce. However, some liquid in the jar is normal and good for keeping the kimchi submerged!
Q4: Do I need a special fermentation jar?
No, a standard glass jar (like a Mason jar) or a glass food storage container with a tight-fitting lid works perfectly. Just be sure to leave a little headspace at the top for gases to expand.
Print
Korean Radish Kimchi (Kkakdugi): A Crunchy, Spicy Side Dish
Have you ever experienced the satisfying crunch of a perfectly fermented radish cube, bursting with spicy, sweet, and savory juices? This authentic Korean Radish Kimchi (Kkakdugi) brings that beloved side dish straight to your kitchen. Unlike cabbage kimchi, this process is surprisingly straightforward and beginner-friendly. Using Korean radish (mu), a simple salted brine, and a vibrant chili paste, you can create a jar of this addictive, probiotic-rich kimchi in under 90 minutes.
- Total Time1 hour 30 minutes
- Yield1.5 L Jar 1x
- DietGluten Free
Ingredients
The Radish Base:
- 1.1 kg (2.5 lbs) Korean Radish (Mu), rinsed, peeled, & cubed
- 2 Tbsp Raw Sugar
- 2 Tbsp Rock Salt (Korean Coarse Salt)
The Kimchi Paste:
- 1/2 small (70g) Brown Onion, peeled & chopped
- 1/2 small (50g) Red Apple, cored & chopped
- 3 Tbsp Korean Fish Sauce (Anchovy sauce recommended)
- 1 Tbsp Garlic, minced
- 1/2 Tbsp Ginger, minced
- 4 Tbsp Korean Chili Flakes (Gochugaru), divided use
- 1/4 cup Water
- 1 Tbsp Rice Flour
Fresh Add-ins:
- 3 stalks (50g) Green Onion, rinsed & chopped
Instructions
- Salt the Radish: Peel the radish and cut it into 1-inch cubes. Place in a large bowl. Add the raw sugar and coarse salt. Toss well to coat. Let sit at room temperature for 1 hour.
- Make Porridge & Base: In a small bowl, whisk water and rice flour. Microwave for 1 minute (checking halfway) until it becomes a translucent paste. Let cool. In a blender, combine onion, apple, and fish sauce; blend until smooth. In a medium bowl, mix the cooled rice porridge, blended onion mixture, garlic, ginger, and 2 tablespoons of the chili flakes.
- Rinse and Drain: After 1 hour, rinse the salted radish cubes in cold water a couple of times to remove excess salt. Drain well in a colander for at least 5 minutes.
- Color the Radish: Place drained radish in a clean bowl. Add the remaining 2 tablespoons of chili flakes. Wearing a glove, mix thoroughly to give the radish a vibrant red color.
- Mix Everything: Add the prepared kimchi paste and chopped green onions to the bowl. Mix vigorously with your gloved hand until every cube is thickly coated.
- Ferment: Transfer to an airtight glass jar (approx. 1.5L). Press radish down firmly to remove air pockets. Close lid. Leave at room temperature for 6 to 24 hours (until bubbles appear or it smells slightly sour), then refrigerate.
Notes
- Rice Porridge: The rice porridge acts as “glue” for the spices and provides food for the healthy bacteria during fermentation.
- Coloring Tip: Adding dry chili flakes to the radish before the wet paste ensures a vibrant red color and prevents the paste from sliding off.
- Radish Type: Korean radish (Mu) provides the best texture and flavor, but Daikon is a good substitute if Mu is unavailable.
- Fermentation: In warmer weather, 6 hours might be enough; in cooler weather, up to 24 hours. Once fermented to your liking, move it to the fridge to slow the process.
- Prep Time: 30 minutes
- Cook Time: 0 minutes
- Category: Fermentation, Side Dish
- Method: Fermenting, No-Cook
- Cuisine: Korean
Nutrition
- Serving Size: 1 serving
- Calories: 52 kcal
- Sugar: 6 g
- Sodium: 1896 mg
- Fat: 0 g
- Saturated Fat: 0 g
- Unsaturated Fat: 0 g
- Trans Fat: 0 g
- Carbohydrates: 11 g
- Fiber: 3 g
- Protein: 1 g
- Cholesterol: 0 mg