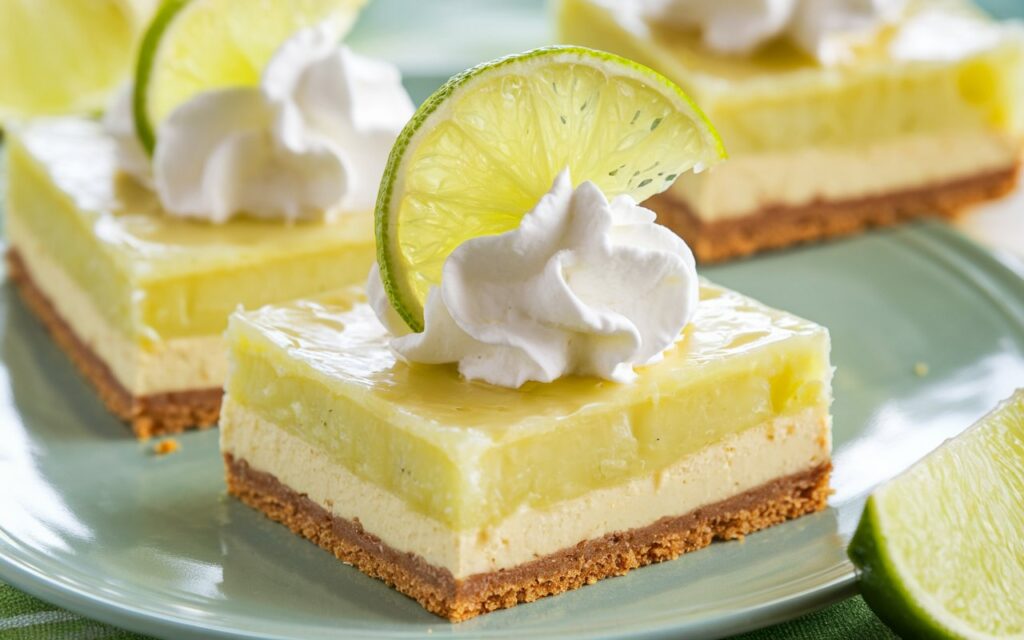
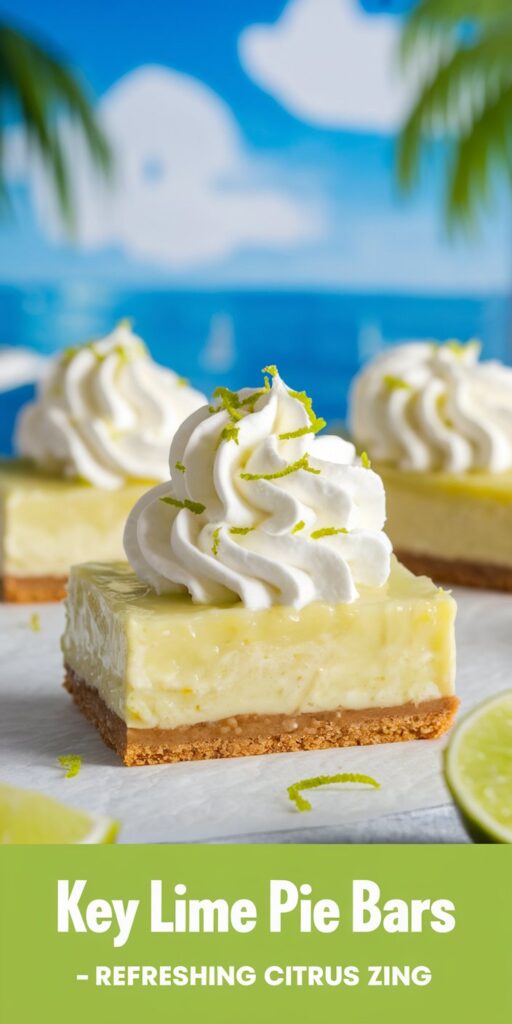
When you crave the tangy, tropical taste of Key lime pie but prefer a more portable, shareable format, Key Lime Pie Bars deliver that luscious citrus punch in an easy-to-slice shape. Visualize a crisp graham cracker base supporting a creamy, pale-green layer that bursts with lime zest and condensed milk sweetness, all topped with a swirl of whipped cream or zest garnish. Each square distills the essence of Florida’s signature dessert, offering a bright, refreshing treat that’s perfect for potlucks or sunny afternoon indulgences.
My introduction to Key lime pie bars happened when I needed a dessert for a summer barbecue—a time when I wanted something tangy and sweet but less heavy than a full cheesecake or frosted cake. The notion of compressing Key lime pie into bars solved the serving issue: folks could pick up a square with minimal fuss. After a few experimental runs, I recognized the must-haves: a sturdy, crunchy crust (often graham-based), a balanced filling that merges sweet condensed milk with plenty of lime juice and zest, plus thorough chilling so each bar slices cleanly. Now, these bars regularly appear in my warm-weather dessert rotation, brightening any table with their pastel hue and tang.
In this article, we’ll go through how to make Key Lime Pie Bars—from whipping up a crumb crust to mixing the sweet-tart filling, to chilling and cutting them into perfect squares. Whether Key lime pie is already your weakness or you’re simply a citrus devotee, get ready for a dessert that merges convenience, breezy flavors, and a zesty pop reminiscent of sunny Florida coasts.
Section 1: Why Key Lime Pie Bars Win Hearts

- Tangy-Sweet Harmony
The condensed milk-lime juice blend yields a creamy, bright, and sweet-tart flavor—timeless for Key lime fans. - Portable & Easy to Serve
Unlike a traditional pie slice, bar form means neat squares or rectangles, ideal for gatherings or lunchbox treats. - Minimal Ingredients
Often just graham crackers, butter, condensed milk, lime juice, and a few flavor enhancers—straightforward but yielding a flavor that feels layered and fresh. - Customizable Toppings
Beyond whipped cream, you can add toasted coconut, extra zest, or a light glaze. Each flourish helps you tailor the bars to personal preference.
Section 2: Ingredient Overview
Use this table to produce a 9×9-inch pan (about 9–12 bars):
| Ingredient | Quantity | Notes |
|---|---|---|
| Graham Crackers (or digestive biscuits) | ~1½ cups crumbs | Finely crushed for the crust |
| Unsalted Butter (melted) | 5–6 tbsp | Binds crust |
| Sugar (for crust) (optional) | 2–3 tbsp | If crackers aren’t already sweet |
| Sweetened Condensed Milk | 1 can (14 oz) | The base for creamy filling |
| Key Lime Juice | ~½–⅔ cup | Fresh key limes if possible, or bottled key lime juice |
| Lime Zest (fresh) | 1–2 tbsp | Intensifies flavor, from key limes or regular limes |
| Egg Yolks (optional) | 2 (some variants) | Helps set the filling more firmly, though not always used |
| Pinch Salt | ¼ tsp | Balances sweet & tart flavors |
| Whipped Cream (optional garnish) | Enough for topping | Pipe or spread, plus extra zest if desired |
| Food Coloring (totally optional) | 1–2 drops green | Traditional Key lime pies are often pale, not bright green |
(Note: True Key limes are smaller and more aromatic. If unavailable, Persian limes or bottled Key lime juice can suffice, though flavor might vary slightly.)
Section 3: Step-by-Step Recipe (Approx. 3–4 Hours Including Chill)
Crust Preparation
- Crush Crackers
- Pulse graham crackers in a food processor or place them in a sealed bag and crush with a rolling pin until fine. Aim for ~1½ cups crumbs.
- Mix & Press
- Stir crumbs with 5–6 tablespoons melted butter and optionally 2 tablespoons sugar if your crackers aren’t sweet. The texture should resemble wet sand.
- Press firmly into a 9×9-inch baking pan lined with parchment or lightly greased foil for easy removal. Use a flat-bottomed cup or spatula to get an even layer.
- Bake the crust at 350°F (175°C) for about 8–10 minutes to set. Cool slightly while preparing filling.
Filling & Baking
- Blend Key Lime Filling
- In a bowl, whisk 1 can (14 oz) sweetened condensed milk with ~½ cup fresh key lime juice. For deeper flavor, add 1–2 tablespoons lime zest. A pinch of salt brightens the taste.
- If using 2 egg yolks for extra richness, whisk them in thoroughly. They help the bars set more firmly. The mixture might thicken quickly upon contact with lime juice.
- Optional Food Coloring
- If you prefer a faint green hue reminiscent of store-bought pies, add 1–2 drops green food coloring. Typically, Key lime filling remains pale cream with a subtle greenish tinge, so coloring is purely aesthetic.
- Pour & Bake
- Pour the filling over the slightly cooled crust. Spread evenly, tapping the pan gently on the counter to release any air bubbles.
- Lower oven temperature to 325°F (160°C) if you want a gentler bake (especially if egg yolks are included). Bake for 10–15 minutes, or until the center is set but still has a slight jiggle. Overbaking can cause cracks or dryness.
- Cool & Chill
- Remove from the oven. Let bars cool to room temperature. Then refrigerate at least 2 hours (ideally 3–4) to fully set and to ensure clean slicing.
Section 4: Topping & Serving
- Optional Whipped Cream
- Once chilled, you can spread or pipe whipped cream on top. Some simply do a dollop on each slice. Extra zest sprinkling offers a fresh pop of color.
- Slice
- Lift bars out using parchment or foil overhang if you lined the pan. Cut into squares with a warm, clean knife. Wipe blade between cuts for neat edges.
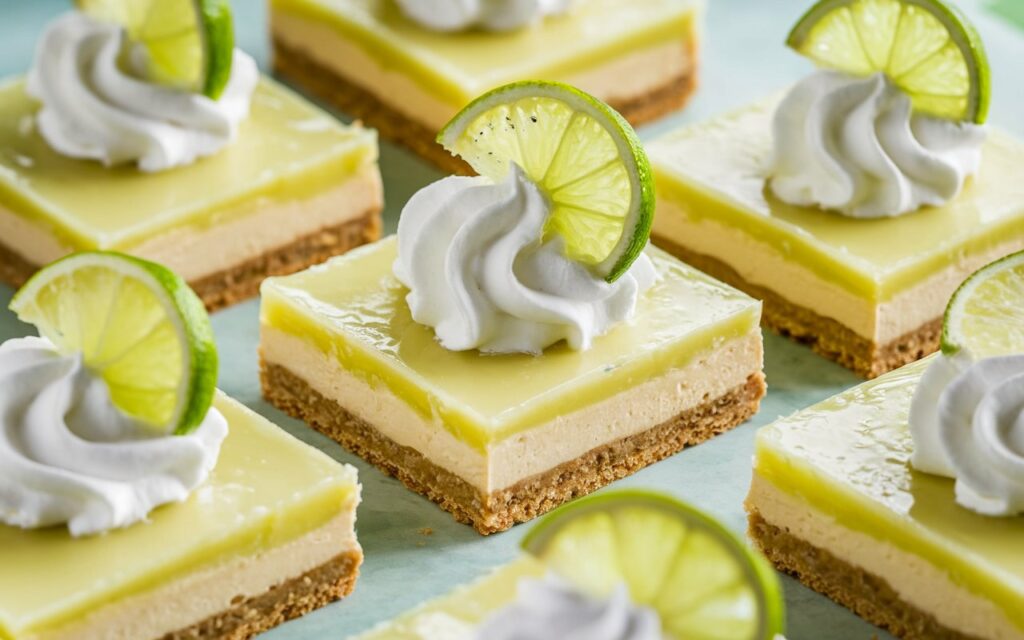
- Presentation
- Place bars on a serving platter. If you want extra flair, garnish with thin lime slices or a swirl of sweetened condensed milk. The vibrant green flecks from zest convey the Key lime identity instantly.
Section 5: Tips for Tangy, Creamy Bars
- Fresh Key Limes
- The best flavor often comes from freshly squeezed key limes. However, they can be tedious to juice in large amounts. Bottled key lime juice is convenient—just ensure it’s pure, not sweetened or diluted.
- Adjust Tartness
- Key lime pie bars rely on sweetened condensed milk’s sugar, but you can add a bit more or less juice to tilt the sweet-tart ratio. If too sweet, a bit more juice or zest. If too tart, a small pinch of sugar.
- Ensuring a Firm Set
- If you skip egg yolks, rely on the acid from lime juice to set the condensed milk. Proper chilling is crucial. If you want a firmer custard texture, the egg yolks help.
- No-Bake Variation
- Some skip the bake step, letting the acid “cook” the filling. This approach demands a thorough chill (4–6 hours) or using gelatin. The baked version typically ensures a more stable slice.
Section 6: Flavor Variations
- Coconut Crust
- Use a combination of graham crumbs and shredded coconut in the crust. The extra tropical note pairs well with lime.
- Graham-Almond Mix
- Mix almond flour or ground almonds with graham crumbs for a slightly nutty base.
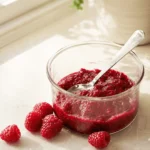
- Berry Twist
- Scatter fresh raspberries or blueberries on top of the filling prior to baking for color contrast and an additional flavor dimension.
- Chocolate Drizzle
- A mild dark chocolate drizzle can cut the tanginess, producing a subtle “chocolate-lime” vibe that might surprise taste buds.
Section 7: Serving Suggestions
- Brunch Buffets: Key lime bars are fresh enough for daytime events, balancing heavier pastries.
- Summer Cookouts: Their cool, citrusy bite stands out after grilled foods.
- Coffee or Tea Pairing: The tang-sweet interplay complements warm beverages.
- Storage: Keep leftover bars chilled up to 4 days. Crispness of the crust might soften over time, but the flavor remains bright.
Section 8: FAQ – Key Lime Pie Bars
Q1: Must I use Key limes specifically?
A1: Authentic flavor stems from Key limes, but Persian limes can sub in a pinch. The taste is slightly different—less floral, a bit less tang—but still delicious.
Q2: Can I skip the egg yolks?
A2: Yes. Many Key lime pie recipes rely on condensed milk’s reaction with the lime acid to thicken. Egg yolks add richness and firmness, but you can do fine without them, especially for no-bake or purely acid-set versions.
Q3: Why did my filling not set well?
A3: Possibly not enough chilling time, or insufficient acid ratio. Ensure ~½ cup lime juice to 1 can condensed milk at minimum, plus thorough chilling (2+ hours).
Q4: Are these bars naturally green?
A4: Key lime pie is typically pale yellowish-white, tinted green only if artificially colored. Some Key limes yield faint greenish hues, but not bright. A drop or two of green coloring is purely aesthetic.
Q5: Could I top the bars with meringue?
A5: Meringue topping, while not classic for Key lime bars, is an option. If so, lightly bake or torch the meringue. However, whipped cream or no topping are more traditional.
Conclusion
Folding the iconic tang of Key lime pie into easy-to-share bars, Key Lime Pie Bars distill that sweet-tart, tropical essence into a dessert as simple to make as it is refreshing to taste. Each cool, creamy square rests on a crisp graham base, delivering the sunny, citrus punch that Key limes have embodied for decades. Whether you’re dreaming of Florida’s Key West or simply enjoy an invigorating dessert that stands out from the usual chocolate or vanilla suspects, these bars deliver bright flavor in a compact, pick-up form.
Now that you know how to blend condensed milk, fresh lime juice, and a sturdy graham crust—plus an optional topping or garnish—why not invite some citrus sunshine into your kitchen? Whip up a batch, let them chill to perfection, then cut them into tidy squares. After you relish that tangy first bite—maybe topped with whipped cream—drop back here to share your personal spin. Did you incorporate coconut in the crust, add berries on top, or try a swirl of fruit sauce? Your creativity may inspire other dessert aficionados to embrace the breezy, refreshing vibe of key lime bars for their next sweet fix.