


I resisted microwave rice for a long time on the grounds that it sounded like giving up. Then I did it properly once and realized I had been carrying an opinion I never actually tested.
The microwave heats water. That is what a rice pot does too. The difference is that a pot loses heat out the sides and you have to keep feeding it, while a microwave puts the energy directly into the water and nowhere else. Rice does not know or care which appliance is responsible. What it cares about is the ratio, the rinse, and being left alone at the end.
Twenty five minutes, two ingredients, and the stovetop stays free for whatever else you are making.
Getting the water ratio right
One and a half cups of rice to two and a quarter cups of water. That is a 1.5 to 1 ratio, and it is lower than the two-to-one you may have grown up with.

The reason is evaporation, or the lack of it. A pot on the stove loses water as steam the whole time it cooks, and the standard ratio quietly accounts for that loss. A covered dish in the microwave loses very little. Use the stovetop ratio here and you get rice that is cooked through and slightly gluey, sitting in a shallow layer of water it never needed.
This works for jasmine, basmati, plain long grain white, and sushi rice. It does not work for brown rice, which needs both more water and considerably more time, and it does not work for parboiled or converted rice. Those are different problems.
Rinse until the water is barely cloudy
Scoop the rice into your cooking dish, fill it with water, and swish the grains around with your hand. The water goes chalky white almost immediately. Pour it off, cupping your hand around the rice so the grains stay put, and repeat two or three more times until the water runs only barely cloudy.
You are washing off loose surface starch. Leave it on and it dissolves into the cooking water and thickens it, and thickened water clings between the grains and glues them together. Rinsed rice comes out separate. Sushi rice is the one case where a little extra stickiness is welcome, and even there the rinse still helps, because you want cohesion from the grain itself and not from a starch slurry.
Cold water is fine. Some people insist on warm and I have never been able to tell the difference in the finished rice, though warm water does loosen the starch a little faster if you are impatient.
Nothing goes in besides rice and water. No salt, no oil, no butter. Salt in the cooking water firms the outside of the grain slightly and makes the interior take longer to soften, which throws off a timing that is already tuned tight. If you want seasoned rice, salt it after the rest with a fork, or fold through a knob of butter while it is still hot. Sushi rice gets its vinegar dressing after cooking anyway, so the habit is the same one.
The last drain is the important one. Get out as much water as you physically can without losing rice down the sink. Whatever stays behind counts toward your two and a quarter cups, and if you leave a third of a cup clinging in there the ratio is off before you have started.
Then add the measured water. Not before.
The dish, the lid, and the towel
Use a microwave-safe container built for cooking pasta or rice or steaming vegetables. Deeper than you think you need, because starchy water climbs.
The lid should have a vent. If yours does not, rest it on top without snapping it into place, so steam has somewhere to go. A sealed lid in a microwave either pops off or builds pressure, and neither is good.
Put a dish towel underneath the container before it goes in. This is the tip that took me the longest to appreciate. Starchy water bubbles up and over more often than not, and cleaning boiled starch out of the bottom of a microwave once will teach you the same lesson at greater cost.
Five minutes at full power. Then fifteen minutes at 50 percent power.
That two-stage approach is doing real work. Full power brings everything to a hard boil quickly. Dropping to half power holds it at a simmer rather than a rolling boil, which is exactly what a pot does when you turn the burner down after it catches. Run the whole twenty minutes at full power and you get a boil-over and scorched grains at the edges.
The five minutes at the end are not optional
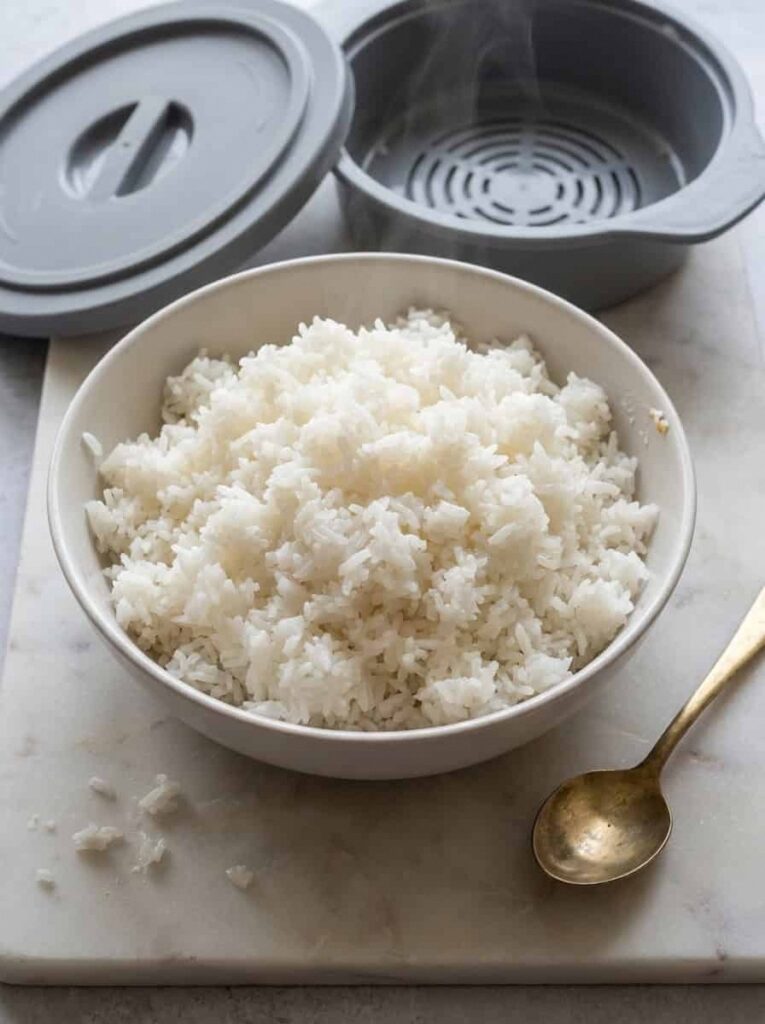
When the time is up, leave the lid on and walk away for five minutes. No peeking.
The rice is not finished when the microwave beeps. There is still steam trapped in there, the grains at the top are wetter than the grains at the bottom, and the resting period is when that redistributes. Lift the lid early and you release the steam that was about to finish the job. What you get is unevenly cooked rice, and it does not recover.
After five minutes, fluff with a fork rather than stirring with a spoon. Lift and separate. Stirring mashes the grains against each other and brings the starch back out.
Taste one grain. Still a chalky center? Cover it again and give it another minute on high. Microwaves vary more than people expect, and two machines with the same number on the door can be a couple of minutes apart in practice. Once you find the number that works in yours, it stays the same forever.
A note on scale, since it comes up. This makes four servings, and roughly doubling it works if your container is genuinely big enough, though the timing shifts and you should expect to add a few minutes at half power. Halving it is trickier. Small volumes overshoot fast in a microwave, and I would just use a pot.
Serves 4. Leftovers keep three or four days covered in the fridge and reheat well with a tablespoon of water added and the lid back on.
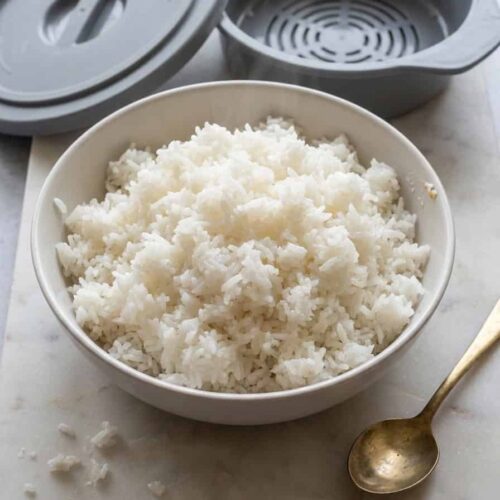
How to Cook Rice in the Microwave

Equipment
- Microwave-safe cooking dish with a vented lid
Ingredients
- 1 1/2 cups rice jasmine, basmati, long grain white or sushi rice
- 2 1/4 cups water
Instructions
- Rinse the rice. Scoop the rice into the microwave-safe dish. Fill with water and swish the grains with your hand, then pour the water off, cupping your hand around the rice to keep the grains in. Repeat 2 to 3 more times until the water runs only barely cloudy. On the last drain, pour off as much water as you possibly can, since anything left behind throws off the ratio.
- Add the measured water. Add 2 1/4 cups water and cover with the lid. The lid must have a vent; if yours does not, rest it on top without snapping it into place so steam can escape. Set a dish towel under the dish in the microwave, since starchy water bubbles over easily.
- Cook at two power levels. Microwave 5 minutes at full power, then 15 minutes at 50 percent power.
- Rest, then fluff. Leave the lid on and rest 5 minutes without peeking, then fluff with a fork rather than stirring. Taste a grain. If the centre is still chalky, cover and cook 1 more minute on high.